Get started with qlik-embed in SvelteKit
Embed your first Qlik visualization in a SvelteKit app in minutes using the @qlik/embed-svelte package and OAuth2 single-page application authentication.
Prerequisites
- A Qlik Cloud tenant with at least one Analytics app and visualization
- Node.js 24 or later
- An OAuth2 SPA client with:
- Scope:
user_default - Redirect URI:
http://localhost:5173/oauth-callback - Allowed origin:
http://localhost:5173
- Scope:
If your dev environment uses a different port than 5173, update the redirect URI and allowed origin accordingly.
Step 1: Create a new SvelteKit app
- Generate a new SvelteKit project:
npx sv create my-qlik-sveltekit-app- When prompted, select:
- SvelteKit minimal
- Yes, using TypeScript syntax
- npm
Step 2: Add @qlik/embed-svelte to the project
Run the following commands:
cd my-qlik-sveltekit-appnpm install @qlik/embed-svelteStep 3: Disable server-side rendering (SSR) for client-side only rendering
- Create
src/routes/+page.server.tsto disable server-side rendering for client-side OAuth and embeddings:
export const ssr = false;export const prerender = false;- Also create
src/routes/oauth-callback/+page.server.tswith the same content:
export const ssr = false;export const prerender = false;Step 4: Set up default host configuration
Replace the contents of src/routes/+layout.svelte to set up the default host configuration:
<script lang="ts">  import { importRuntimeModule } from "@qlik/runtime-module-loader";  import type { HostConfig } from "@qlik/embed-runtime/auth";
  const hostConfig: HostConfig = {    host: "https://your-tenant.us.qlikcloud.com",    clientId: "<CLIENT_ID>",    redirectUri: "http://localhost:5173/oauth-callback",    autoRedirect: true,  };
  // Set the default host config for all embed components  importRuntimeModule("auth@v1", hostConfig).then((authModule) => {    authModule.setDefaultHostConfig(hostConfig);  });</script>
<slot />
Replace placeholders:
host: Your Qlik Cloud tenant URLclientId: Your OAuth client ID
Step 5: Create the OAuth callback route
SvelteKit uses file-based routing. Create the OAuth callback handler at src/routes/oauth-callback/+page.svelte:
<script lang="ts">  import { onMount } from "svelte";
  onMount(() => {    // The @qlik/embed-web-components package handles the OAuth callback    // This page is loaded as part of the redirect from Qlik Cloud    // The script tag below (in the HTML head) processes the callback  });</script>
<svelte:head>  <script    crossorigin="anonymous"    type="application/javascript"    data-host="https://your-tenant.us.qlikcloud.com"    src="https://cdn.jsdelivr.net/npm/@qlik/api@2/oauth-callback.iife.js"  ></script></svelte:head>
Replace https://your-tenant.us.qlikcloud.com with your Qlik Cloud tenant URL.
Step 6: Create the main page with embedded visualization
Replace the content of src/routes/+page.svelte:
<script lang="ts"> import QlikEmbed from "@qlik/embed-svelte";</script>
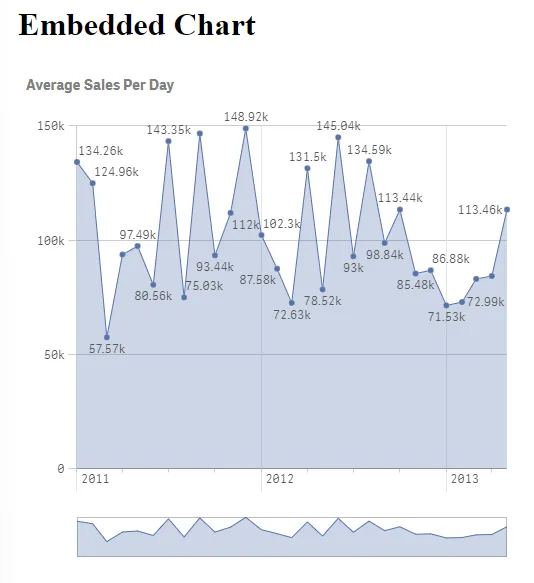
<main> <h1>Embedded Chart</h1> <div class="chart-container"> <QlikEmbed ui="analytics/chart" appId="<APP_ID>" objectId="<OBJECT_ID>" /> </div></main>
<style> main { padding: 2rem; }
.chart-container { width: 500px; height: 500px; }</style>Replace placeholders:
<APP_ID>: Your Analytics app ID<OBJECT_ID>: Your visualization ID
Step 7: Start the development server
- Run the following command:
npm run devIf Vite runs on a different port (check the terminal output), update your
OAuth client configuration and the redirectUri in your code to match.
For example, if the server runs on http://localhost:5174, update all
references accordingly.
-
Open your browser to
http://localhost:5173. -
The browser redirects you to the Qlik Cloud login page. Log in with your credentials.
After logging in, a chart loads displaying data from your app.
Troubleshooting
- OAuth errors: Verify
redirectUrimatches your OAuth client config - Chart not showing: Verify
appIdandobjectIdare correct and you have permissions in Qlik Cloud - Module errors: Run
npm install @qlik/embed-svelte
Next steps
Now that you have a working embed:
- Create additional routes for different visualizations (for example,
/sheetfor sheets) - Add navigation between different analytics pages
- Deploy to production (update OAuth configuration with your production domain)
For complete qlik-embed documentation, see qlik-embed.