Anonymous Access with qlik-embed
Introduction
In this tutorial, you will learn how to use the Anonymous Access capability in Qlik
Cloud with qlik-embed to display Qlik Cloud Analytics on a public website without
requiring users to authenticate to a Qlik Cloud tenant.
- Qlik Anonymous Access is available in the Sweden (
se) region. It is not available in other regions, or in Qlik Cloud Government. - Visualization extensions are not supported when accessed via an anonymous access link for an app, due to security and API restrictions for anonymous sessions.
Requirements
- A Qlik Cloud tenant in the Sweden (
se) region entitled with Anonymous Access. - The tenant administrator role assigned to your user.
- A valid Client ID from a configured anonymous embed OAuth2 client.
- The Qlik Cloud Analytics app you intend to share and embed.
- The object identifiers necessary to embed content from your Qlik Cloud Analytics app into your website.
Code samples are shown with qlik-embed-web-components. It is also
possible to use qlik-embed-react or qlik-embed-svelte to embed analytics
from a Qlik Cloud tenant enabled with the Anonymous Access capability.
This tutorial is presented in three sections:
- Prepare your tenant in the Administration activity center
- Share the Analytics app
- Embed the app into your website with
qlik-embed
1: Prepare your tenant in the Administration activity center
In addition to creating the Anonymous embed OAuth2 client, you need to perform the following tasks in the Administration activity center of your tenant:
- Grant a user permissions to create public links so that you can obtain an embed access code.
- Create a managed space to publish the analytics app you want to embed into your website.
Create a custom role
Create a custom role with the necessary permissions and assign it to the users or groups on the tenant who need to create public links.
- Access the administration activity center and select Users.
- Click the Permissions tab.

-
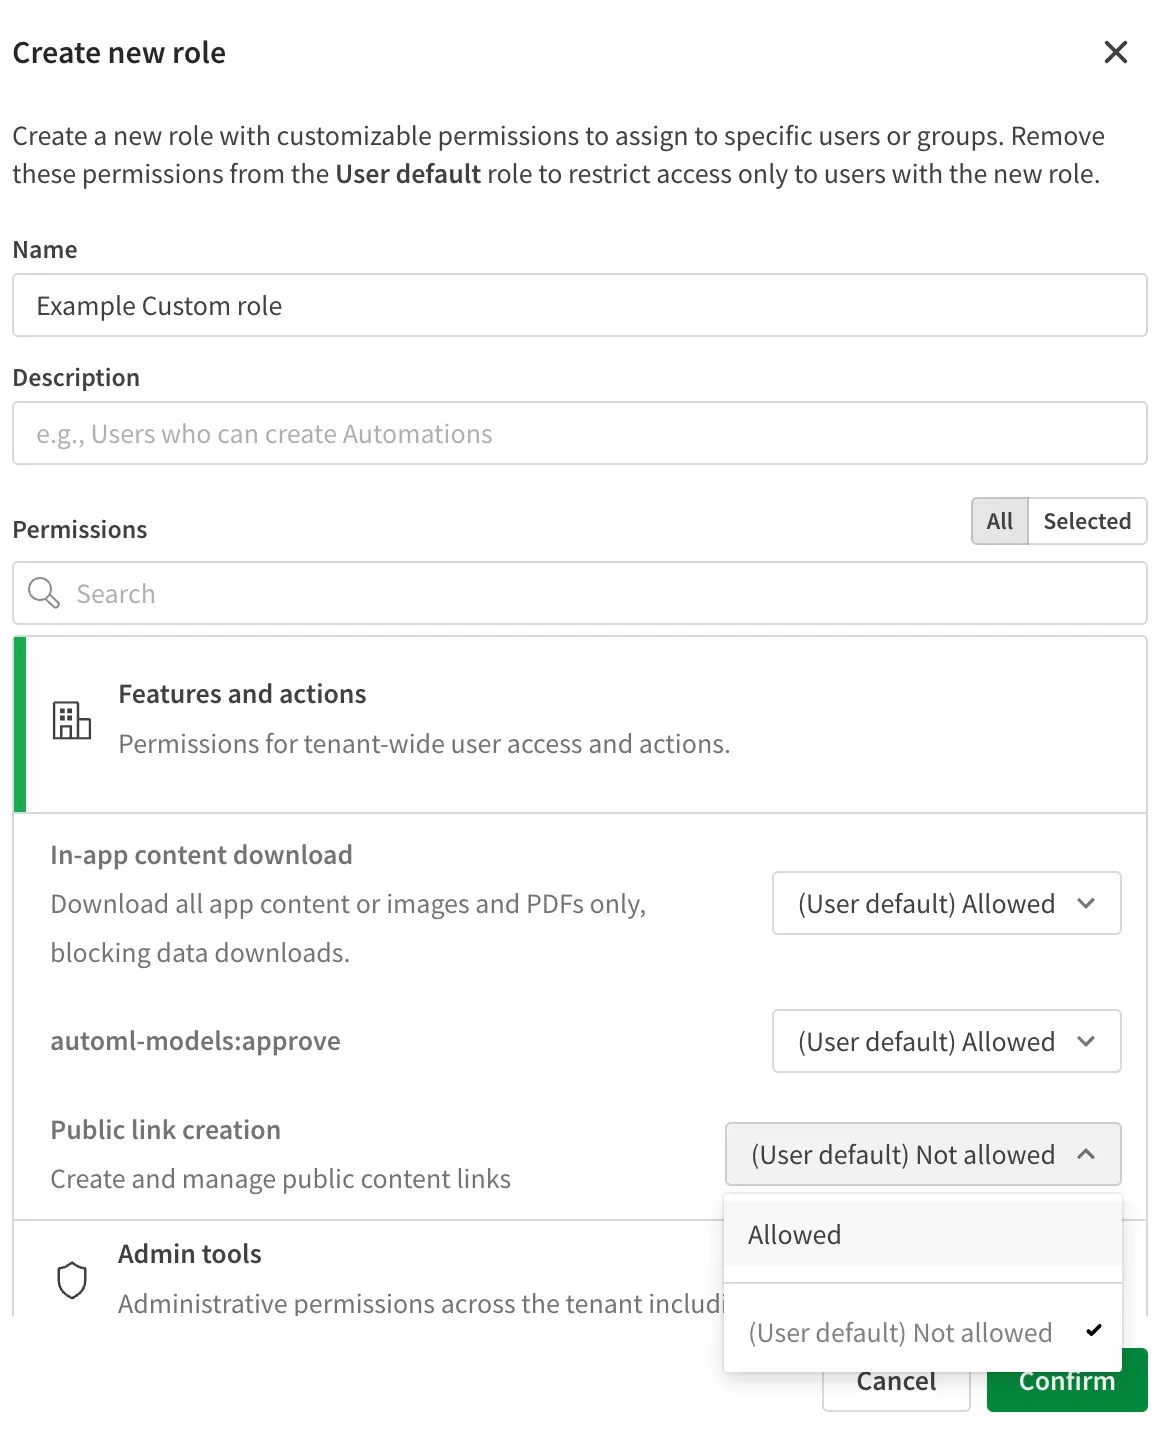
Click Create new to open the Create new role dialog.
-
Give the new role a name and optional description.
-
Select the All filter and expand Features and actions.
-
In the Public link creation list, select Allowed. This change will grant a user or group assigned to this role the ability to turn on Anonymous Access for a Qlik Cloud Analytics app.
-
Click Confirm to create this new custom role.
Assign a user to the custom role
- Click the arrow next to the new custom role.

-
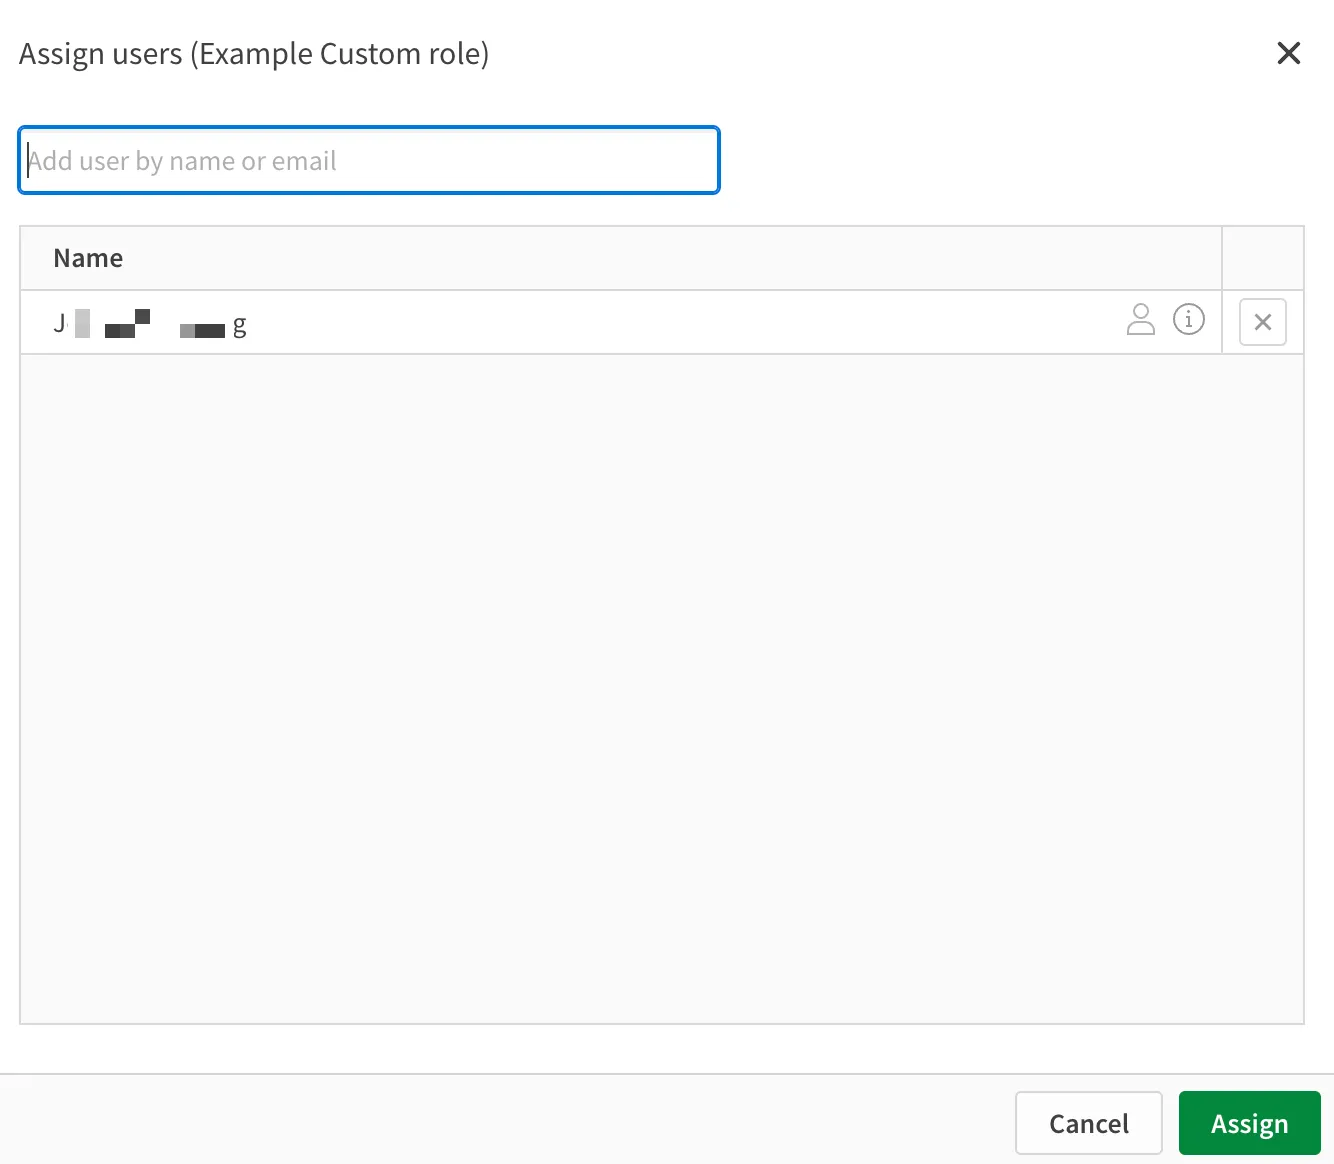
Click Assign and search for the user or group on the tenant you want to give permission to create public links by name or email and add them to the list.
-
Click Assign to add the role to the user or group.
Congratulations, at least one person on your tenant is able to create public links.
Now, create a managed space to hold the apps you will share and embed into your website.
If you have a managed space on your tenant that you plan to use for holding apps with Anonymous Access turned on, see Share the Analytics app.
Create a managed space
You can now create a managed space to hold the apps you will share and embed into your website.
- Access the administration activity center and select Spaces.
-
Click Create new. The Spaces dialog opens.
-
In the Type list, select Managed.
-
Enter a name and an optional description for the space.
-
Click Create to create the space.
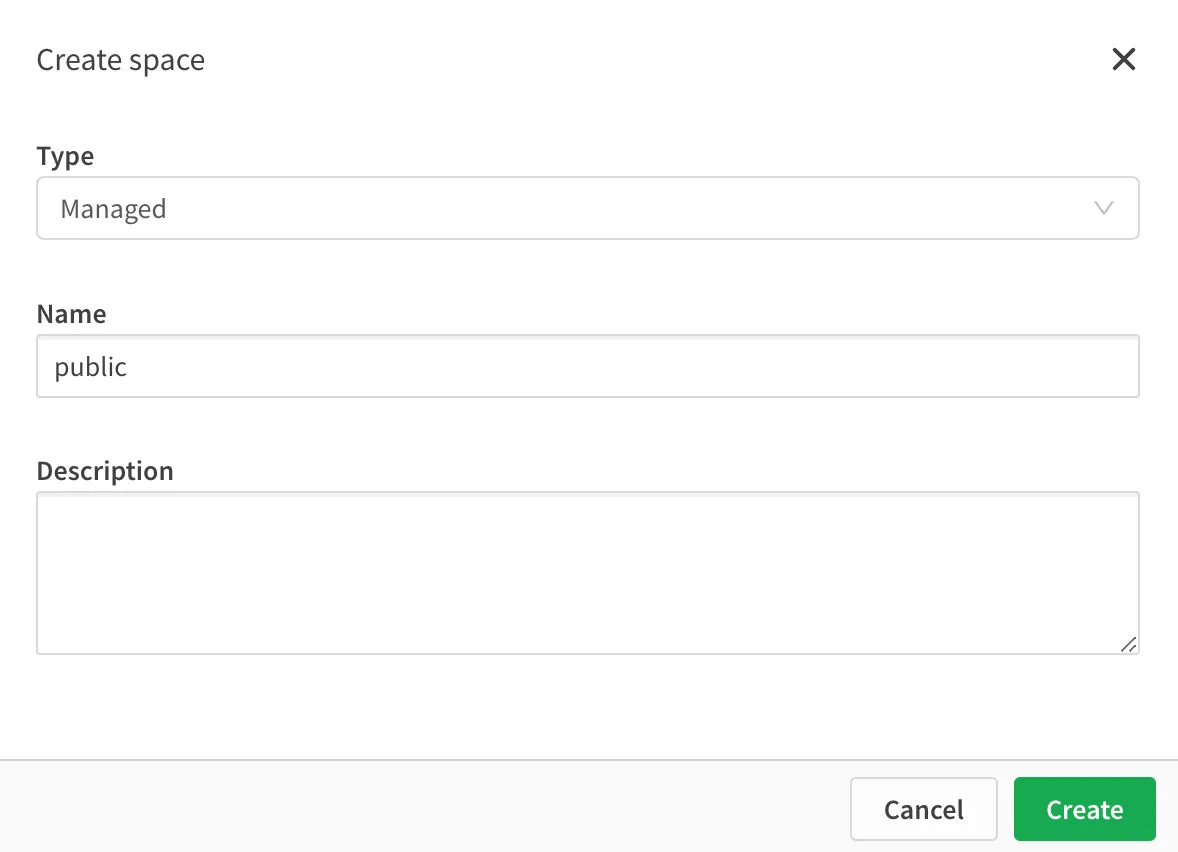
You have granted a user permission to create public links and you have created a managed space to hold your analytics app. Now, it’s time to share the app so you can embed it into your website.
2: Share the Analytics app
From the Analytics activity center, you will publish your app to the managed space you just created and create the sharing code needed to embed the app into your website.
If you have already published the app you intend to share to the managed space, see Share the app for Anonymous Access.
Publish the app to a managed space
- In the Analytics activity center, find the analytics app you want to share.
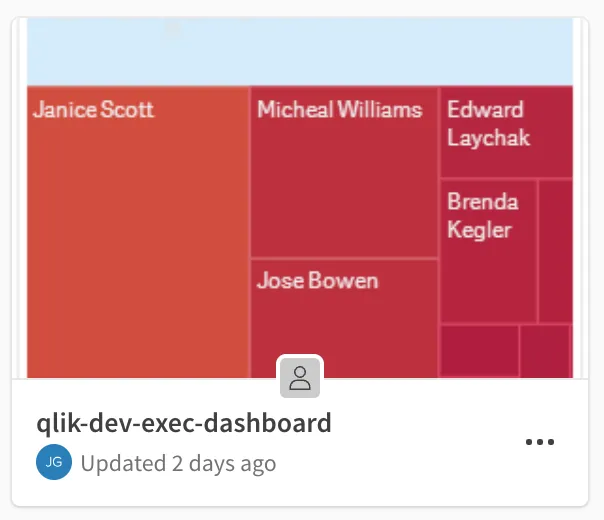
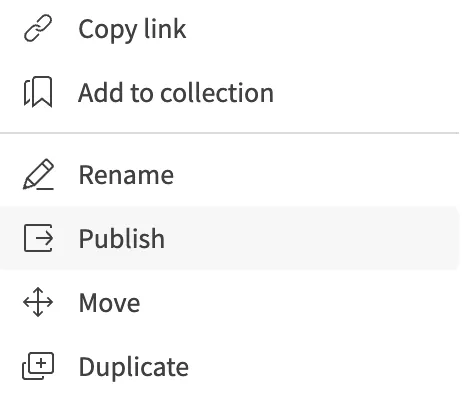
- Right-click the app and select Publish.
-
In the window that appears, select Publish new.
-
In the Spaces list, select the managed space you want to publish the app to. You can also update the name of the published version and the description of the app, or add tags.
-
Click Publish.
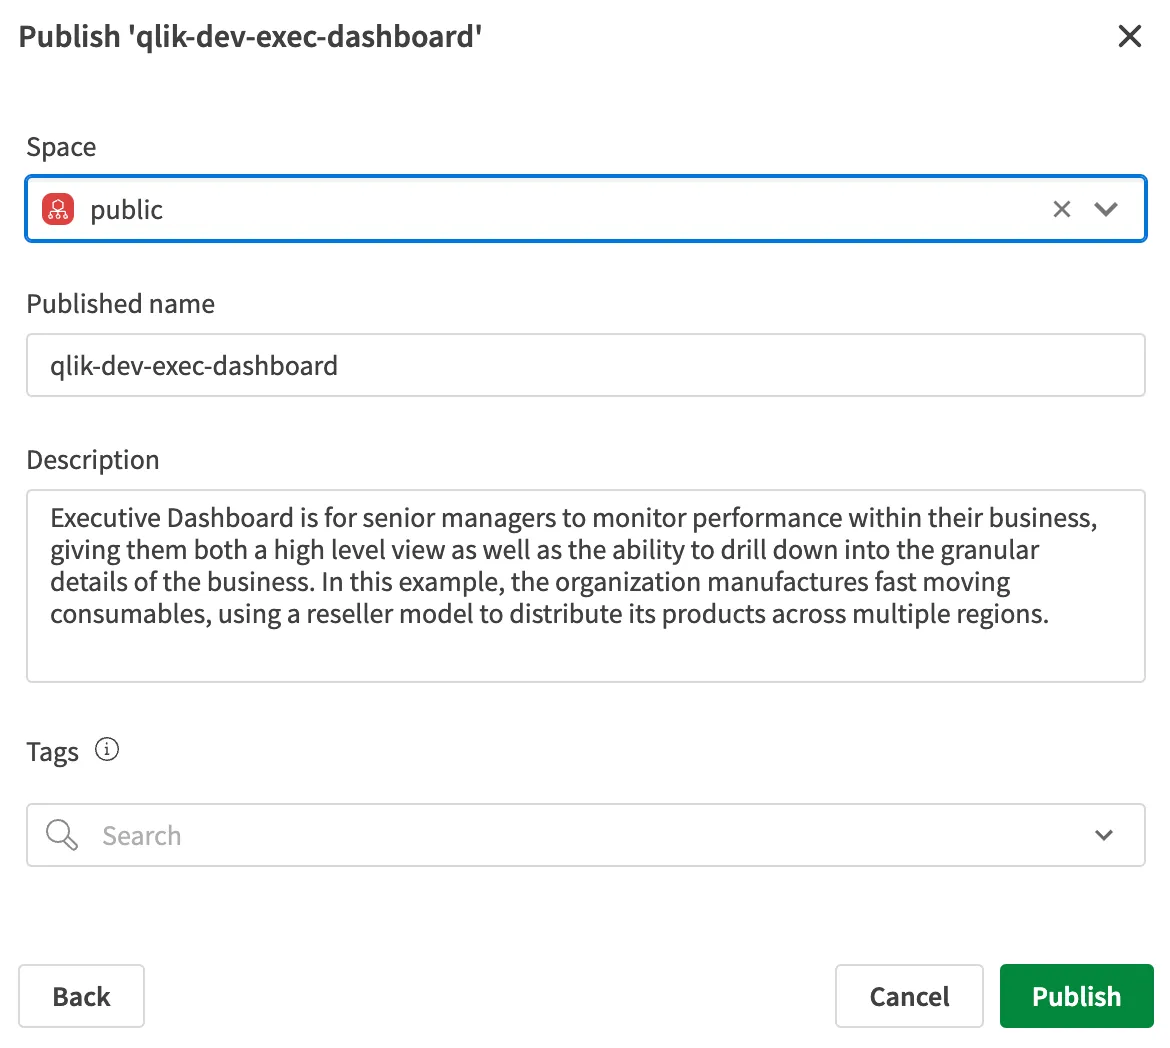
At this point you may wish to retrieve the ID of the app, and the ID of the visualization that you wish to embed.
Share the app for Anonymous Access
You now need to enable the app for Anonymous Access.
- In the catalog, right-click the published app, then select Share. If you’re still in the app details view, click the ellipses, then select Share.
- In the window that appears, toggle on Anyone with the link. When the toggle is on, a cog appears.

-
Click the cog to open the Anonymous link settings window.
-
Copy the embed code to your clipboard.

The embed code is bound to the hostname used to access the tenant at the time of generation (when sharing the app
with Anyone with the link is toggled on.)
Make sure to record the hostname in the address bar of your browser. You will need it to configure qlik-embed.
With the embed code in hand, it’s time to use qlik-embed to add the analytics
app to your website.
3: Embed the app into your website with qlik-embed
Now that you’ve configured the tenant, user, and app for Anonymous Access, you can update your web application to display the app.
Configure the qlik-embed script element
- Copy the example script element and paste it into the
<HEAD>section of the website you will embed your analytics.
<script crossorigin="anonymous" type="application/javascript" src="https://cdn.jsdelivr.net/npm/@qlik/embed-web-components@1/dist/index.min.js" data-host="https://<TENANT_NAME>.se.qlikcloud.com" data-client-id="<CLIENT_ID>" data-access-code="<EMBED_ACCESS_CODE>" data-auth-type="anonymous"></script>- Update the following properties in your
scriptelement:
data-host: Set the value to the URI of your tenant as it appeared when you shared the app.data-client-id: Set the value to the Anonymous embed OAuth2 Client ID.data-access-code: Set the value to the embed code generated when you shared the app for Anonymous Access.
Add a qlik-embed web component
-
In the
bodyof your website, add aqlik-embedweb component containing the properties for the UI type you wish to embed. In the following example, ananalytics/chartUI is configured. -
Replace
<APP_ID>with the app ID of your published app and<OBJECT_ID>with the ID of the visualization in the app that you want to display.
<qlik-embed id="visualization" ui="analytics/chart" app-id="<APP_ID>" object-id="<OBJECT_ID>"></qlik-embed>- Run your website and witness the magic of Anonymous Access on Qlik Cloud with
qlik-embed.
Next steps
You can discover more UIs and corresponding parameters on the UI and parameters page.