Configure the Platform Operations connector
Connector configuration
The Qlik Platform Operations connector needs to be configured before use. The connector contains blocks for calling various APIs, which will also need to be configured to suit the task you’re trying to achieve.
Requirements
- A Qlik Cloud tenant with access to Qlik Automate.
- A valid OAuth client with access to the tenant that you wish to run the automation against.
Variables you need to complete this tutorial
hostname: The hostname for your Qlik Cloud tenant (for example platformoperations.eu.qlikcloud.com).clientId: The client ID for the machine-to-machine OAuth client.clientSecret: The client secret for the machine-to-machine OAuth client.
Configuration
Most blocks in the Platform Operations connector require a minimum of two attributes:
- A connection - this defines the credentials that are used for the block.
- A tenant - this defines the tenant to which the block acts on.
This example will walk through creating a new connection, and configuring a block to verify that the connection is valid.
Create a new connection
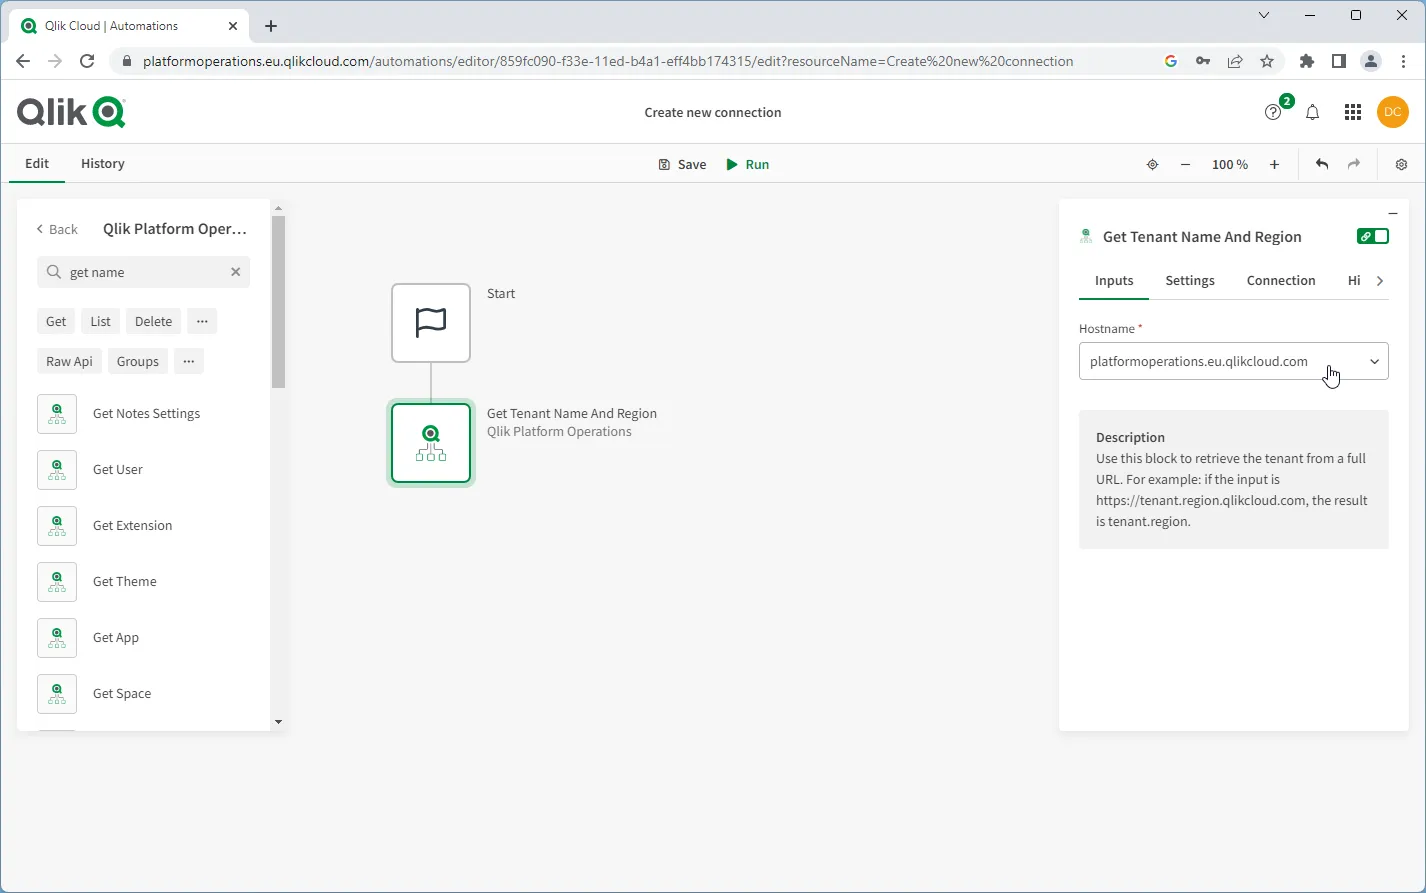
To create a new connection for a connector that you haven’t used before, create a new Automation, and drag a Get Tenant Name And Region block from the Platform operations connector onto the canvas, and attach it to the start block.
Once the block is in place, select it to access the Block configuration, and then access the Connection tab.
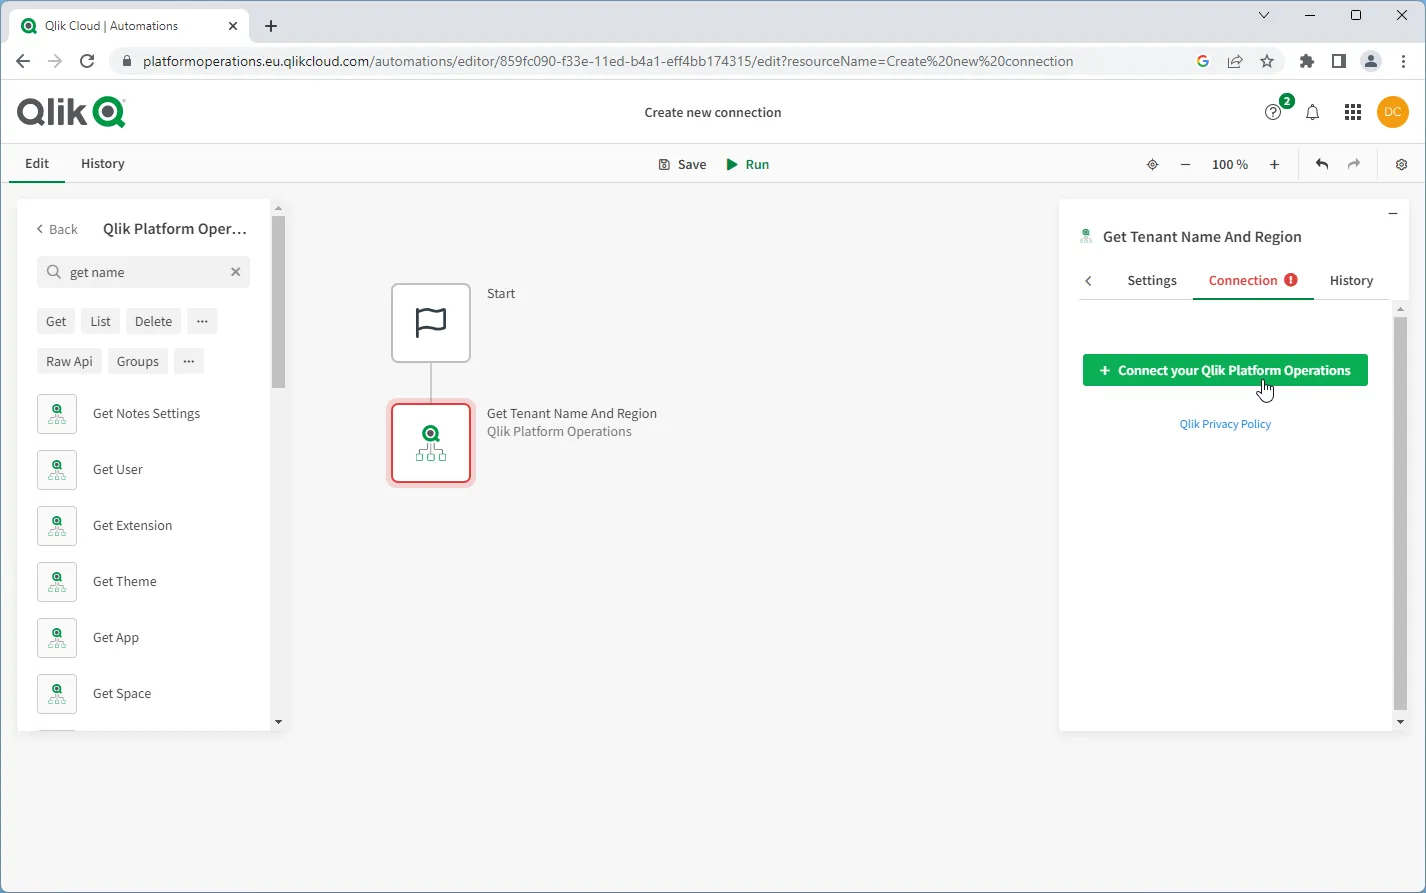
Clicking on Connect your Qlik Platform Operations button will open a dialog
box where you can enter your OAuth clientId and clientSecret. These will be saved for
future use to the tenant under your user account.
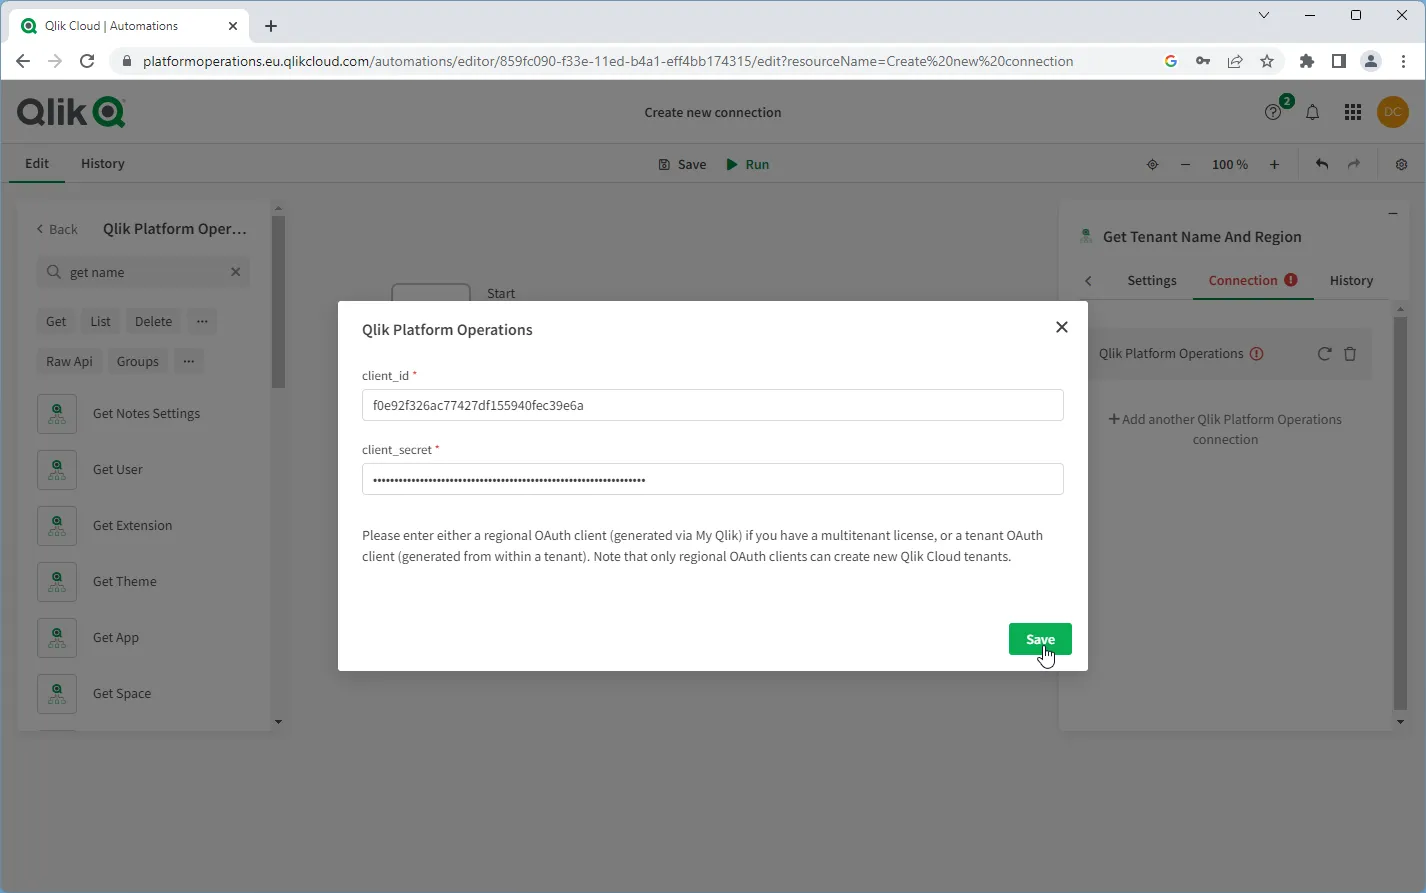
After clicking Save, click the pencil icon on the new connection.
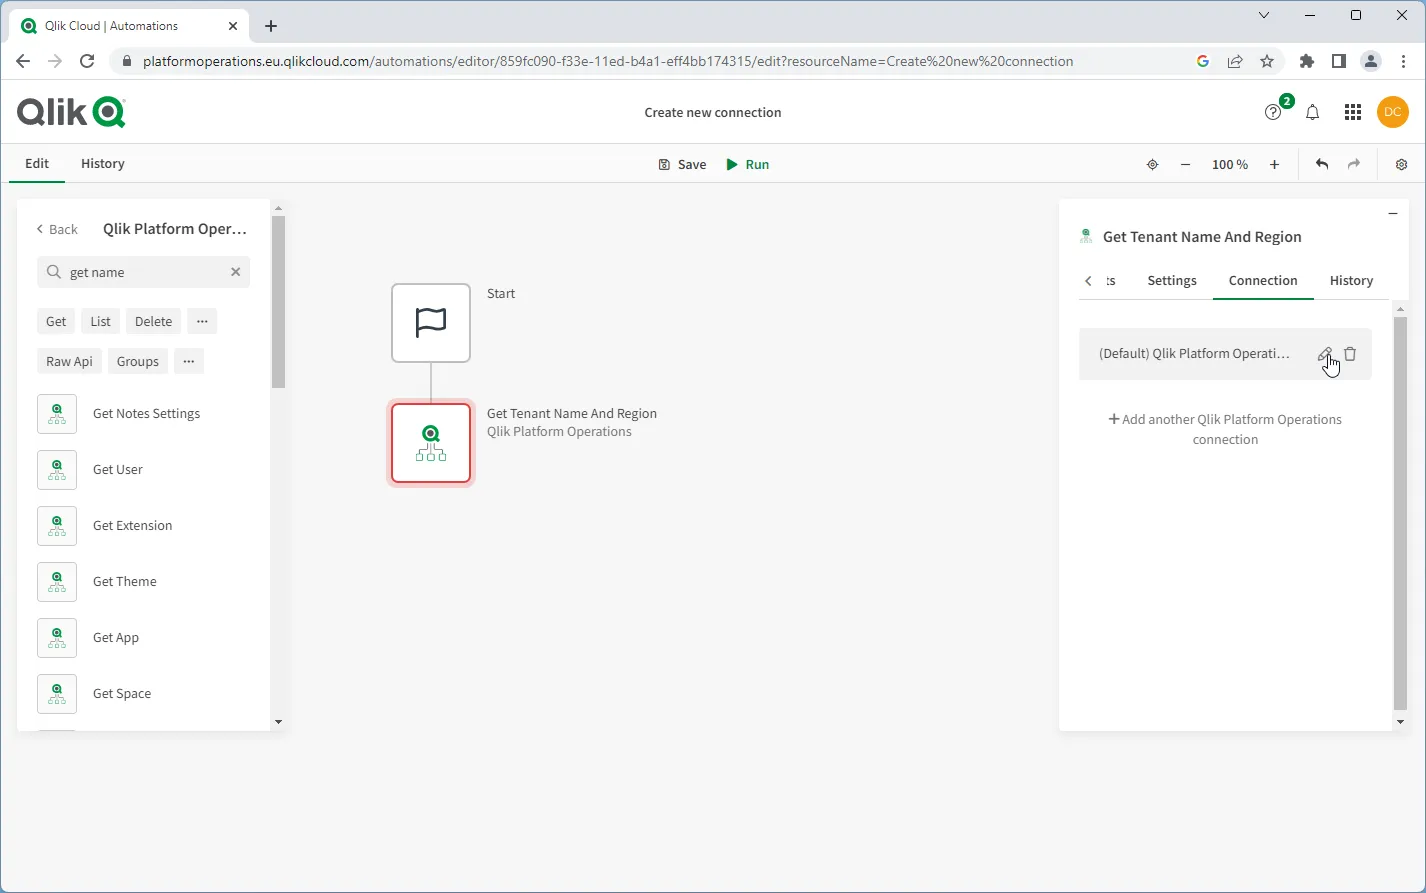
Change the name of the connection to reflect the license and region (or tenant) that the OAuth client has access to. This will help you correctly identify which connection to use in future.
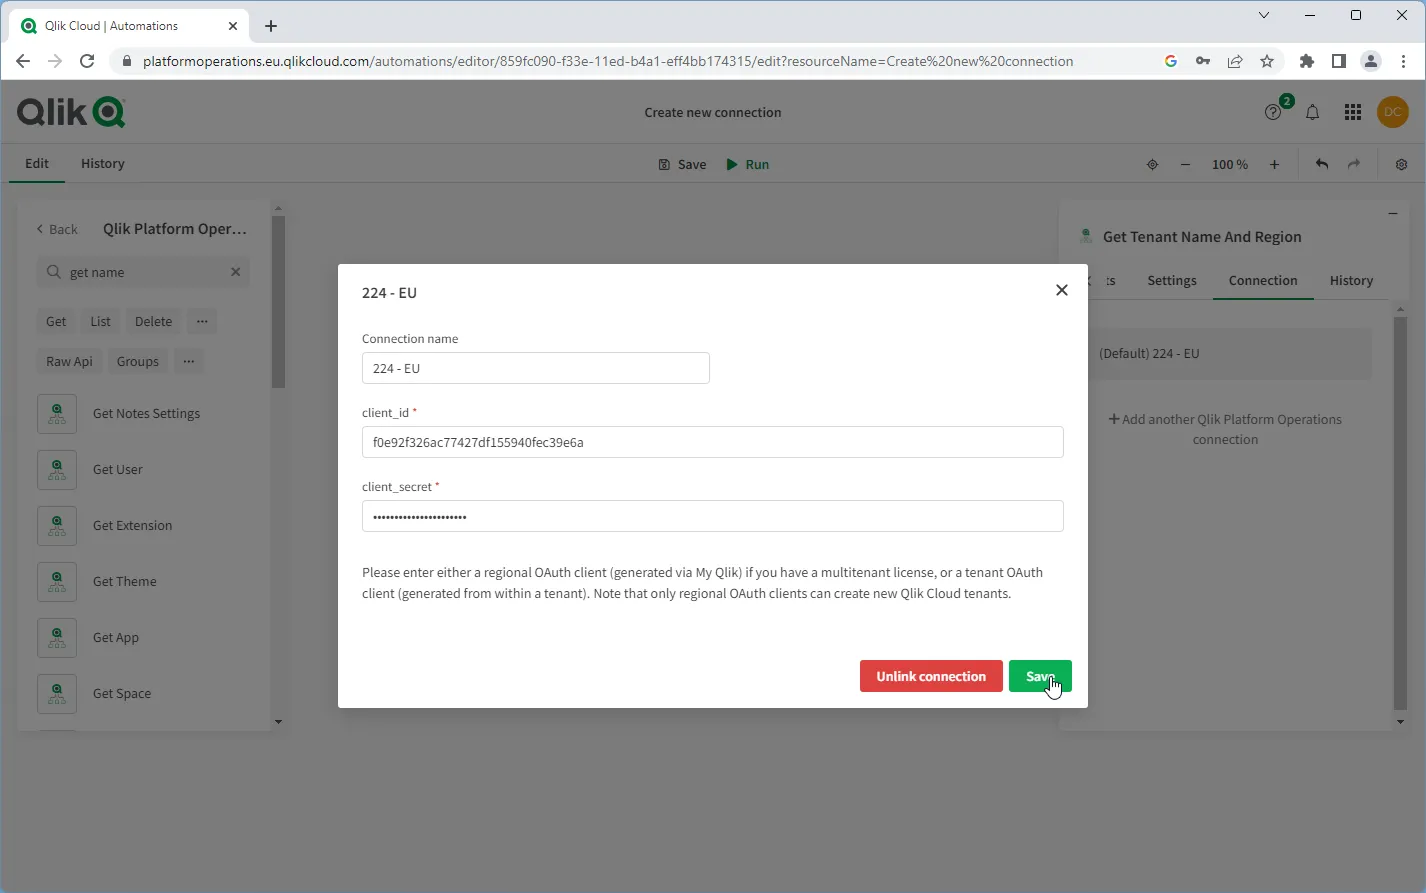
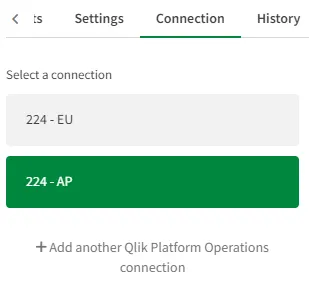
This example shows what it looks like when you have two connections deployed, in this case, for the EU and AP regions.
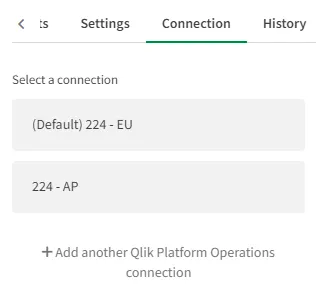
By default, the first connection is used for the block. If you want to use a different connection, then select it, and it will highlight in green.
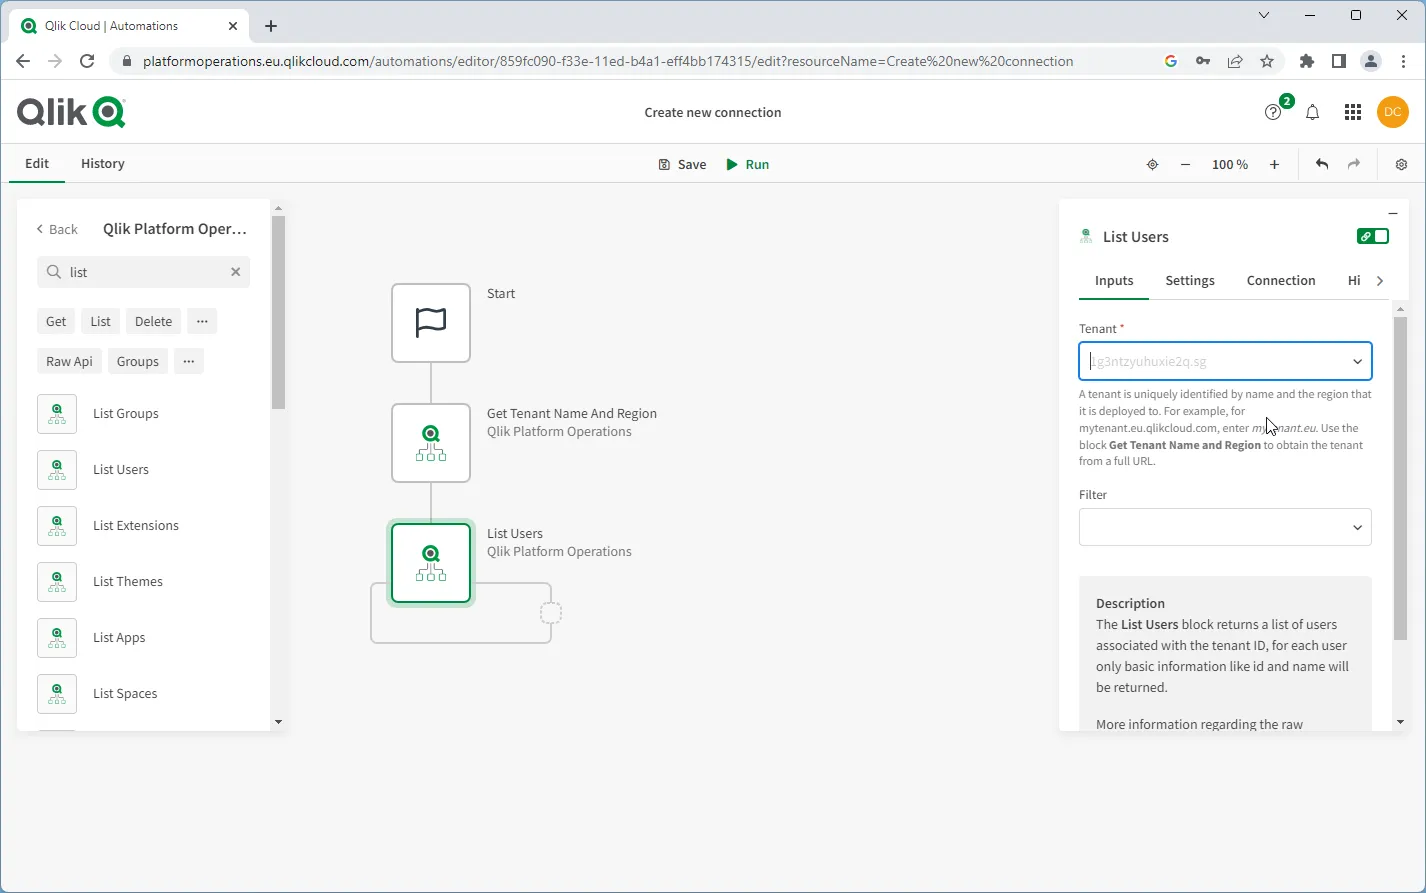
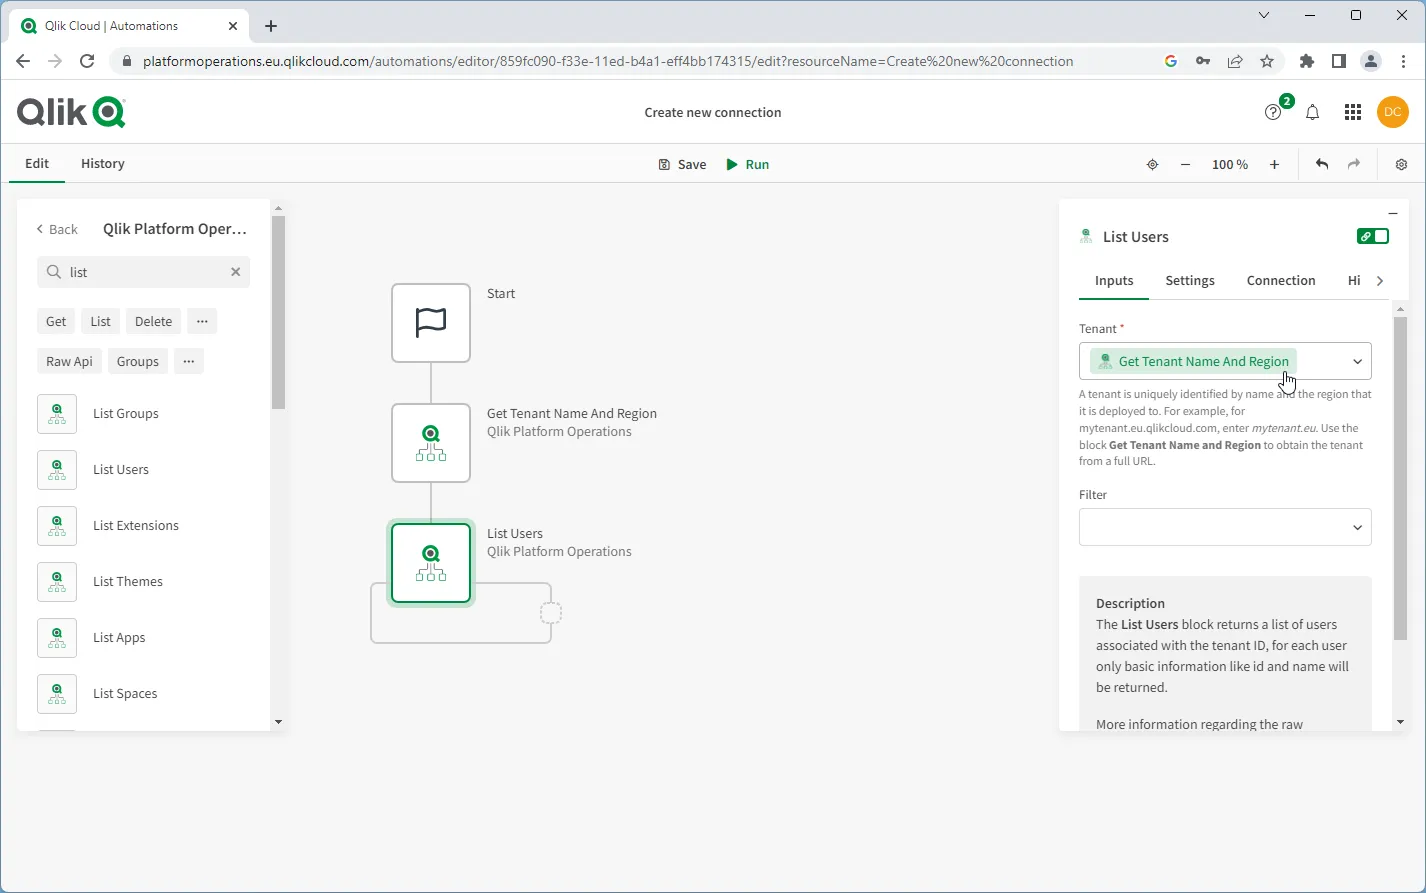
Now that you’ve created the connection, navigate back to the Inputs tab in the Block configuration pane.
The Tenant input on most blocks supports the passing of either the full
hostname: platformoperations.eu.qlikcloud.com, or the legacy tenant shorthand
version: platformoperations.eu. It is recommended to use the full hostname on blocks.
If you are deploying in Qlik Cloud Government, you should not use the Get Tenant Name And Region block.
You can either use a generic Variable block, or the Get Tenant Name And Region block to store and pass the hostname into following blocks. This is a good practice, as following blocks then refer to this single reference, rather than having the hostname manually set on each and every block.
Any following blocks can then use the Get Tenant Name And Region block as the input. This means when using a loop, the only block you need to update an input reference in is the Get Tenant Name And Region block.
Clicking Run will take you to the run screen, where you will be able to review all previous and current runs of that automation.
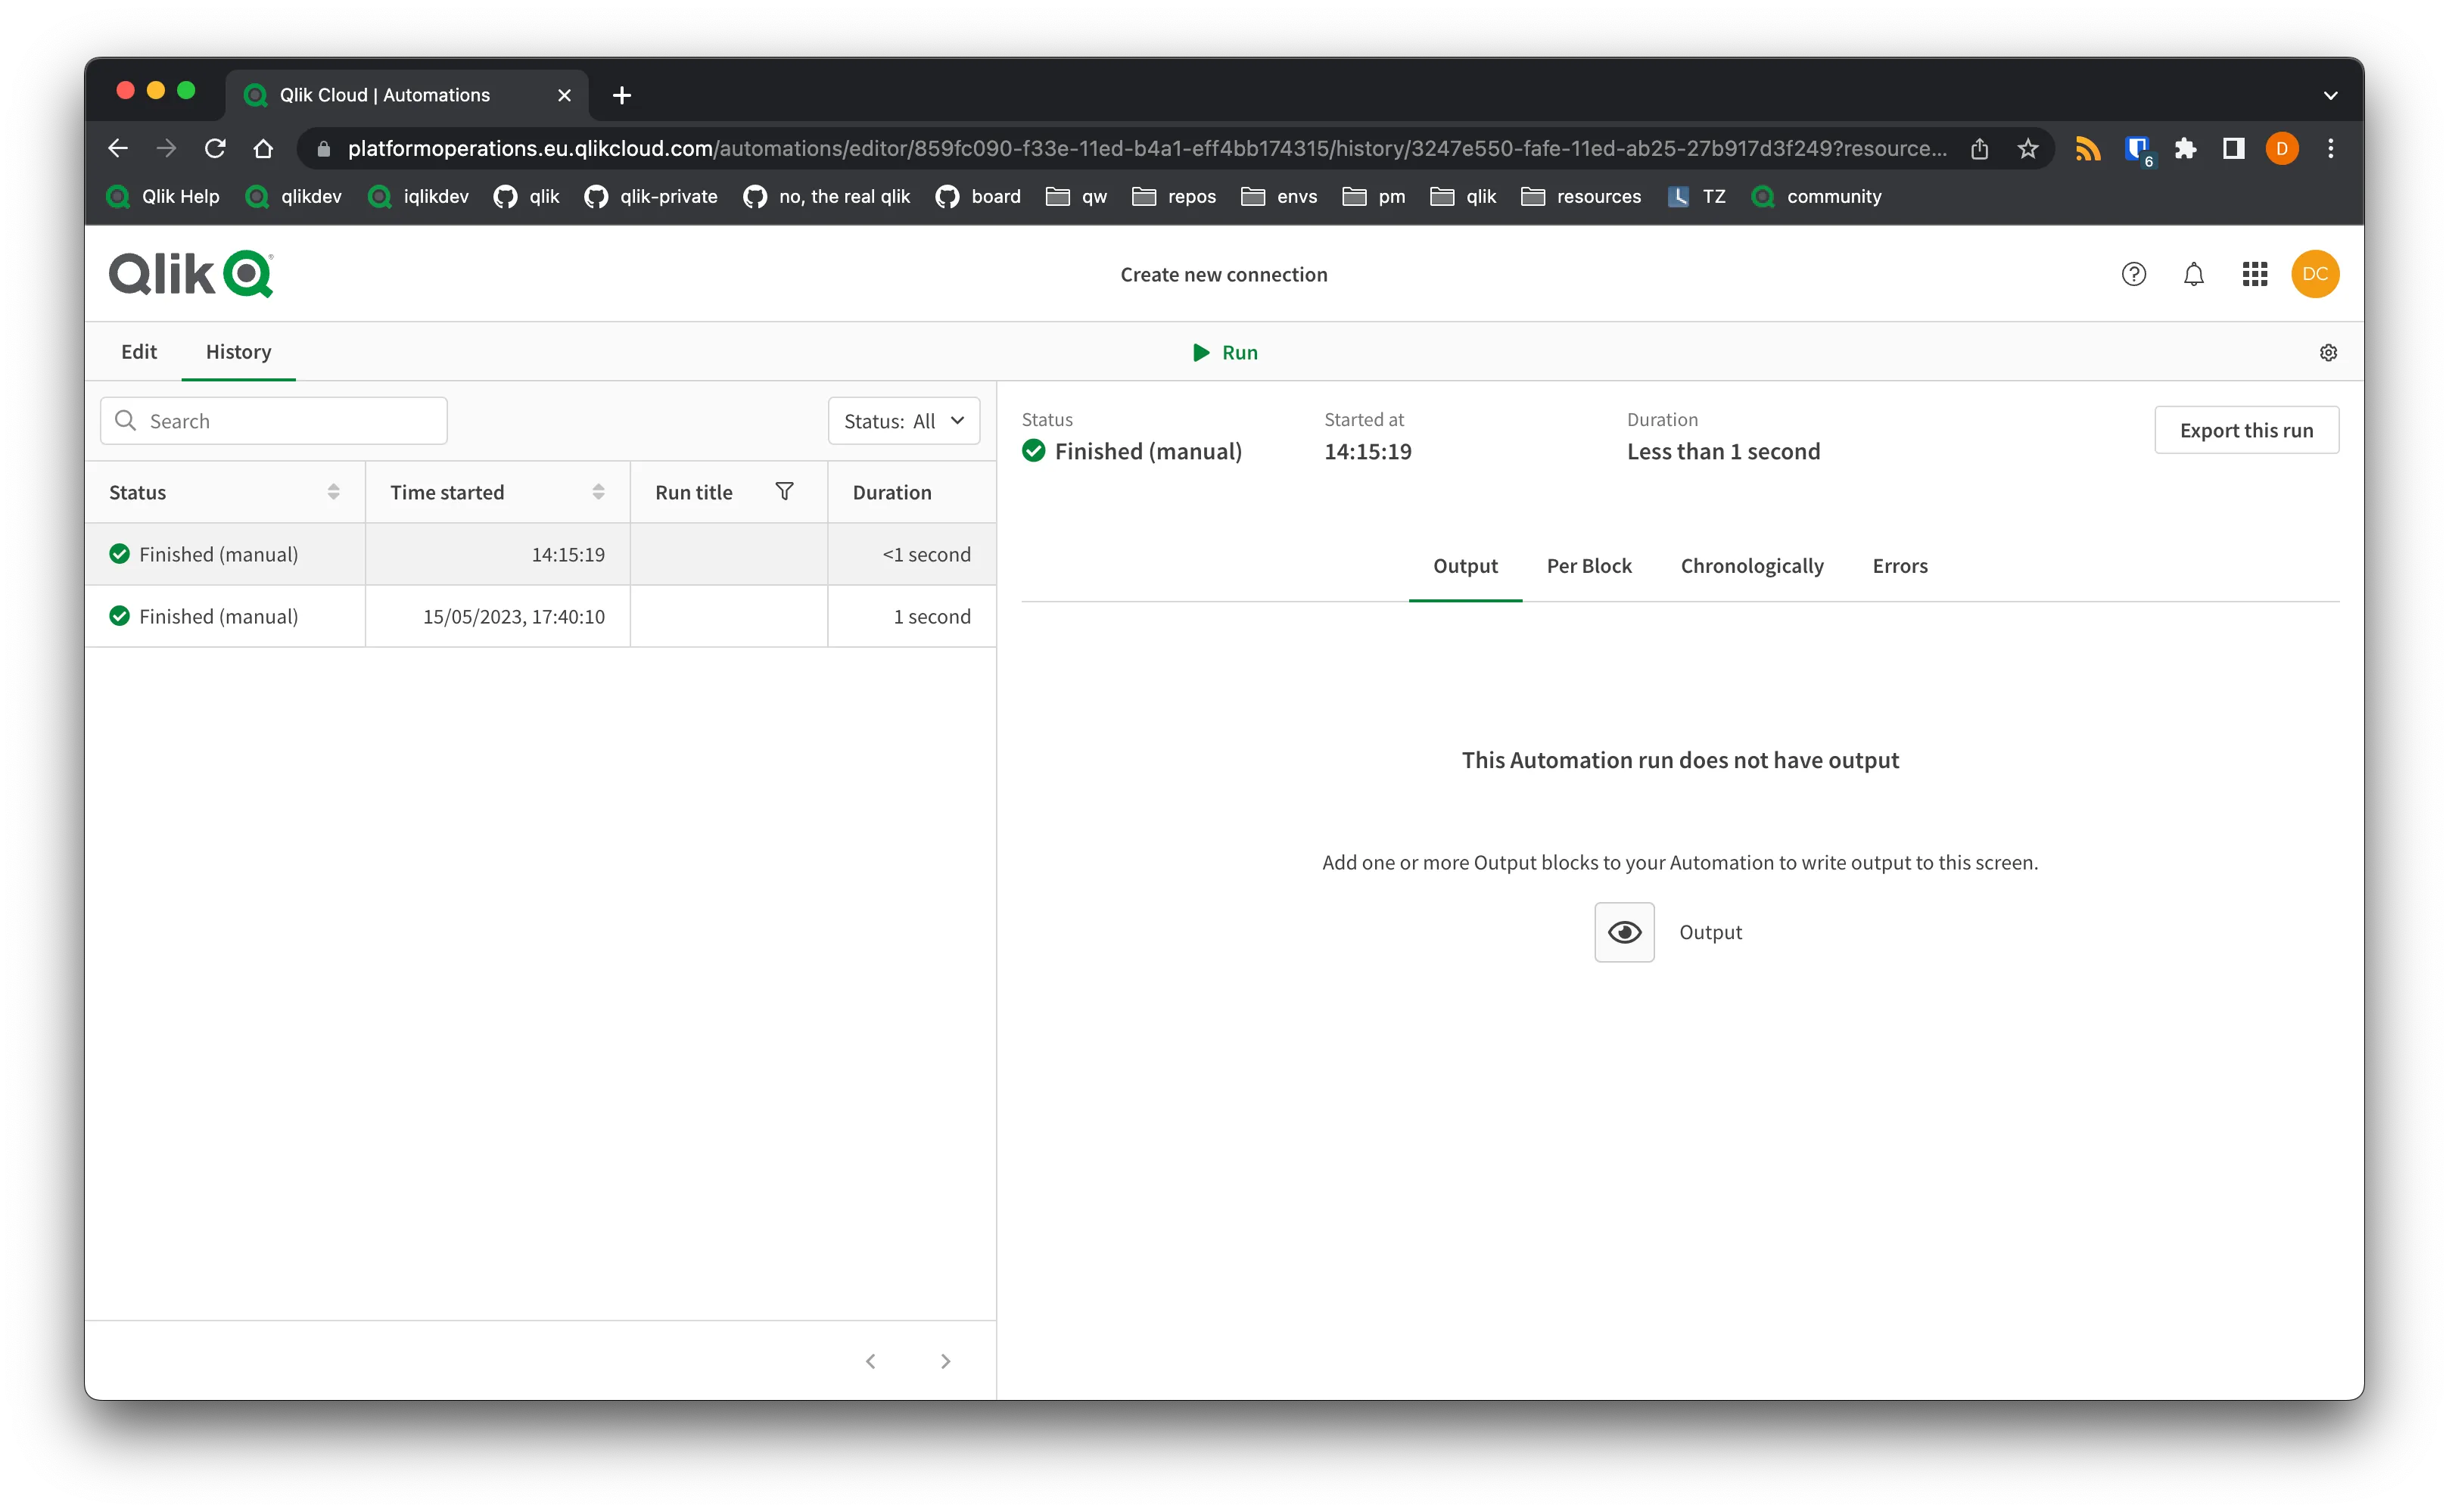
As there was no Output block on the canvas, the Output pane will have no output. Click on the Chronologically block to review preview outputs for each of the blocks.
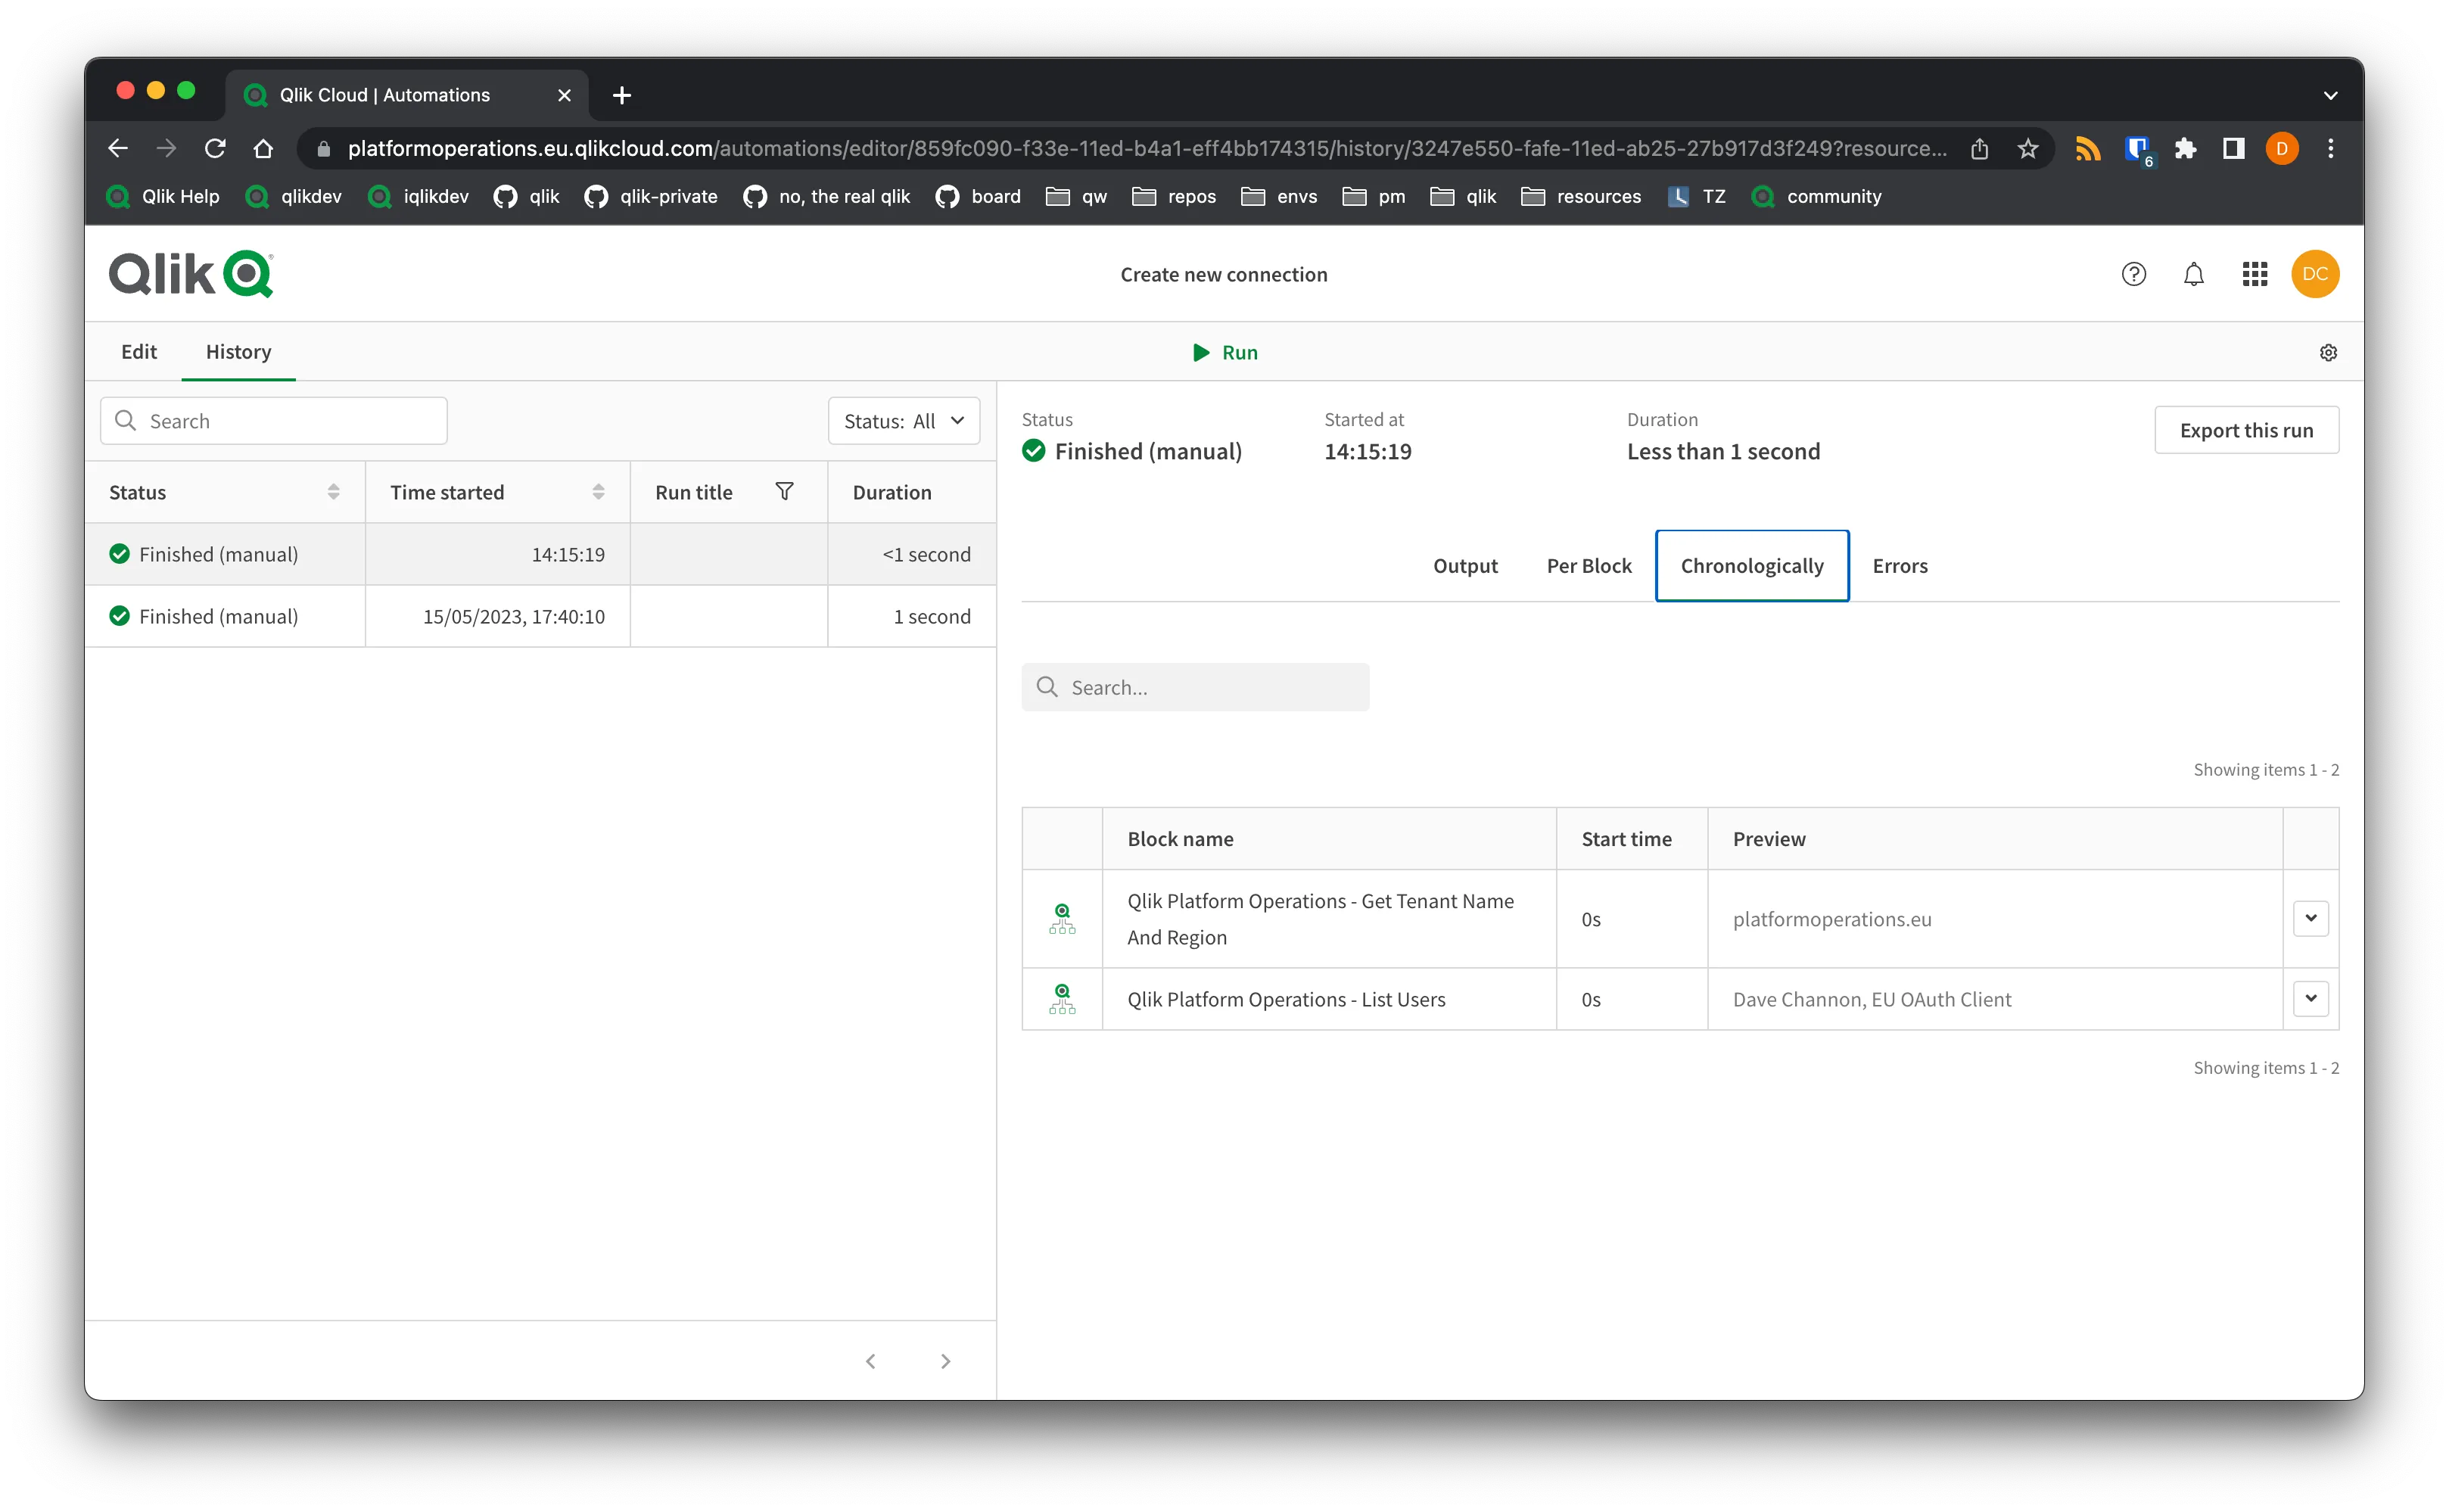
The output from the Qlik Platform Operations - List Users block verifies that the connection is valid.
Full automation snippet
Full automation snippet
To import this snippet to your own automation, either:
- Save the snippet as a JSON file, right click the canvas in an automation, and select Upload workspace.
- Copy the snippet to the clipboard, right click the canvas in an automation, and select Paste blocks.
{"blocks":[{"id":"12B2580A-70A9-4206-A7B5-BB023C2F9B04","type":"StartBlock","disabled":false,"name":"Start","displayName":"Start","comment":"","childId":"6863A3A1-CE3D-480F-9476-630E027F4A70","inputs":[{"id":"run_mode","value":"manual","type":"select","structure":{}}],"settings":[],"collapsed":[{"name":"loop","isCollapsed":false}],"x":0,"y":0},{"id":"6863A3A1-CE3D-480F-9476-630E027F4A70","type":"SnippetBlock","disabled":false,"name":"GetTenantNameAndRegion","displayName":"Qlik Platform Operations - Get Tenant Name And Region","comment":"","childId":"ABC79AFC-4040-4000-81BE-C53EE85DC5FF","inputs":[{"id":"575d1740-b1e2-11ed-958a-598edfec33b8","value":"platformoperations.eu.qlikcloud.com","type":"string","structure":[]}],"settings":[{"id":"datasource","value":"a1354060-f33e-11ed-acd8-87581a0b87e4","type":"select","structure":[]},{"id":"blendr_on_error","value":"stop","type":"select","structure":[]},{"id":"automations_censor_data","value":false,"type":"checkbox","structure":[]}],"collapsed":[{"name":"loop","isCollapsed":false}],"x":-293,"y":242,"datasourcetype_guid":"c7e48240-e0f2-11ec-ada1-d5ef75014b77","snippet_guid":"bd5c1ce0-ad14-11ed-83f6-1d42e53790dd"},{"id":"ABC79AFC-4040-4000-81BE-C53EE85DC5FF","type":"EndpointBlock","disabled":false,"name":"listUsers","displayName":"Qlik Platform Operations - List Users","comment":"","childId":null,"inputs":[{"id":"447b9eb0-7634-11ed-a9df-a788128e422e","value":"{$.GetTenantNameAndRegion}","type":"string","structure":[]},{"id":"eb56ff20-9ca8-11ed-82cb-752b6b37b1a7","value":null,"type":"string","structure":[]}],"settings":[{"id":"datasource","value":null,"type":"select","structure":[]},{"id":"maxitemcount","value":"","type":"string","structure":[]},{"id":"blendr_on_error","value":"stop","type":"select","structure":[]},{"id":"cache","value":"0","type":"select","structure":[]},{"id":"automations_censor_data","value":false,"type":"checkbox","structure":[]}],"collapsed":[{"name":"loop","isCollapsed":false}],"x":-269,"y":170,"datasourcetype_guid":"c7e48240-e0f2-11ec-ada1-d5ef75014b77","endpoint_guid":"445157c0-7634-11ed-9b40-9720b0f37135","endpoint_role":"list"}],"variables":[]}Next steps
Now that you are connected, move on to Create tenants.