Apply branding to a tenant
Brand your Qlik Cloud tenants
Qlik Cloud can be branded to improve alignment with your own portal, software, or brand, reducing friction for your end users as they swap between experiences.
The Brands API allows you to provide a custom logo and favicon to replace the standard assets in the top bar and browser bar, while also:
- Removing Qlik Cloud and Qlik Sense branding in the browser title bar
- Removing other highly visible Qlik logos and wording in the primary interfaces
Not all Qlik logos will be removed, for example, emails will still show a Qlik logo.
As brands are set at a tenant level, you have the option to deploy either a single brand across all tenants, or a different custom brand on each and every tenant in your estate.
Branding examples
The custom logo and favicon are applied across the top bar and browser tab in all hub and Qlik Sense locations.
Page titles are also amended to remove Qlik brand terms.
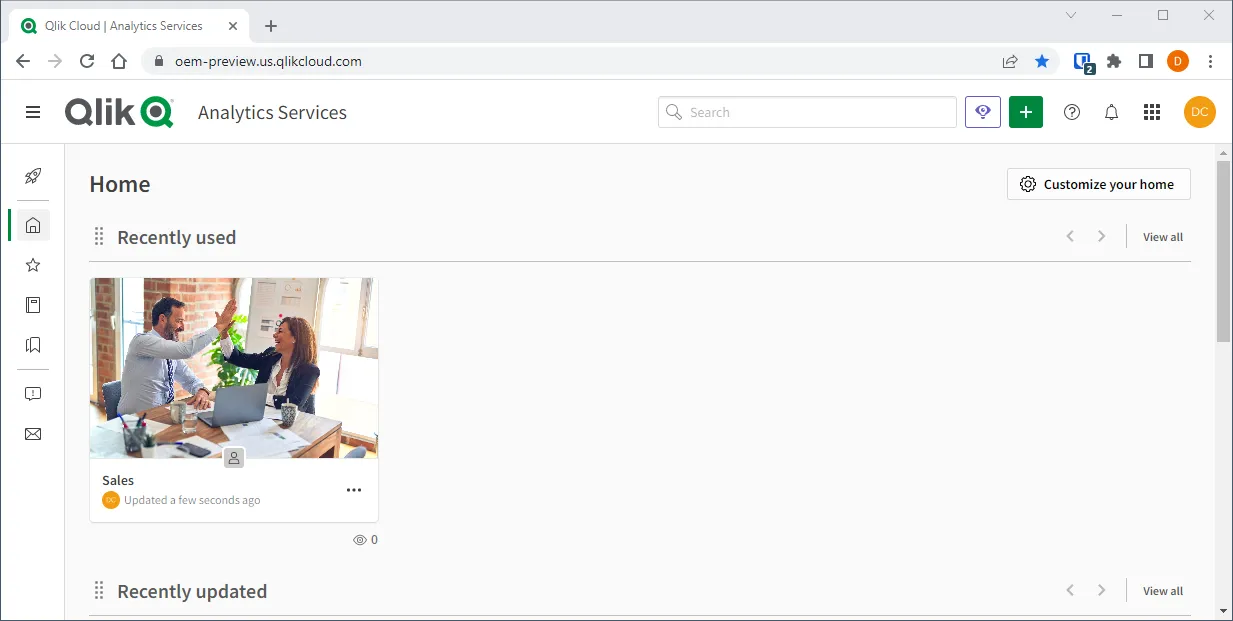
Cloud hub - default
The page titles across the hub are updated to remove “Qlik Cloud |” from the start of the page title.
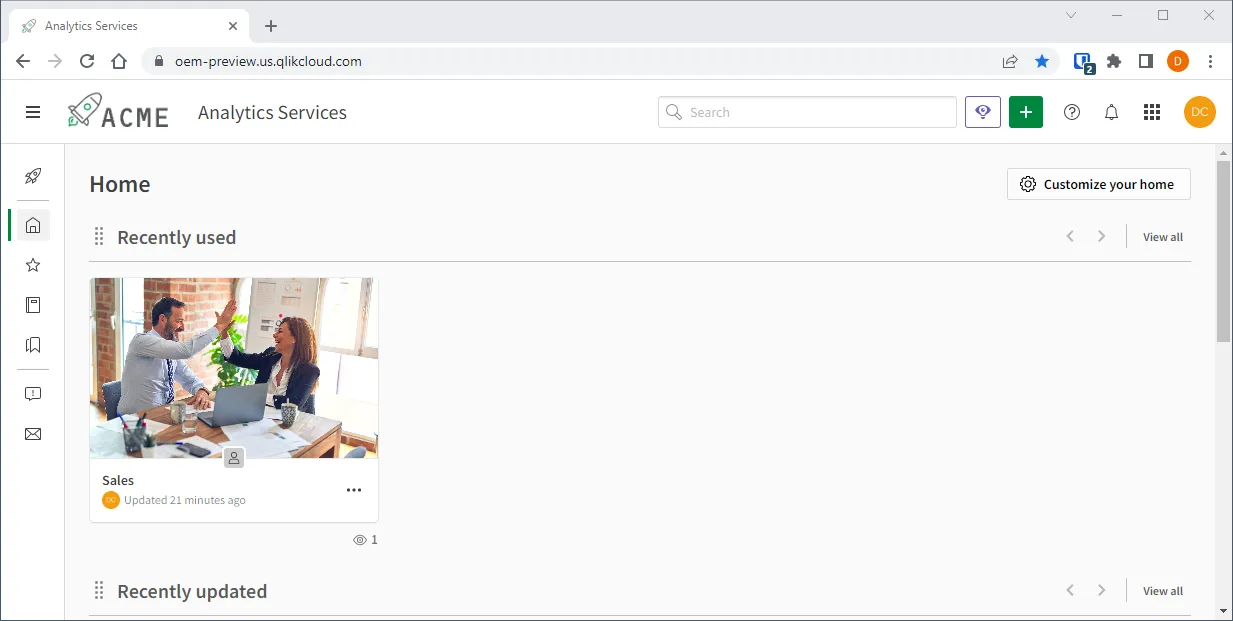
Cloud hub - branded
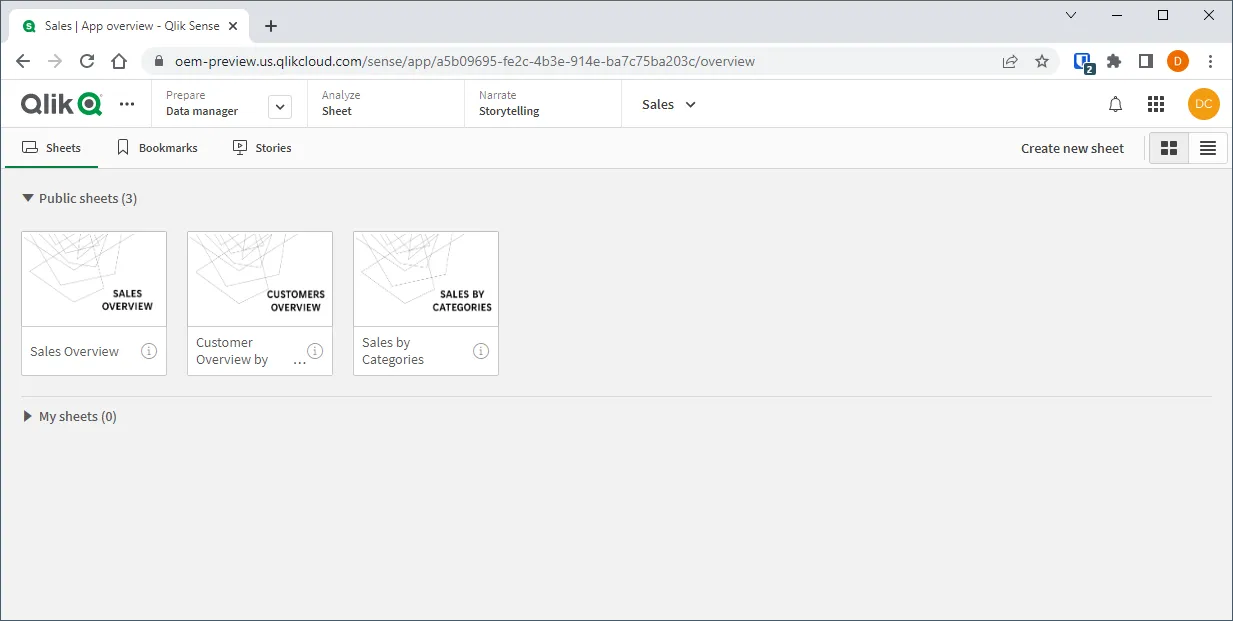
Qlik Sense - default
The page titles in Qlik Sense are updated to remove ”- Qlik Sense” from the end of the page title.
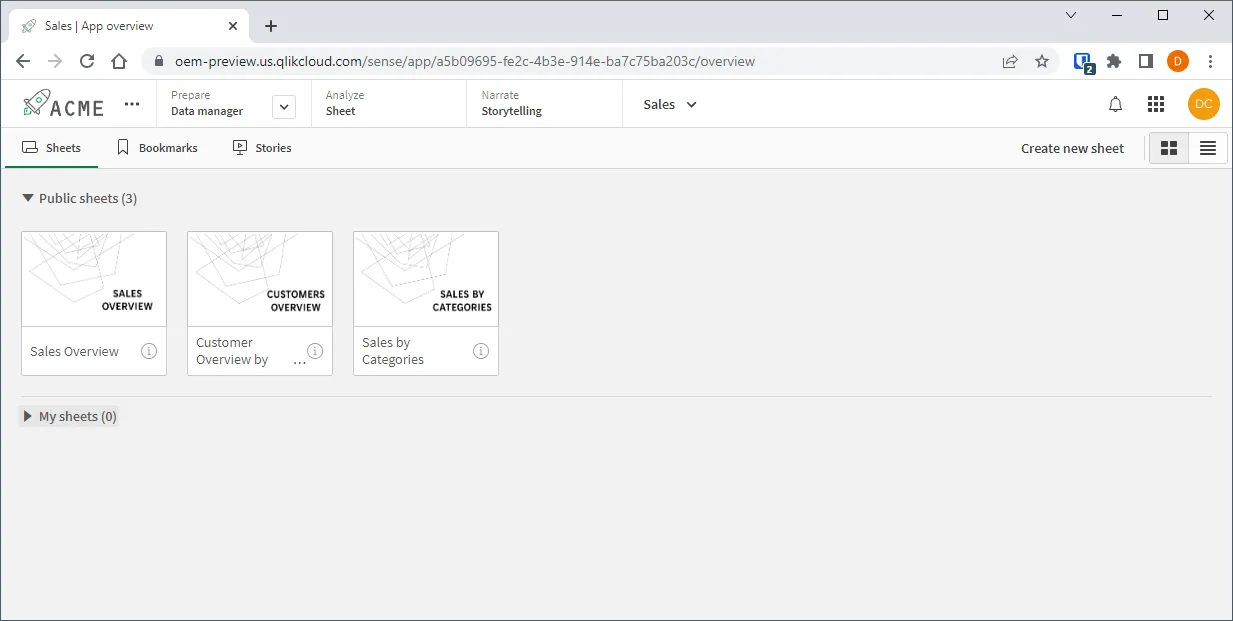
Qlik Sense - branded
Prerequisites
- You have reviewed previous tutorials in the Platform Operations series, as this tutorial assumes your knowledge of concepts and steps covered earlier.
- cURL for running the inline examples.
- A PNG logo and favicon that meet the requirements from the Brands API.
The cURL examples in this tutorial show the command syntax for Windows Command Prompt. If you are using another command line interface, different syntax may be required for line continuation. You may also need to adjust the number and type of quotes surrounding the parameters and their values.
Variable substitution
Throughout this tutorial, variables will be used to communicate value placement.
The variable substitution format is <VARIABLE_NAME>. Here is a list of
commonly referred to variables.
| Variable | Description |
|---|---|
<TARGET_TENANT> | The URL for the tenant that you are configuring a brand on. Equivalent to tenant.region.qlikcloud.com. |
<TARGET_ACCESS_TOKEN> | A bearer token for authorizing https requests to the <TARGET_TENANT>. See the Create tenant tutorial for guidance on how to generate this token. |
<BRAND_ID> | The ID of the brand on the <TARGET_TENANT>. |
<BRAND_NAME> | A friendly name for the brand that you’re creating, such as My company brand. |
<BRAND_DESCRIPTION> | A description for the brand that you’re creating, such as My company primary brand and favicon. |
<BRAND_LOGO> | The path on disk to a PNG or JPG file containing your primary logo, such as /path/to/logo.png. |
<BRAND_FAVICON> | The path on disk to an ICO file containing your primary favicon, such as /path/to/favicon.ico. |
1 Create a new brand
To create a new brand, send a POST request to
Brands API with the logo image, favicon,
a name for the brand, and a description for the brand.
The cURL examples in this tutorial are shown with backslash characters for line continuation. Depending on your environment, you may need to adjust the line continuation character. Escape characters may also be necessary for quotes surrounding parameter names and their values.
curl -L "https://<TARGET_TENANT>/api/v1/brands" ^-H "Content-Type: multipart/form-data" ^-H "Accept: application/json" ^-H "Authorization: Bearer <TARGET_ACCESS_TOKEN>" ^-F "name=<BRAND_NAME>" ^-F "description=<BRAND_DESCRIPTION>" ^-F "logo=@\"<BRAND_LOGO>\"" ^-F "favIcon=@\"<BRAND_FAVICON>\""This will create a new brand and return information on the brand, including the
new <BRAND_ID>.
{ "id": "<BRAND_ID>", "active": false, "name": "<BRAND_NAME>", "description": "<BRAND_DESCRIPTION>", "createdBy": "6446677f059105b839b25586", "updatedBy": "6446677f059105b839b25586", "createdAt": "2023-04-24T11:30:15.000Z", "updatedAt": "2023-04-24T11:30:22.675Z", "files": [ { "id": "logo", "path": "/api/v1/brands/<BRAND_ID>/files/logo", "contentType": "image/png", "eTag": "\"b7eeac231f12abb58388913d4dffd981\"" }, { "id": "favIcon", "path": "/api/v1/brands/<BRAND_ID>/files/favIcon", "contentType": "image/vnd.microsoft.icon", "eTag": "\"2a805b6a0d5397ee780ac72af961ad97\"" } ]}Take note of the <BRAND_ID>, as you’ll need this to activate the brand.
2 Activate the brand
Using the <BRAND_ID>, call the activate endpoint to set this brand as the
active brand.
curl -L -X POST "https://<TARGET_TENANT>/api/v1/brands/<BRAND_ID>/actions/activate" ^-H "Content-Type: application/json" ^-H "Accept: application/json" ^-H "Authorization: Bearer <TARGET_ACCESS_TOKEN>"The response confirms that the brand has been activated as the value of active
has changed to true.
{ "id": "<BRAND_ID>", "active": true, "name": "<BRAND_NAME>", "description": "<BRAND_DESCRIPTION>", ...}3 Return to the default Qlik brand
Only a single brand can be active at one time, therefore disabling the currently active custom brand will result in returning to the default Qlik branding.
To turn off the currently active brand, first retrieve the <BRAND_ID>.
curl -L "https://<TARGET_TENANT>/api/v1/brands/active" ^-H "Accept: application/json" ^-H "Authorization: Bearer <TARGET_ACCESS_TOKEN>"If a custom brand is active, this will return a 302 response and redirect you
to the currently active theme, with the
message Redirecting to /api/v1/brands/<BRAND_ID>.
{ "id": "<BRAND_ID>", "active": true, "name": "<BRAND_NAME>", "description": "<BRAND_DESCRIPTION>", ...}Retrieve the <BRAND_ID> from the response, then call the deactivate endpoint.
curl -L -X POST "https://<TARGET_TENANT>/api/v1/brands/<BRAND_ID>/actions/deactivate" ^-H "Content-Type: application/json" ^-H "Accept: application/json" ^-H "Authorization: Bearer <TARGET_ACCESS_TOKEN>"The response will show that the brand is no longer active, with the active
attribute returning to false.
{ "id": "<BRAND_ID>", "active": false, "name": "<BRAND_NAME>", "description": "<BRAND_DESCRIPTION>", ...}Calling the active brand endpoint will confirm there is no active brand.
curl -L "https://<TARGET_TENANT>/api/v1/brands/active" ^-H "Accept: application/json" ^-H "Authorization: Bearer <TARGET_ACCESS_TOKEN>"The response when the default Qlik brand is in place is a 200 status
with message OK.
Next steps
Now that you have branded your tenant, you can deploy an automation.