Create Signed Tokens for JWT Authorization
JWT solutions leverage cookies for auth, which are blocked by some browser vendors. If you can’t use OAuth2 impersonation in your solution, you may need to use a JWT proxy.
Overview
In this tutorial, you are going to learn how to configure Qlik Cloud to use JSON web tokens (JWT) for authorizing users in your tenant.
Before you begin
- Only a user with the
Tenant Adminrole may access the management console settings and add roles to users. If you aren’t theTenant Adminof your Qlik Sense SaaS tenant, contact yourTenant Adminand direct them to this tutorial.
Create a public / private key pair for signing JWTs
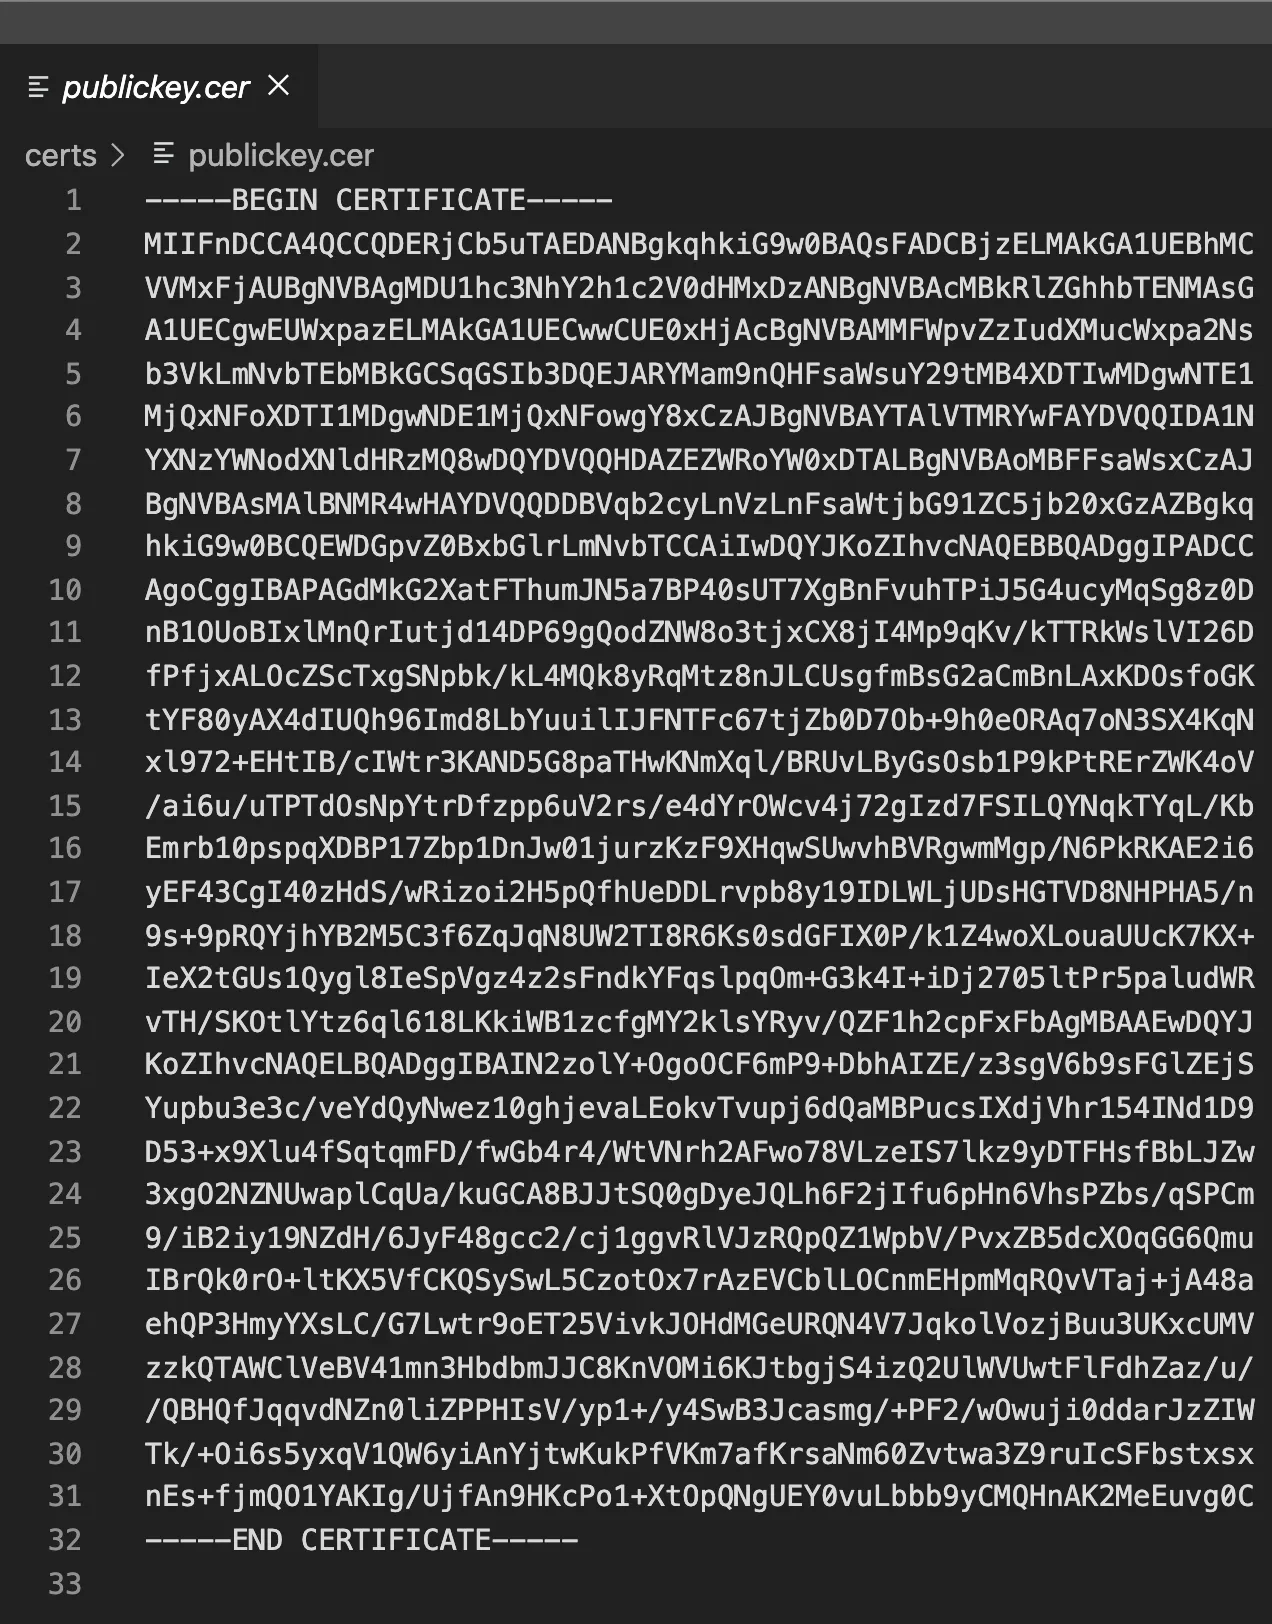
Open a terminal window and use OpenSSL to generate public and private key. Store the private key someplace safe and don’t share it. The public key is used in the configuration section.
openssl genrsa -out privatekey.pem 4096openssl req -new -x509 -key privatekey.pem -out publickey.cer -days 1825If you are using Windows, you need to download and install OpenSSL. You can obtain a copy of OpenSSL from the Win32/Win64 OpenSSL Installation Project page.
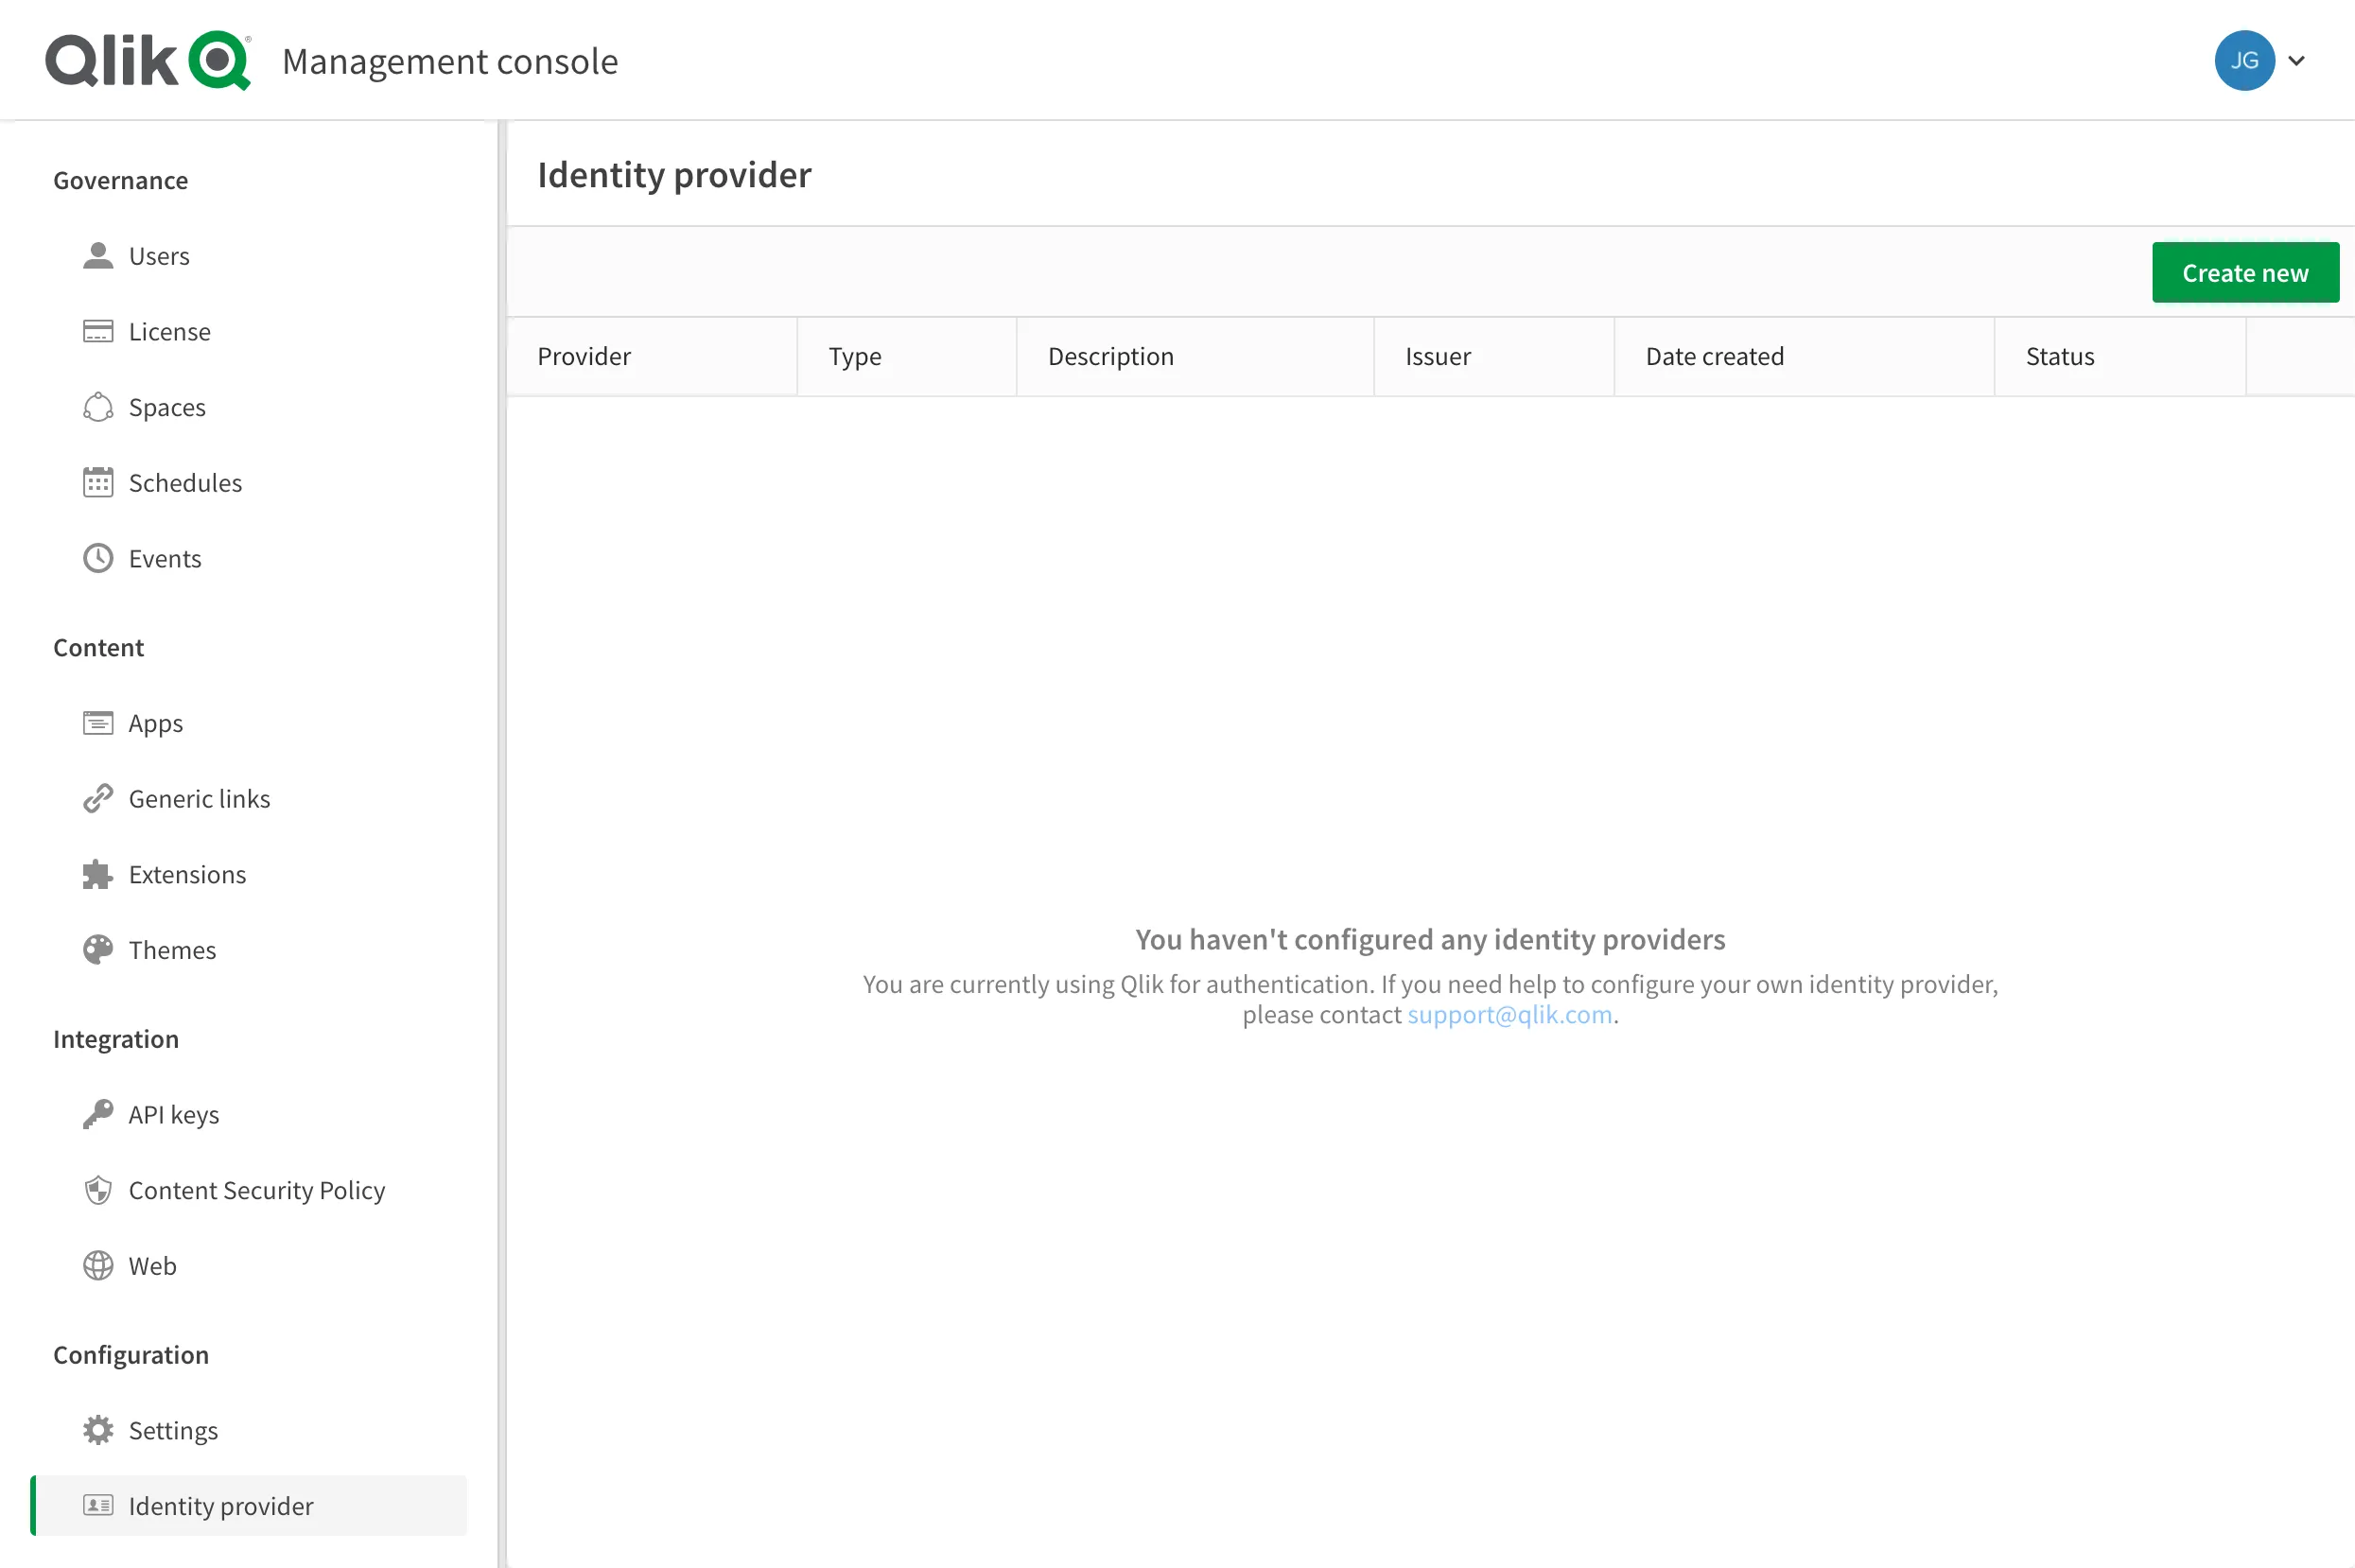
Configure JWT identity provider
Inside the management console, click the Identity provider menu item on the left side of the screen.
Click the Create new button to begin the configuration. When the configuration panel appears, click the Type dropdown control and choose JWT from the list.
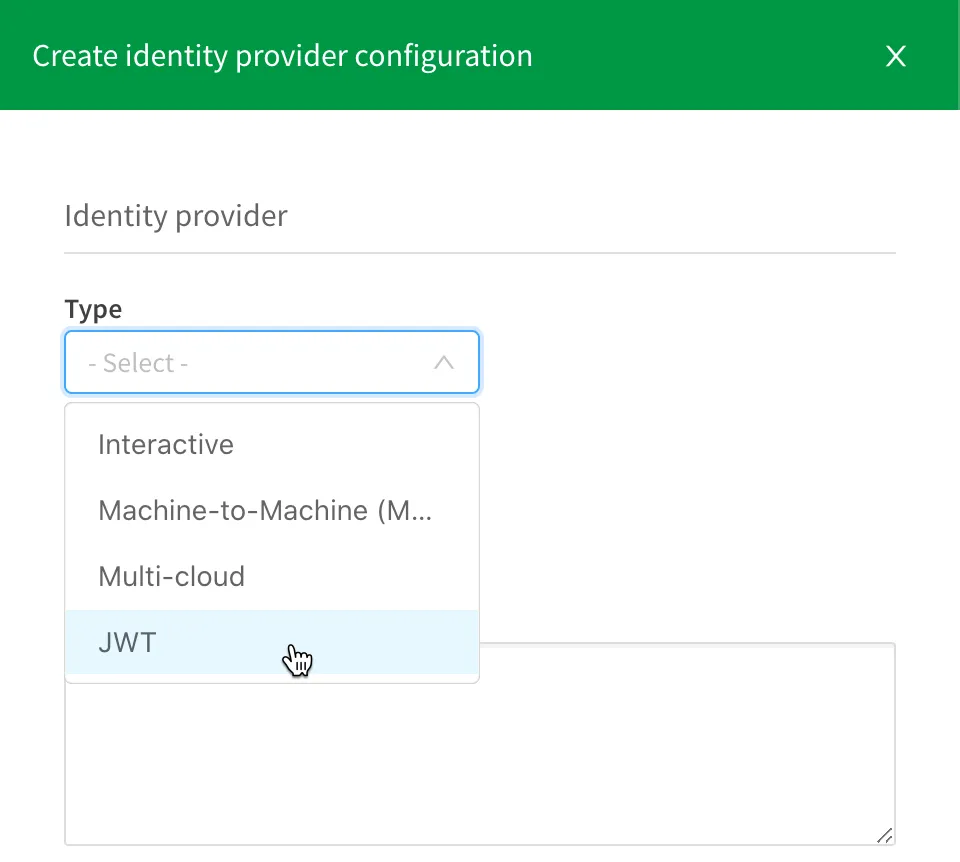
The remaining configuration dialogs appear after making the selection from the dropdown. There are four input boxes to fill in:
- Description
- Certificate (required) - the placeholder for the public key created earlier.
- Issuer (required) - the value input here identifies the application or service that issues the JWT.
- Key ID (required) - the value input here informs the application which signing key to use.
If an Issuer or Key ID isn’t supplied during configuration, values automatically generate upon creation. These claims need to be supplied in the JWT for Qlik to trust the JWT and authorize users.
Add the public key to the configuration
Open the file containing the public key in your favorite text editor.
Remove any carriage returns or line feeds existing in the text. In Visual Studio
Code, removing the characters can be done using a regular expression find and
replace on \n. Once the characters are removed, the text should appear in the
editor as a single line with no spaces.
Copy the text and paste it into the certificate input field in the configuration.
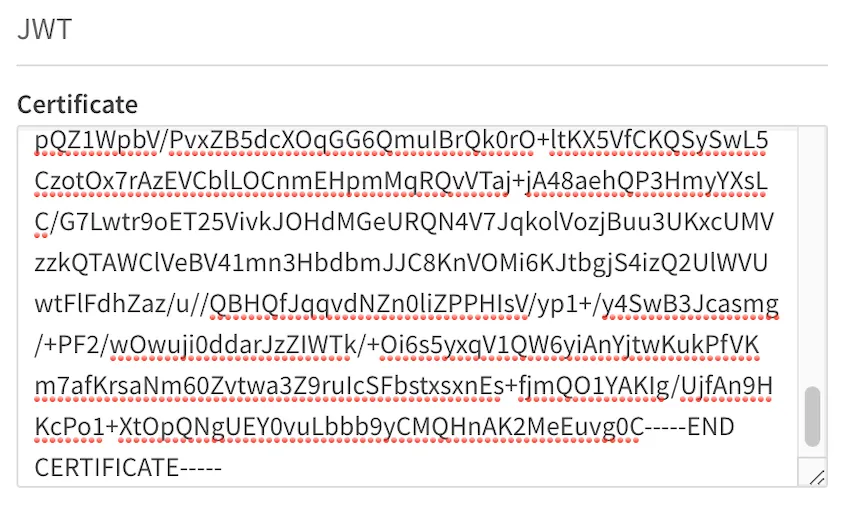
A public key certificate with trailing spaces, carriage returns, or line feeds triggers an error upon saving the configuration.
Input Issuer and Key ID values
As stated previously, adding an Issuer or Key ID is optional. However, they’re required attributes (claims) in the JWT sent to Qlik. Both values are strings so entering any information here is suitable as long as a matching value exists in the JWT.
When no Issuer or Key ID values are supplied, upon completing the configuration the management console presents a window with generated values.
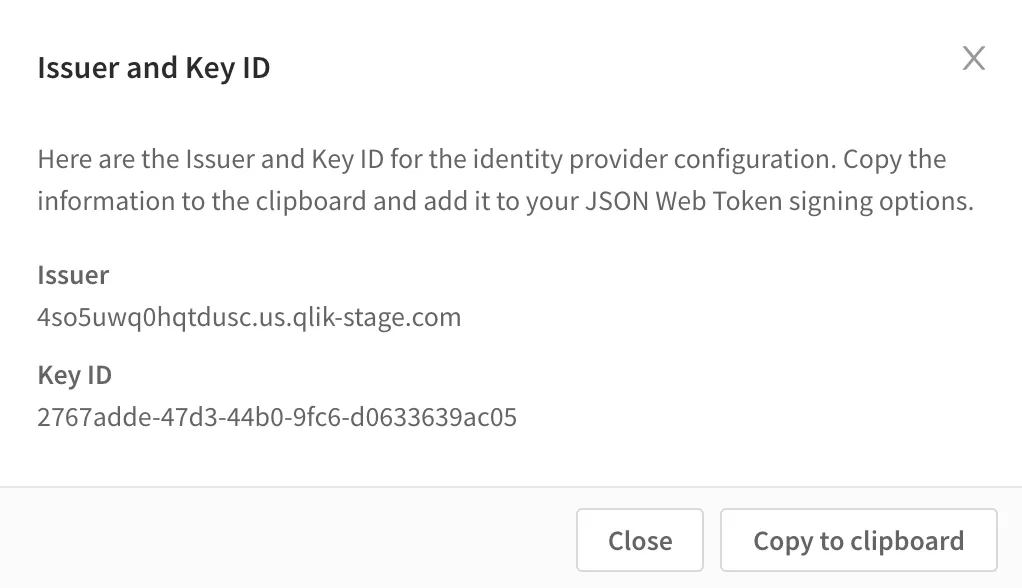
Alternatively, entering Issuer and Key ID values surface the input values in the confirmation screen.
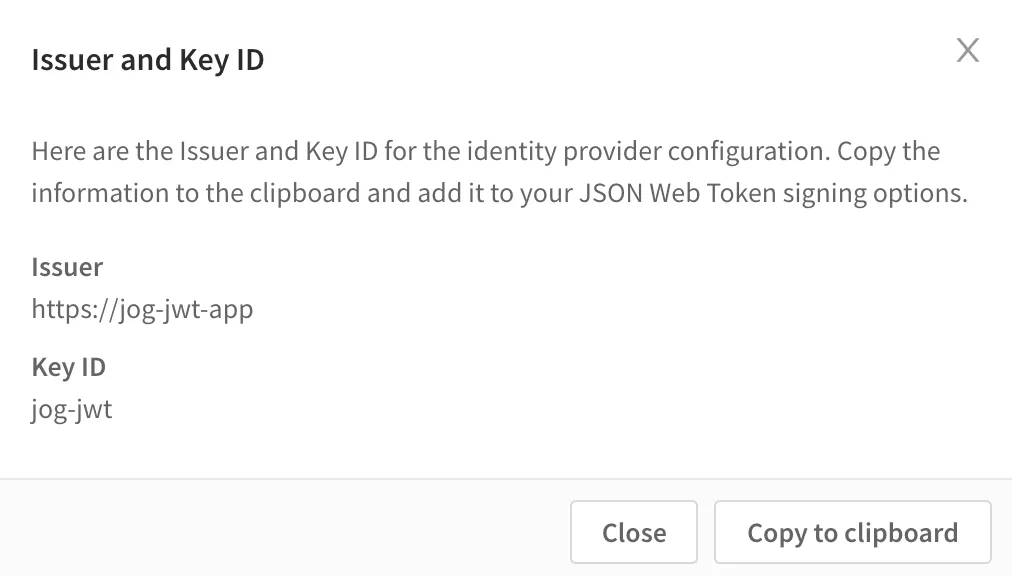
Complete the configuration
Press the Create button to save the JWT authorization configuration. The confirmation screen appears to copy the Issuer and Key ID values to the clipboard.
JWT format for Qlik Sense authorization
The JWT is made of three pieces:
- The payload.
- The signing options.
- The private key for signing the token.
The payload
When using the jsonwebtoken library, the payload object should contain
user-specific information. Validation and timing claims are set through signing
options instead.
User-specific claims (set in the payload object):
sub- The main identifier (aka subject) of the user.subType- The type of identifier the sub represents. In this case,useris the only applicable value.name- The friendly name to apply to the user.email- The email address of the user.email_verified- A claim indicating to Qlik that the JWT source has verified that the email address belongs to the subject.jti- (JWT ID) A unique identifier for the JWT. In the code example, this is generated using theuid-safelibrary.
Additional optional claims:
groups- An array of group names for the user. This is the only optional claim currently read by Qlik Cloud.
Auto-generated claims:
iat- The issued at date of the JWT provided as a Unix epoch timestamp. Thejsonwebtokenlibrary adds this automatically—you don’t need to include it in your payload object.
Here is a sample payload object to pass to the jsonwebtoken library:
const payload = { jti: uid.sync(32), // 32 bytes random string sub: '0hEhiPyhMBdtOCv2UZKoLo4G24p-7R6eeGdZUQHF0-c', subType: 'user', name: 'Hardcore Harry', email: 'harry@example.com', email_verified: true, groups: ['Administrators', 'Sales', 'Marketing'],};Depending on the library you use to sign JWTs, you may have to manually assign
iat and jti values to the JWT payload. Many JWT signing libraries,
like jsonwebtoken for Node.js, add the iat attribute automatically upon JWT
signing. Refer to the documentation for the JWT signing library you are
using to determine how iat and jti are handled.
The signing options
When using the jsonwebtoken library, signing options define validation, timing,
and cryptographic parameters. The library converts these options to standard JWT
claims when the token is signed.
Don’t set claims in both the payload and signing options. The library will reject the token.
Required signing options:
keyid- Must match the Key ID configured in the JWT identity provider. The library converts this tokidin the JWT header.algorithm- The signing algorithm. Must be"RS256". The library converts this toalgin the JWT header.issuer- Must match the issuer configured in the JWT identity provider. The library converts this toissin the JWT payload.expiresIn- How long the JWT is valid (for example,"30s","5m","1h", or60for seconds). The library converts this toexpin the JWT payload.notBefore- Delay before the JWT becomes valid (for example,"1s"means the JWT is valid 1 second after issuance). The library converts this tonbfin the JWT payload.audience- Must be"qlik.api/login/jwt-session". The library converts this toaudin the JWT payload.
Here is an example of JWT signing options for the jsonwebtoken library:
const signingOptions = { keyid: 'my-custom-jwt', algorithm: 'RS256', issuer: 'https://my-custom-jwt', expiresIn: '5m', notBefore: '1s', audience: 'qlik.api/login/jwt-session',};The time between notBefore and expiresIn must not exceed sixty minutes (3600 seconds).
The complete signed JWT
When you combine the payload, signing options, and private key using the
jsonwebtoken library, the resulting JWT contains all required claims.
Here is what a complete decoded JWT payload looks like after signing:
{ "sub": "0hEhiPyhMBdtOCv2UZKoLo4G24p-7R6eeGdZUQHF0-c", "subType": "user", "name": "Hardcore Harry", "email": "harry@example.com", "email_verified": true, "groups": ["Administrators", "Sales", "Marketing"], "jti": "k5bU_cFI4_-vFfpJ3DjDsIZK-ZhJGRbBfusUWZ0ifBI", "iat": 1658416389, "iss": "https://my-custom-jwt", "aud": "qlik.api/login/jwt-session", "nbf": 1658416390, "exp": 1658416690}The JWT header contains:
{ "alg": "RS256", "typ": "JWT", "kid": "my-custom-jwt"}This example shows the complete JWT payload after the jsonwebtoken library has
signed it. Notice how the library:
- Kept your payload claims (
sub,subType,name,email,email_verified,groups,jti) - Added the auto-generated
iattimestamp - Added claims from your signing options (
iss,aud,nbf,exp)
The kid from signing options appears in the JWT header, not the payload.
Example of JWT signing code
The following code is a sample of an express application that creates JWTs.
const fs = require('fs');const uid = require('uid-safe');const jwt = require('jsonwebtoken');
const payload = {  jti: uid.sync(32), // 32 bytes random string  sub: '0hEhiPyhMBdtOCv2UZKoLo4G24p-7R6eeGdZUQHF0-c',  subType: 'user',  name: 'Hardcore Harry',  email: 'harry@example.com',  email_verified: true,  groups: ['Administrators', 'Sales', 'Marketing'],};
const privateKey = fs.readFileSync('./certs/privatekey.pem');
// keyid and issuer have to match with the IDP config and the// audience has to be qlik.api/login/jwt-sessionconst signingOptions = {  keyid: 'my-custom-jwt',  algorithm: 'RS256',  issuer: 'https://my-custom-jwt',  expiresIn: '5m',  notBefore: '1s',  audience: 'qlik.api/login/jwt-session',};
const myToken = jwt.sign(payload, privateKey, signingOptions);
console.log(myToken); Get started with Catalog integration
Learn the basics of using the Catalog API.
Get started with Lineage integration
Learn the basics using the lineage API.
Build a web app for the Insight Advisor API
Learn how to access the Insight Advisor API using a web app.