Generate your first API key
Overview
API keys allow users to authenticate with Qlik Cloud APIs directly, which is useful for scripting, automation, and tools like Postman or qlik-cli.
In this tutorial, you will learn how to:
- Grant users permission to generate API keys.
- Generate an API key for your account in a Qlik Cloud tenant.
- Test the API key using Postman.
An API key represents a token which provides access to Qlik Cloud with the same permissions as the user who created it. It is not possible to apply scopes to an API key. If you require finer control, consider using OAuth2 instead.
For apps and interactive use, we recommend OAuth SPA. It avoids long-lived API keys and supports scoped access. API keys cannot have scopes applied and grant full access to everything in that user’s account. This tutorial is intended for quick testing and scripting.
Prerequisites
- Access to a Qlik Cloud tenant.
- Tenant Admin role (for configuring permissions).
- A user account to generate the API key.
Grant the Manage API Keys permission
You must have the Tenant Admin role to perform this section of the tutorial.
To generate API keys, users must have the Manage API keys permission. You can grant this permission in two ways. Choose one of the following methods:
- Enable the permission for all users in the tenant, using the User Default settings.
- Enable the permission for specific users or groups of users, using a custom role.
For security, only grant the Manage API keys permission to users or groups who require it.
Enable the permission for all users in the tenant
To enable the Manage API Keys permission for all users in the tenant, you can use the User Default settings:
- In the Administration activity center, go to Manage users > Permissions.
- Click User Default.
- Enable the Manage API Keys permission.
- Save the changes.

Enable the permission for specific users or groups of users
You can also create a custom role with the Manage API keys permission and assign it to specific users or groups.
To create a custom role with the relevant permission, follow these steps:
- In the Administration activity center, go to Manage users.
- On the Permissions tab, click Create new.
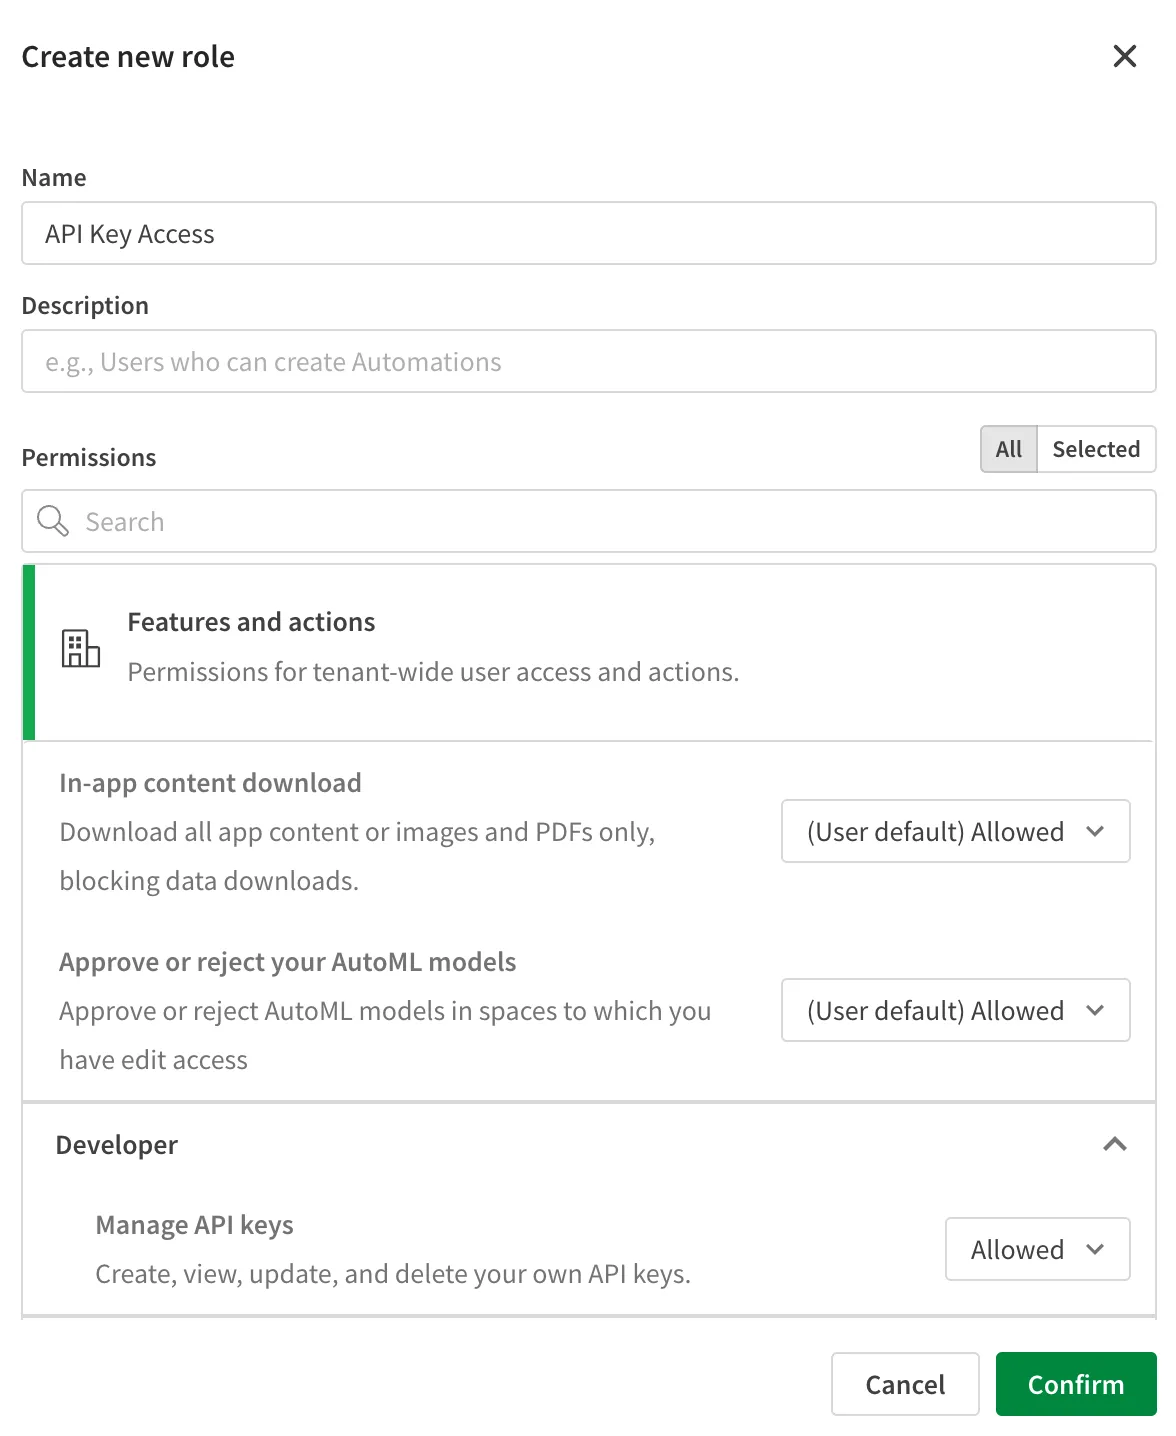
- In the Create new role dialog, enter a name and description for the role.
- Use the search to find specific permissions.
- The User Default setting is shown for each permission. Choose the desired access level for the permissions you want to add.
- Click Create.
You can now assign your custom role to users or groups in the tenant:
- In the Administration activity center, go to Manage users.
- Click the user or group you want to assign the role to.
- Click the Roles tab.
- Click the Assign roles button.
- In the Assign roles dialog, search for your custom role.
- Select the role and click Assign.
The custom role is now assigned to the selected users or groups.
Generate an API key
To generate new API keys, you must have a custom role with the Manage API keys permission, or the permission must be enabled in the User Default settings.
Do the following to generate an API key for your account:
- Click your user profile icon and select Profile settings.
- Go to the API keys section and click Generate new key.
- Provide a description and set an expiration time for the API key.
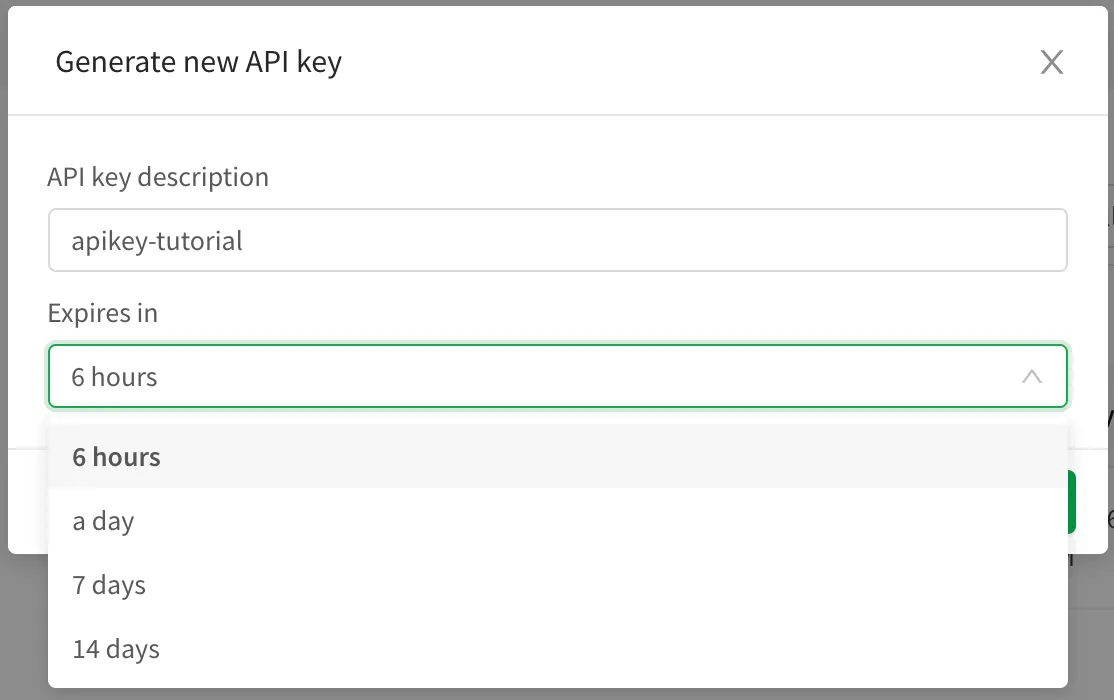
- Click Generate to create the key.
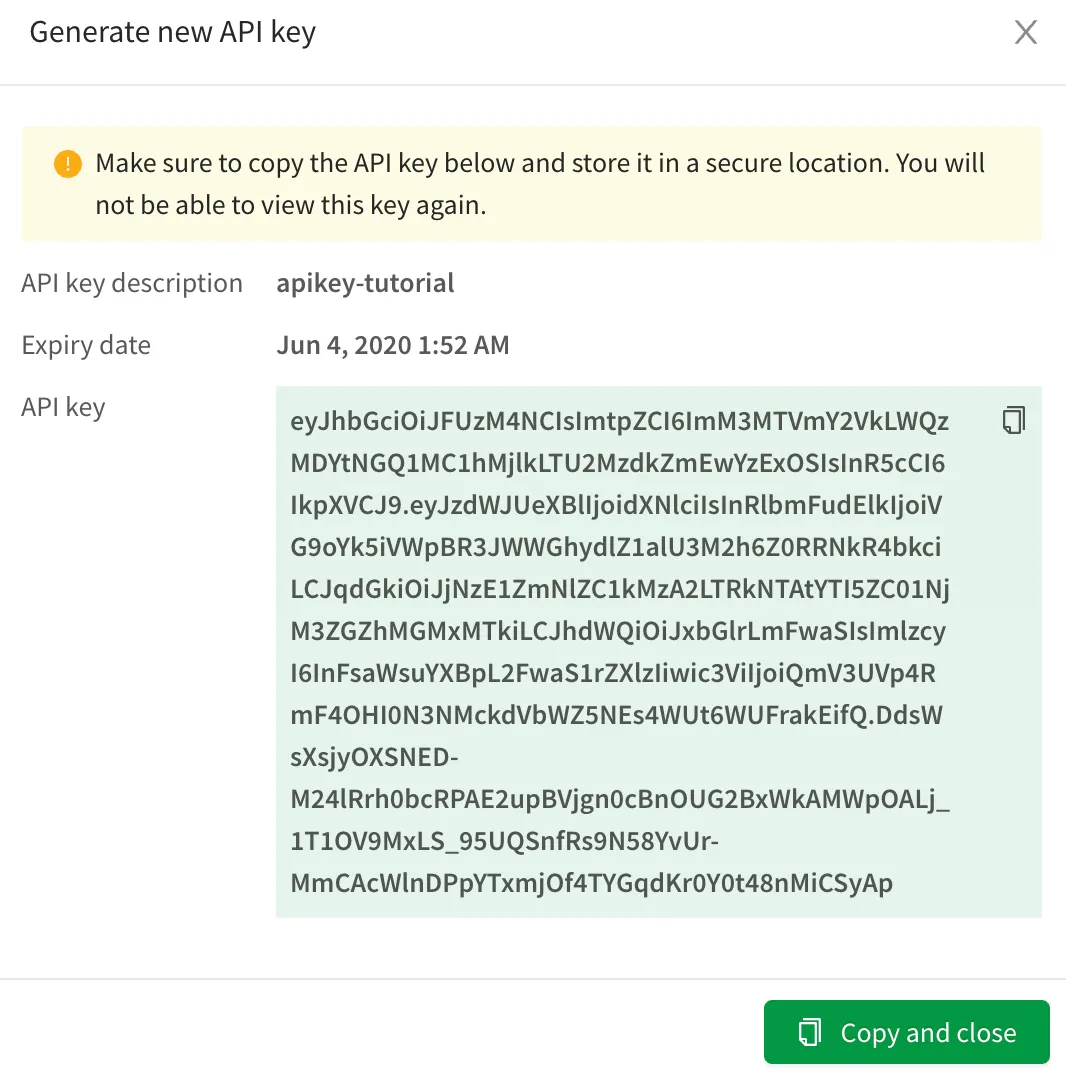
- Copy the generated API key and store it securely.
The API key is only displayed once, when you create it. If you don’t copy it, you won’t be able to see this specific API key again and will need to generate a new API key.
Test the API key in Postman
Use the copied API key in Postman by setting an Authorization header to use a Bearer token.
- In Postman, select the Authorization tab.
- From the Auth Type list, choose Bearer Token.
- Paste your API key in the Token field.
- Add a URL for a REST endpoint on the tenant, for example: add
https://<tenant hostname>/api/v1/users/me. - Click Send to make the request to the API endpoint. If you entered the information into Postman correctly, the
API returns a
200 OKresponse with your user information.
If you receive an authentication error, verify that your API key is correct and has not expired or been revoked.
Next steps
Now that you have an API key, you can:
- Explore the REST API reference documentation and try out the APIs in Postman.
- Install qlik-cli and add your API key to harness the power of Qlik from the command line.
- Follow step-by-step tutorials in Manage to create data files, data connections, or manage tenants.