Create a M2M impersonation OAuth2 client
Introduction
In this tutorial, you are going to learn how to create a machine-to-machine impersonation OAuth2 client on your Qlik Cloud tenant through the management console user interface.
If you’re not sure which type of OAuth client you need for your application, review the OAuth2 Overview to learn more.
Prerequisites
- A Qlik Cloud tenant
- Tenant Admin role assigned to the user account creating OAuth2 clients
Create an OAuth2 client
-
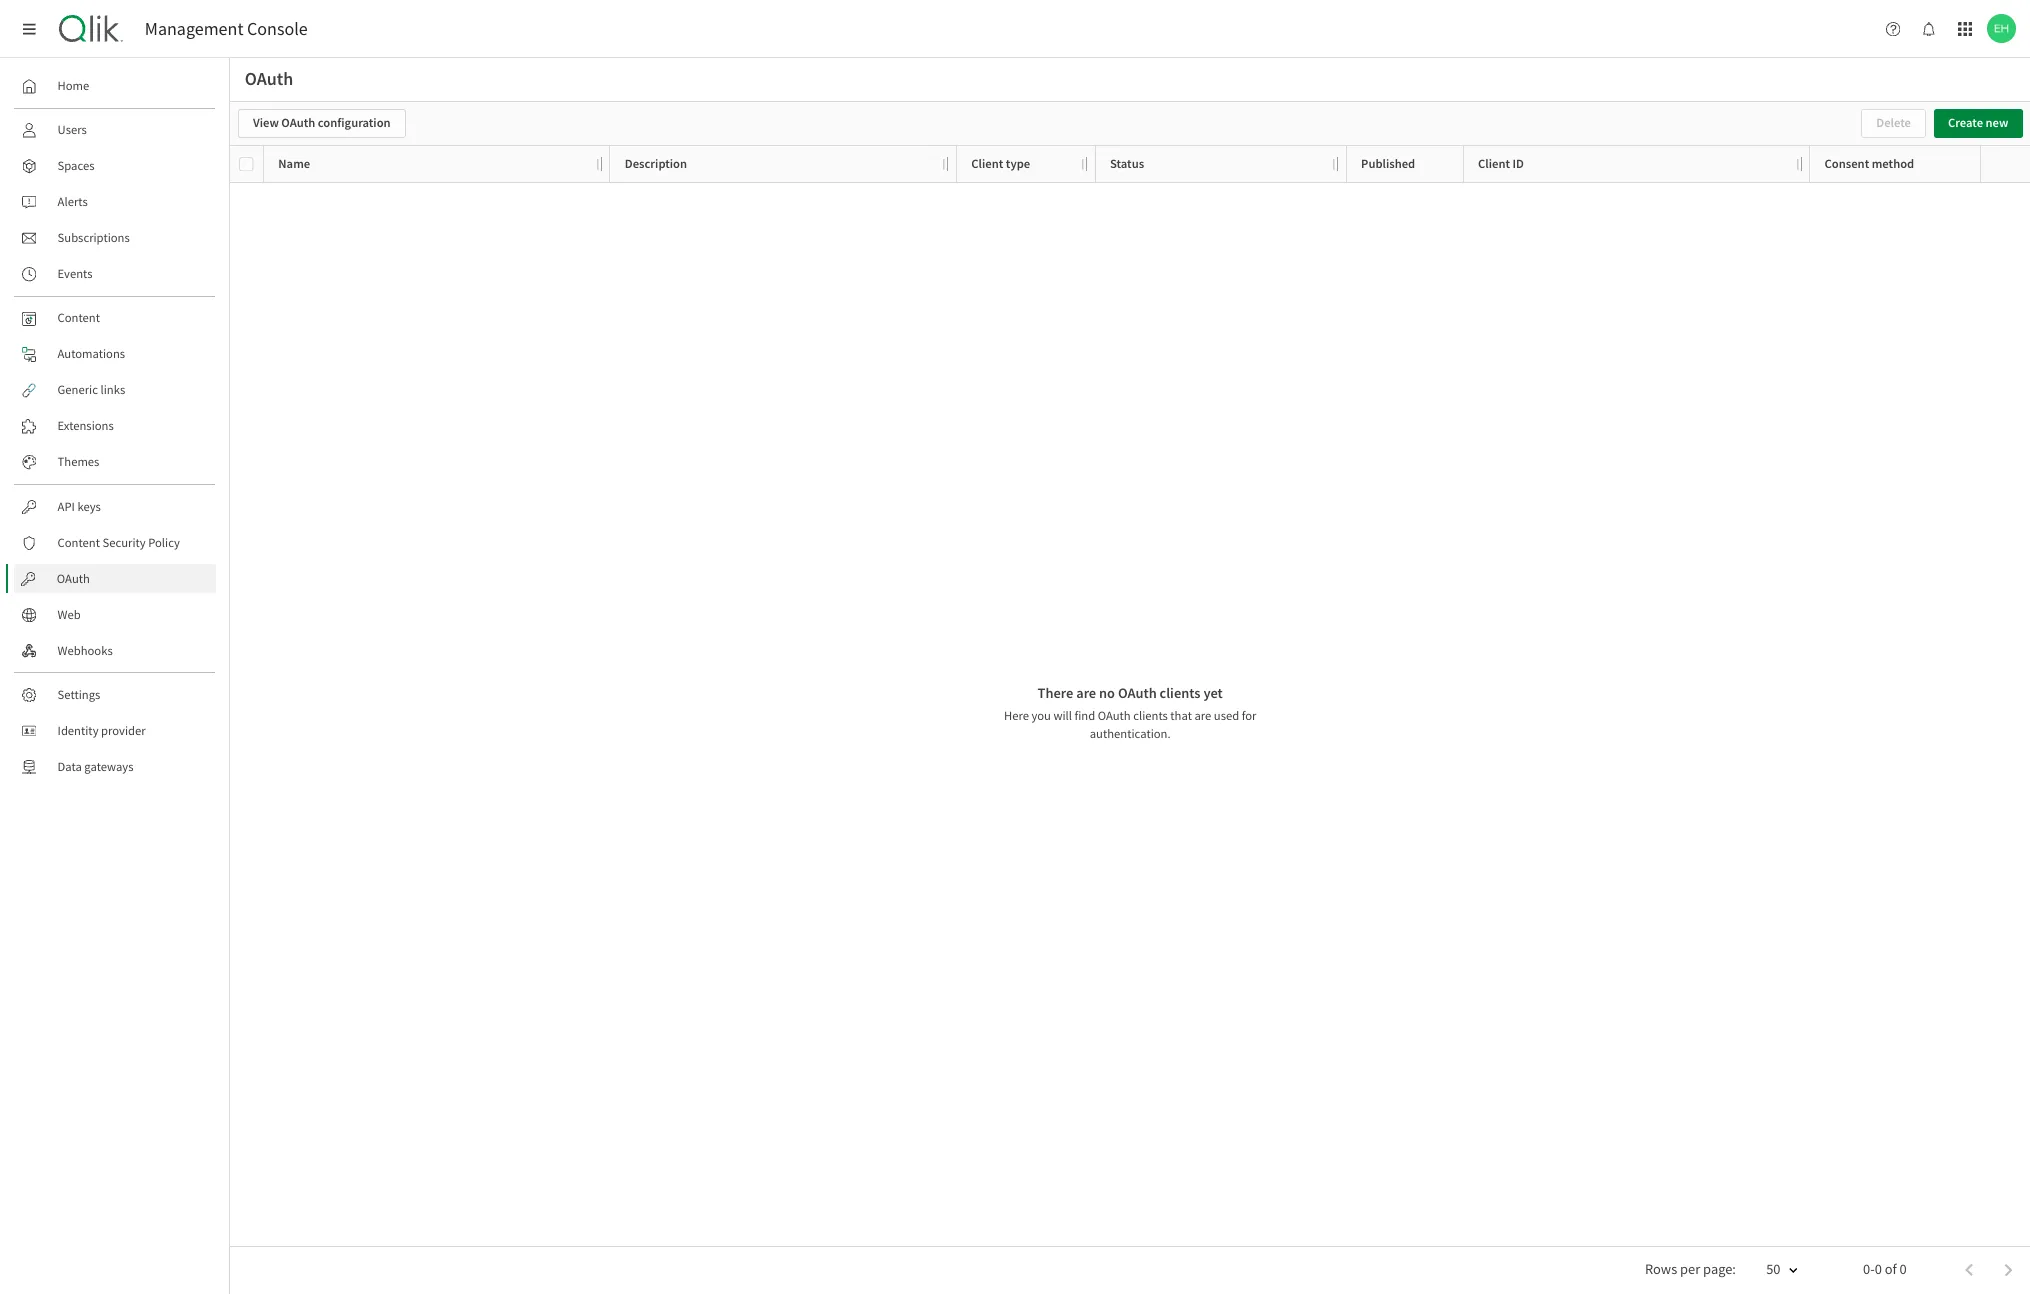
In the Administration activity center, select OAuth.
-
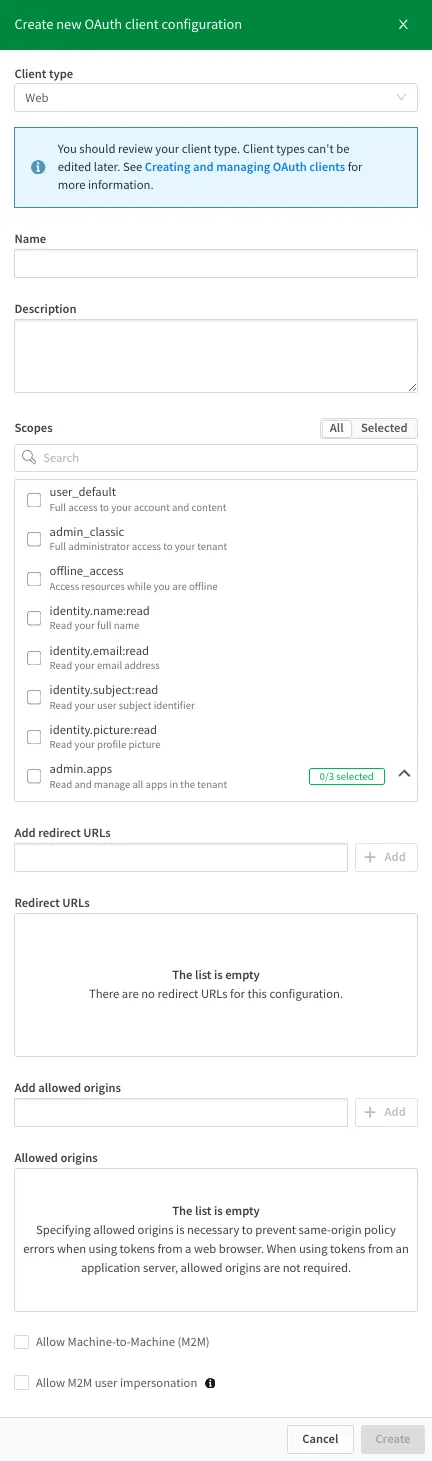
Click Create new, then select Web from the Client type dropdown.
-
Enter a name for the OAuth2 client.

-
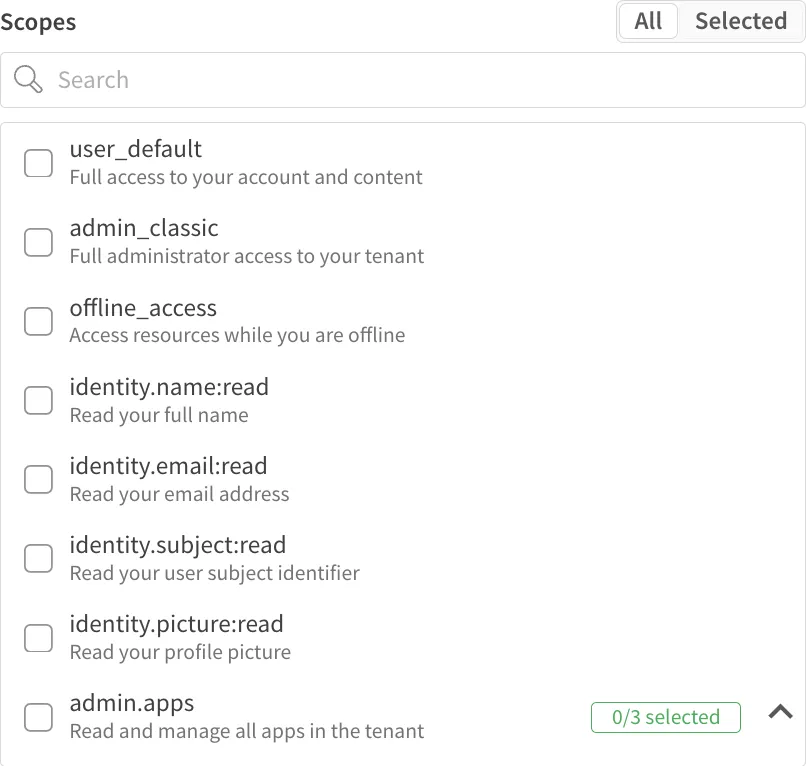
Select the scopes to grant to the client. For more information, see OAuth Scopes.
-
If you plan to use the access token from a browser application, add it to the Allowed Origins list. In this example,
https://custom-app.comis using impersonation tokens to make requests to a Qlik Cloud tenant.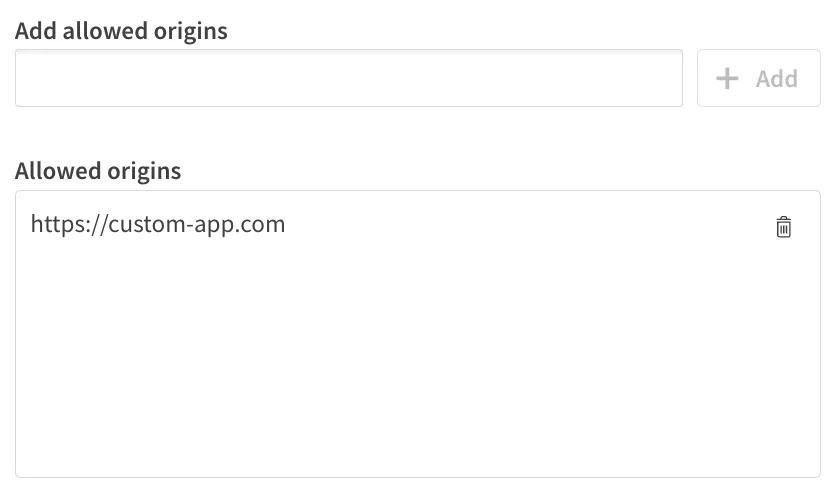
-
Select the Machine-to-machine impersonation checkbox to enable M2M impersonation for this OAuth client.

-
Under Authentication method, select one or both options:
- Client secret (default): Qlik Cloud generates a shared secret. Use this if your application stores credentials securely.
- Private key JWT: Authenticate using a public/private key pair for enhanced security. Paste your application’s public key in JSON Web Key (JWK) format. For more information, see Authenticate with Private Key JWT.
-
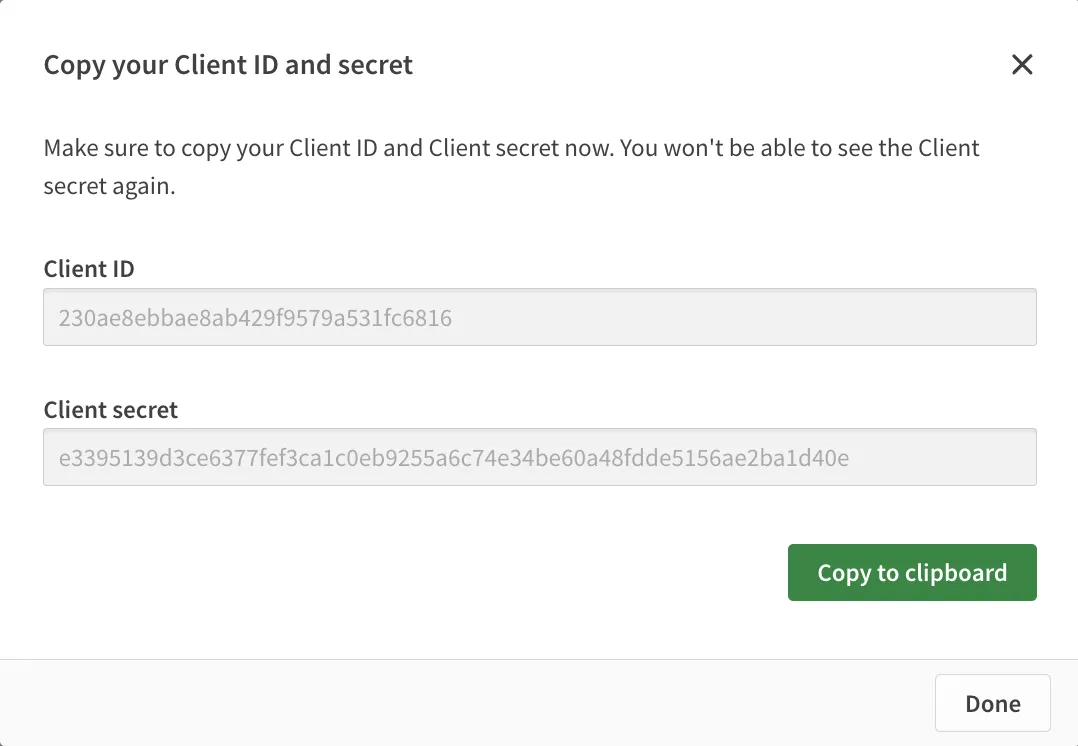
Click Create. A dialog displays your Client ID and (if selected) Client secret. Copy these values to a secure location.
-
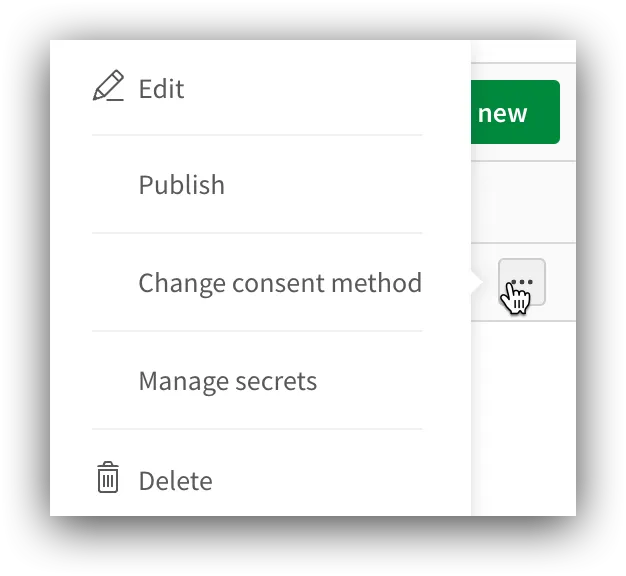
Click the action menu (three dots) next to your new OAuth client and select Change consent method.
-
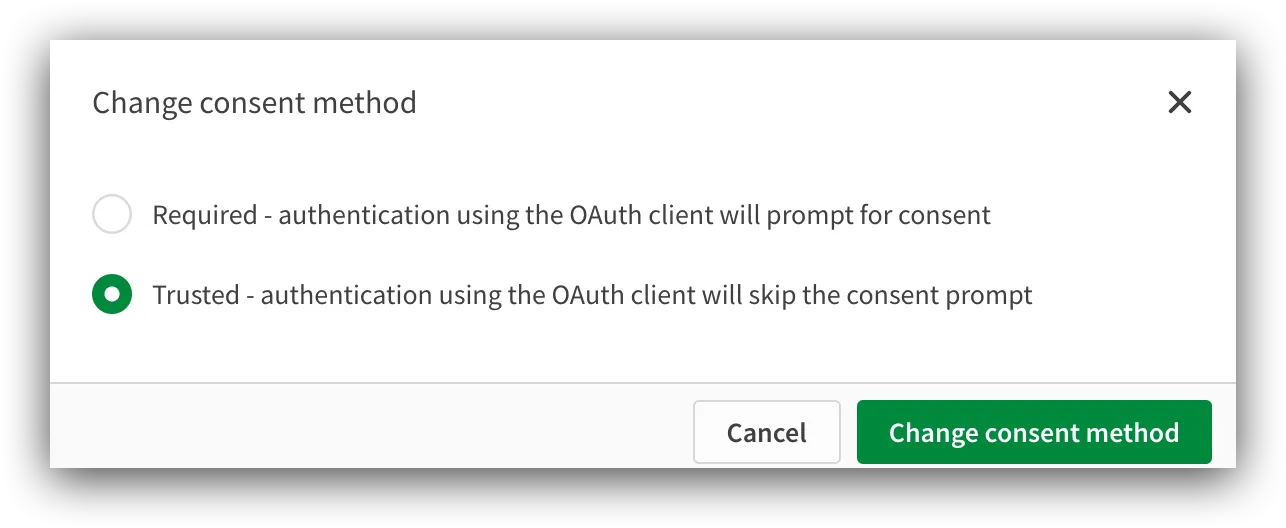
Select Trusted and click Change consent method.
Your OAuth2 client is ready to use. Use your Client ID and Client secret in your application to authenticate with Qlik Cloud.