Create a SPA OAuth2 client
Introduction
In this tutorial, you are going to learn how to create a Single-Page Application (SPA) OAuth2 client on your Qlik Cloud tenant through the management console user interface.
If you’re not sure which type of OAuth client you need for your application, review the OAuth2 Overview to learn more.
Requirements
- A Qlik Cloud tenant
- Tenant Admin role assigned to the user account creating OAuth2 clients
Create an OAuth2 SPA client application in Qlik Cloud
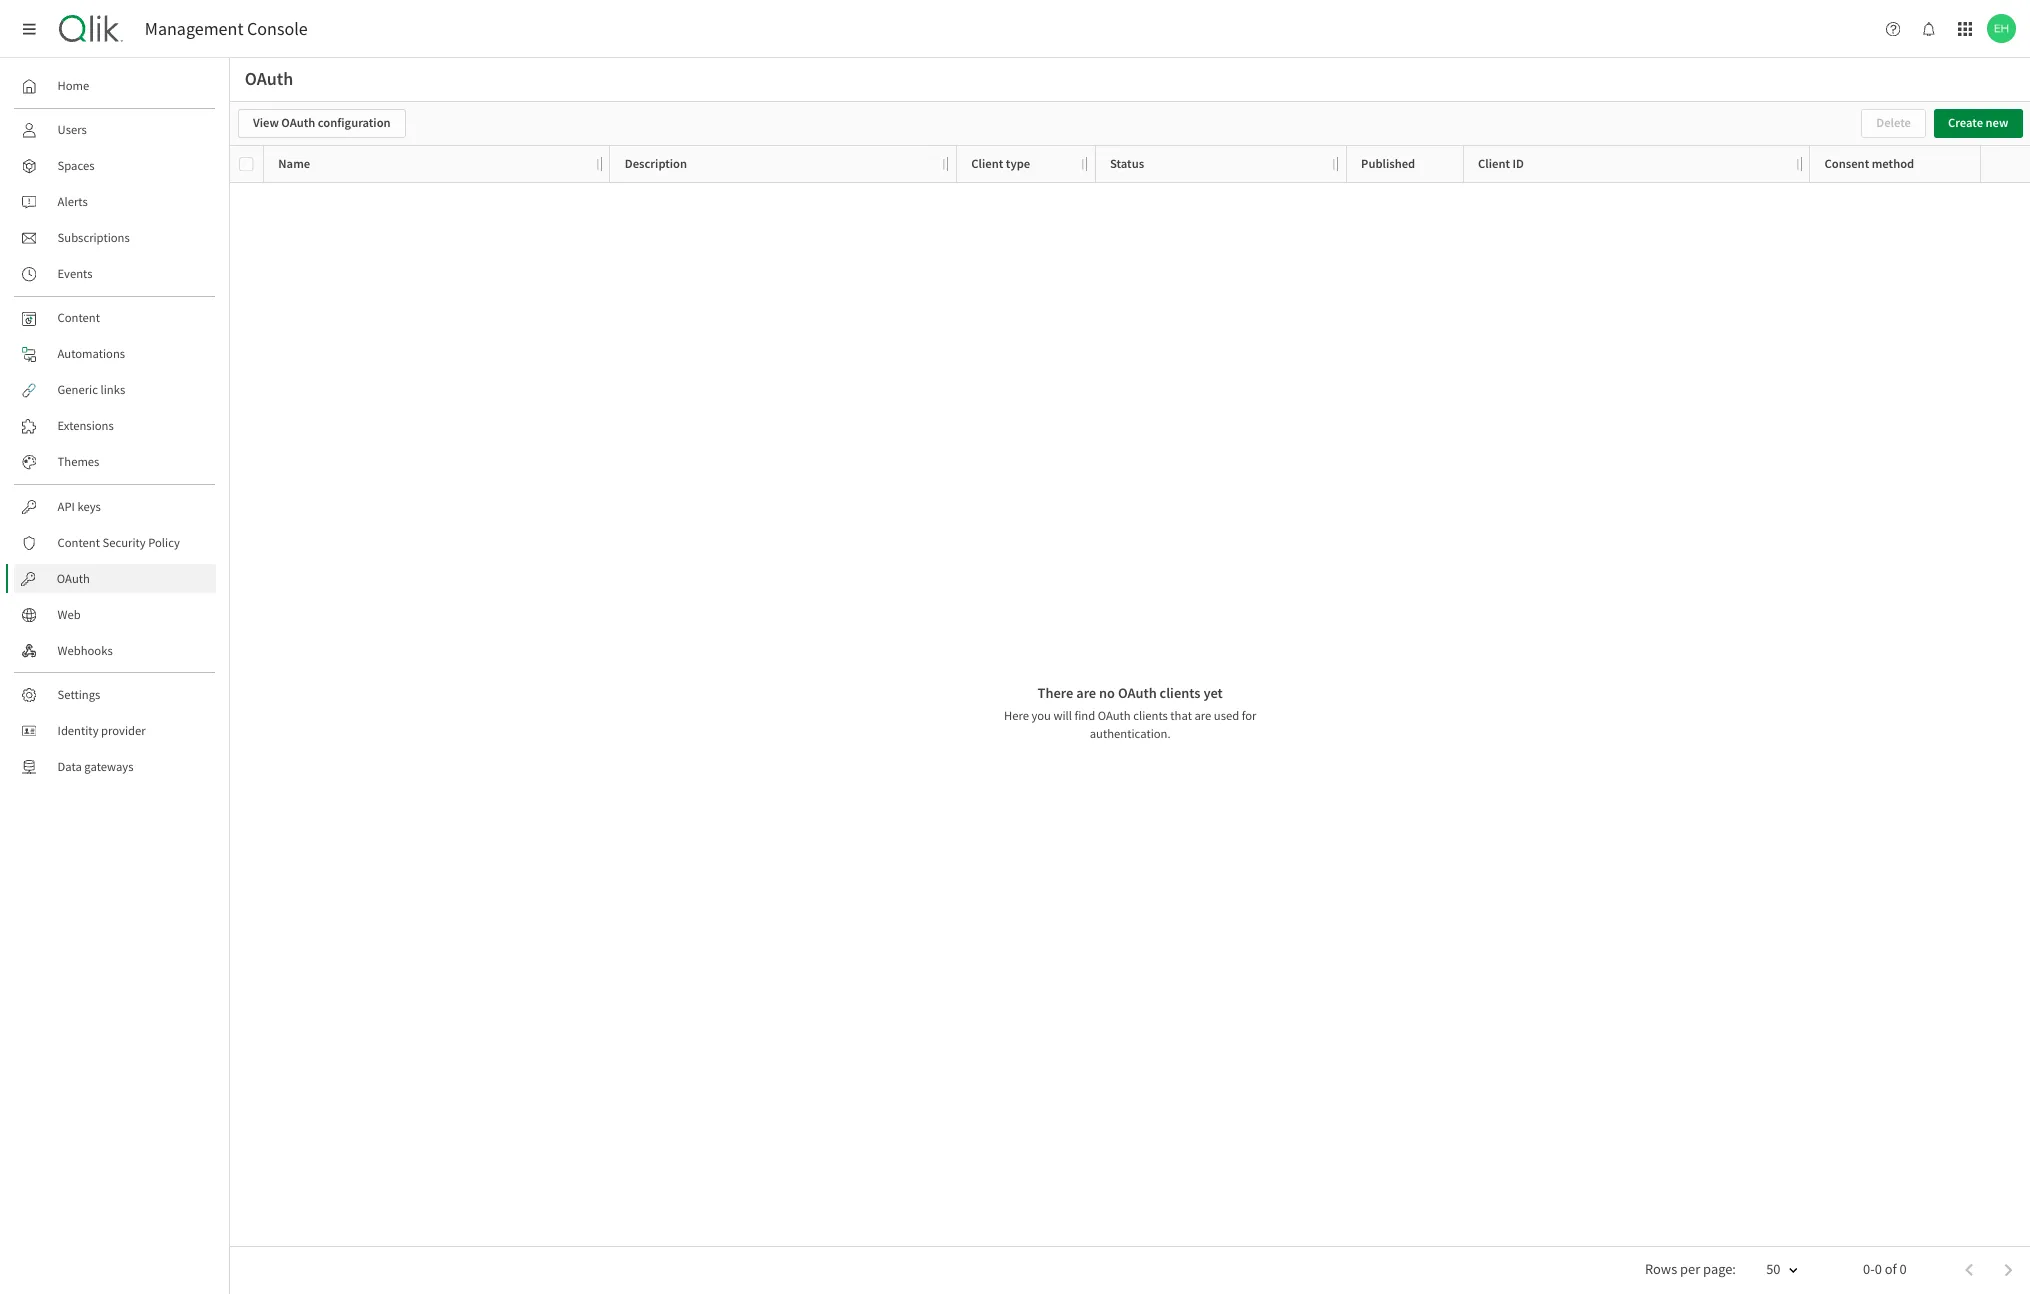
Access the management console and select the OAuth menu option in the Settings section.

Click Create new, then select Single-page app from the Client type dropdown.

Enter a name for the OAuth2 client.

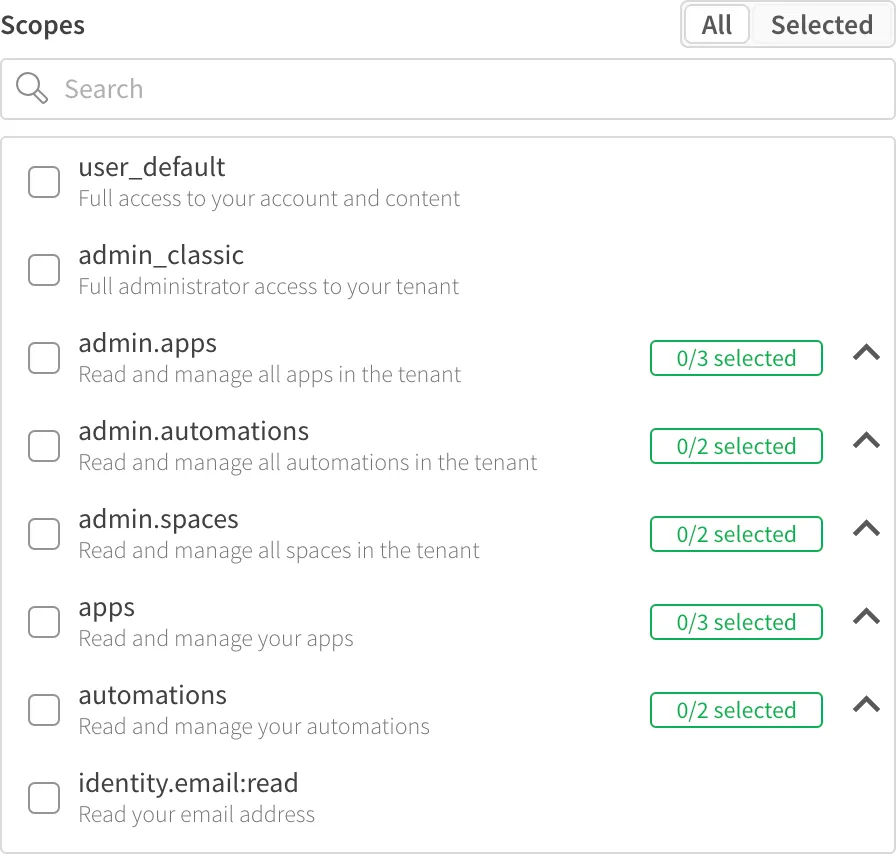
Select the scopes that can be requested by the client from the Scopes list.
More information about available scopes can be found at OAuth Scopes.

Add the list of Redirect URLs to the OAuth client configuration.
The “redirect URL” refers to the page in your web application which processes the token returned from Qlik Cloud once authentication is complete.
Qlik Cloud supports only absolute URLs, hence a good practice is to have a single page in your application which handles all authentication redirects, rather than try to add all URLs in your application.
For example, if the page which handles this in your app is named oauth_callback.html,
then you should enter https://portal.mycorp.com/oauth_callback.html.

Add the list of Allowed origins to the OAuth client configuration.
The “allowed origin” refers to the domain or URL that is permitted to make requests to the OAuth server from a Single Page Application (SPA).
When implementing OAuth in an SPA, the authorization server needs to validate and ensure that the request is coming from a trusted source. To do this, the server checks the “Origin” header in the request, which contains the domain of the requesting application.
In this case, you should enter https://portal.mycorp.com if your application
will send requests to authenticate from any path on that domain.

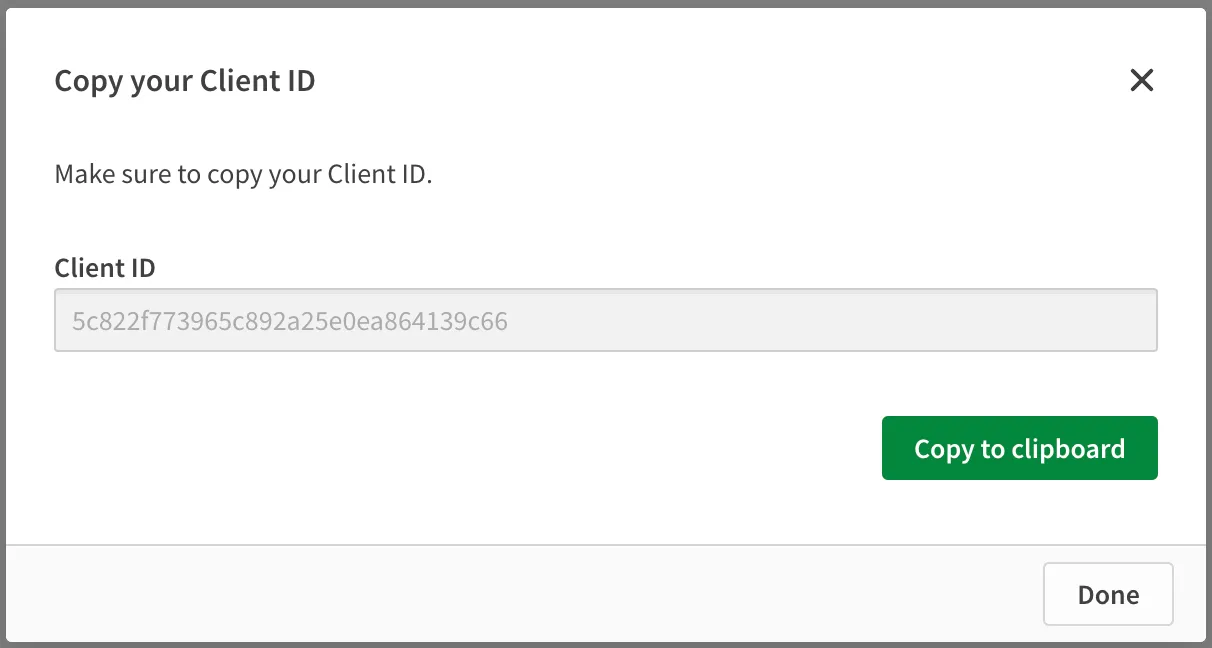
Click Create. A window appears containing the Client ID value for the OAuth2 client application to use.

For usage in embedded scenarios on your tenant, the OAuth2 client configuration is complete. Other use cases may require the publishing of the OAuth client (for example, when sharing the client across different tenants in a region), or the change of consent type (for example, in trusted applications).