Build a chatbot using the Qlik Sense Natural language API
Qlik Sense has always been known as a visually compelling data and analytics platform helping users to discover and derive insights to actionable intelligence. To add to its charisma, Qlik built the Insight Advisor, an AI-powered natural language processing capability enabling users to ask questions in their own words through a chat interface.
This tutorial walks you through the steps to make your own custom chatbot using the Natural Language API.
Prerequisites
- Register for a subscription on Qlik Cloud
- Create a new web integration from the Management console
- Create an API key
- Enable apps for Insight Advisor chat
- The Insight Advisor > Data analysis permission must be set to “Allowed” for your user. For more information, see Permissions in User Default and custom roles on Qlik Help.
Variable substitution and vocabulary
Throughout this tutorial, variables will be used to communicate value placement.
The variable substitution format is <VARIABLE_NAME>. Here is a list of
commonly referred to variables.
| Variable | Description |
|---|---|
<HOSTNAME> | The domain for the tenant you are accessing. Equivalent to tenant.region.qlikcloud.com. |
<WEB_INTEGRATION_ID> | The unique identifier of the web integration. |
<APP_ID> | The unique identifier of the app. |
<API_KEY> | A bearer token for authorizing https requests to a tenant. |
1 Start a new Node project
The aim here is to develop a chatbot using the NL API. For that, NodeJS is used and the quickest way to create a Node project is to use the nebula.js command line interface like below:
npx @nebula.js/cli create mashup hello-saasThe command scaffolds a web project into the hello-saas folder with the following structure:
/srcconfigure.js- Initial configuration ofnebula.jsconnect.js- Connection setup withenigma.jsindex.html- A minimal HTML pageindex.js- Connect and visualize
index.js is where the code for connecting to the Natural
Language API resides.
index.html defines the user interface for the chatbot.
An additional chat.css style sheet needs to be added to the project in
step 2 for styling the chat interface.
If any issue with executing the project is observed, it might be due to the latest version of parcel bundler(1.12.4). Do the following to resolve & rollback to the previous version:
npm uninstall parcel-bundlernpm i --save-dev parcel-bundler@1.12.3
2 Define the user interface for the chatbot
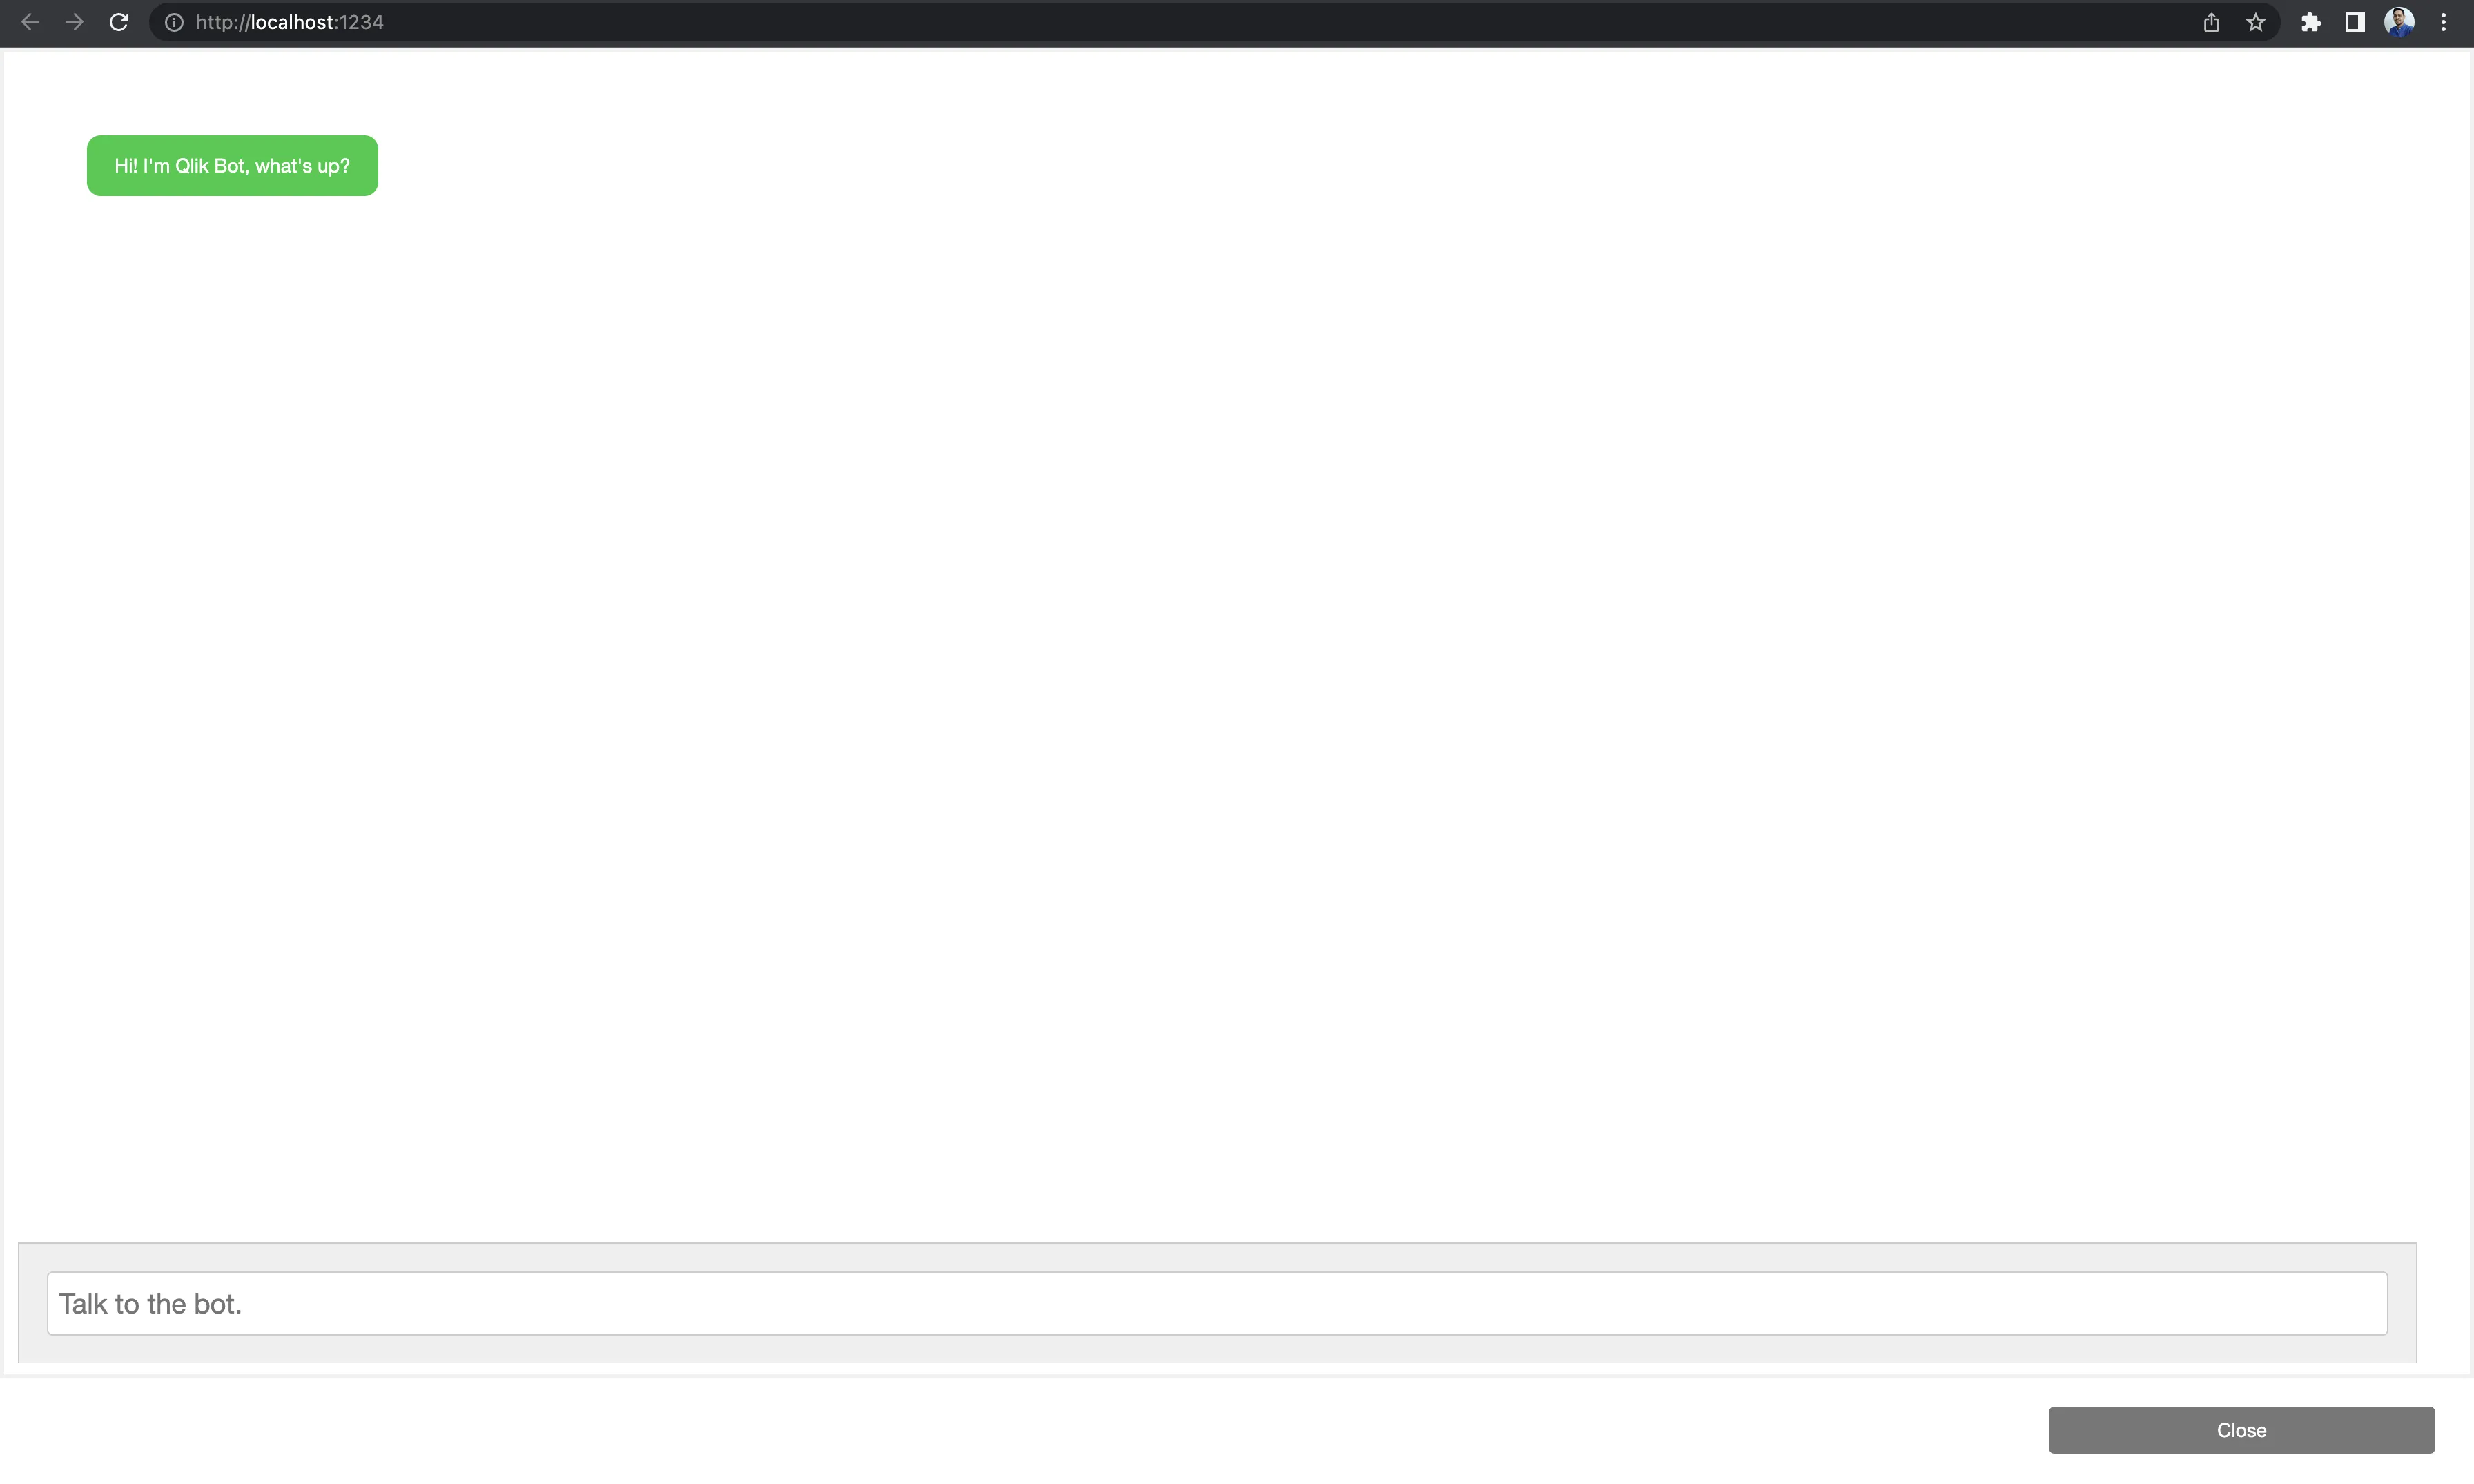
For this specific tutorial, the idea is to keep the chatbot’s interface simple since the focus is to be able to communicate with the cognitive engine and get responses. So the chatbot is designed as a popup form and embedded at the bottom of a mashup page using the following HTML and CSS code.
HTML code
<!DOCTYPE html><html lang="en"><head>  <link rel="stylesheet" href="chat.css">  <script src="https://ajax.googleapis.com/ajax/libs/jquery/2.1.3/jquery.min.js"></script>  <script src="//code.jquery.com/jquery-1.11.1.min.js"></script>  <link rel="stylesheet" href="https://maxcdn.bootstrapcdn.com/bootstrap/3.4.1/css/bootstrap.min.css">  <script src="https://maxcdn.bootstrapcdn.com/bootstrap/3.4.1/js/bootstrap.min.js"></script>  <meta charset="UTF-8" />  <title>Nebula IAC mashup</title></head><body>  <button type="button" id="openChat" class="btn btn-primary btn-floating" onclick="openForm()">Chat</button>  <div class="chat-popup" id="myForm">    <div class="form-container">      <div class="chat-output" id="chat-output">        <div class="user-message">          <div class="message">Hi! I'm Qlik Bot, what's up?</div>        </div>      </div>      <div class="chat-input">        <form action="#0" id="user-input-form" autocomplete="off">          <input type="text" id="user-input" class="user-input" placeholder="Talk to the bot.">        </form>      </div>      </br></br>    </div>    <button type="button" class="btn cancel" onclick="closeForm()">Close</button>  </div>
  <script type="module" src="./index.js"></script>  <script>    function openForm() {      document.getElementById("myForm").style.display = "block";      document.getElementById("openChat").style.display = "none";    }    function closeForm() {      document.getElementById("myForm").style.display = "none";      document.getElementById("openChat").style.display = "block";    }    function eraseText() {      document.getElementById("user-input").value = "";    }  </script></body>
</html>
Now, create a new style sheet, chat.css in the /src directory and add
the following code:
CSS code
@import url(https://fonts.googleapis.com/css?family=Source+Sans+Pro:400,700);* { box-sizing: border-box;}
html { background: rgba(0, 0, 0, 0.03);}
.content { margin: 0 auto; width: 80%; max-width: 800px;}
.object { position: relative; height: 600px; width: 1000px;}
.toolbar { margin: 12px 0px; width: 1000px;}
.open-button { background-color: #555; color: white; padding: 16px 20px; border: none; cursor: pointer; opacity: 0.8; position: fixed; bottom: 23px; right: 28px; width: 280px;}
.btn { background-color: #555; color: white; padding: 16px 20px; border: none; cursor: pointer; opacity: 0.8; position: fixed; bottom: 23px; right: 28px; width: 280px;}
/* The popup chat - hidden by default */.chat-popup { display: none; position: fixed; bottom: 0; right: 15px; border: 3px solid #f1f1f1; z-index: 9;}
/* Add styles to the form container */.form-container { width: 400px; height: 450px; padding: 10px; background-color: white; overflow: scroll; position: relative;}
/* When the textarea gets focus, do something */.form-container textarea:focus { background-color: #ddd; outline: none;}
/* Set a style for the submit/send button */.form-container .btn { background-color: #04aa6d; color: white; padding: 16px 20px; border: none; cursor: pointer; width: 100px; margin-bottom: 10px; opacity: 0.8; right: 40px;}
/* Add a red background color to the cancel button */.form-container .cancel { background-color: red;}
/* Add some hover effects to buttons */.form-container .btn:hover,.open-button:hover { opacity: 1;}
body,html { height: 100%;}
body { background: #eee; font-family: "Source Sans Pro", sans-serif; font-size: 115%; display: flex; flex-direction: column; max-width: 700px; margin: 0 auto;}
.chat-output { flex: 1; padding: 50px; display: flex; background: white; flex-direction: column;}.chat-output div { margin: 0 0 20px 0;}.chat-output .user-message .message { background: #00cc44; color: white;}.chat-output .bot-message { text-align: right;}.chat-output .bot-message .message { background: #eee;}.chat-output .message { display: inline-block; padding: 12px 20px; border-radius: 10px;}
.chat-input { padding: 20px; background: #eee; border: 1px solid #ccc; border-bottom: 0;}.chat-input .user-input { width: 100%; font-size: 2rem; border: 1px solid #ccc; border-radius: 4px; padding: 8px;}
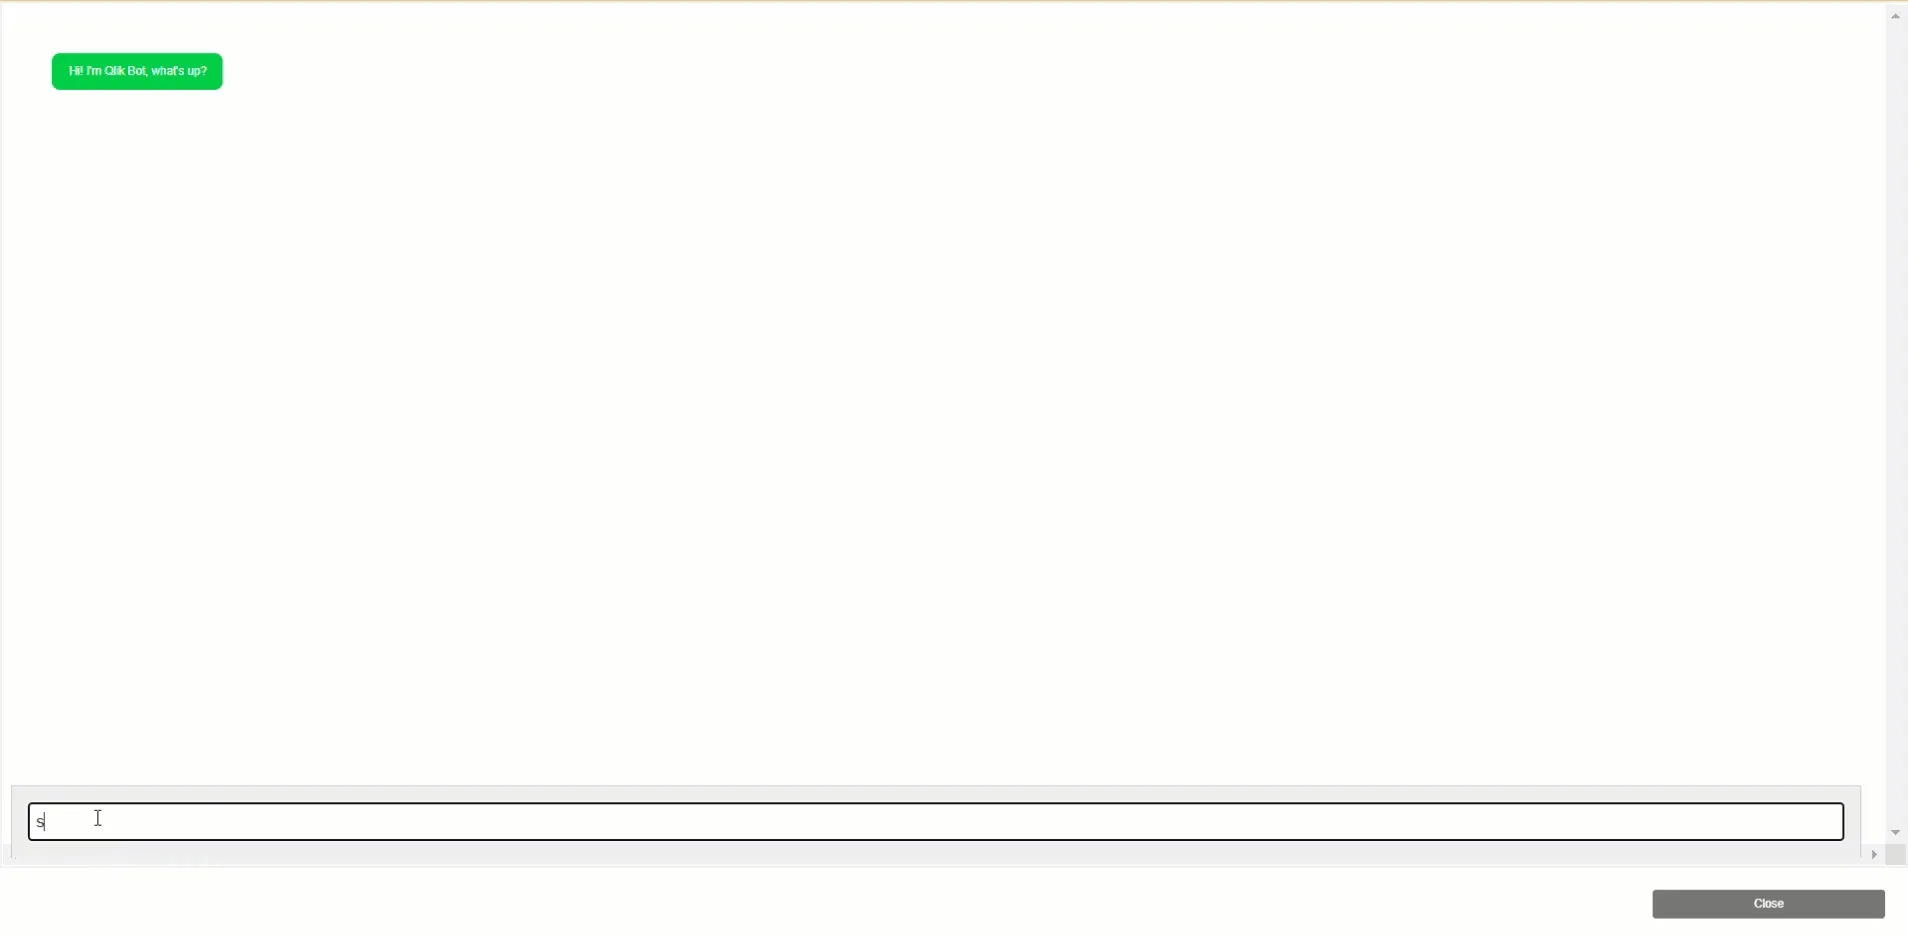
.nebula-chart { width: 600px; height: 600px;}The result is below:
3 API and connection
The next step is to use the API to communicate with the cognitive engine.
To do that, the /src/index.js file is used. Below is the exposed public endpoint
and the nitty-gritty in the request-response process.
API endpoint: /api/v1/questions/actions/ask
First, the text that is being typed in the chatbot needs to be read
to be passed as the body of the POST request. To do that, do as shown below.
Now, the variable message contains the input text.
var outputArea = $("#chat-output");
$("#user-input-form").on("submit", function (e) {  e.preventDefault();  var message = $("#user-input").val();  outputArea.append(`    <div class='bot-message'>      <div class='message'>        ${message}      </div>    </div>  `);  sendQuestion(message); // to send NL API request and render response  $("#user-input").val("");});
To initiate the POST request, a few important parameters need to be assigned, as shown in the code snippet below.
const requestUrl = "https://<HOSTNAME>";const data = JSON.stringify({ text: message, app: { id: "<APP_ID>", name: "ABC Sales" }, enableVisualizations: true, visualizationTypes: ["barchart"],});const response = await fetch(`${requestUrl}/api/v1/questions/actions/ask`, { method: "POST", headers: { Authorization: "Bearer <API_KEY>", "Content-Type": "application/json", "qlik-web-integration-id": "<WEB_INTEGRATION_ID>", }, body: data,});Here is a closer look at these parameters:
-
The data is basically the body of the POST request, and the
messagevariable is assigned to thetextproperty to pass whatever is typed in the chatbot. Also, since in this case, only one particular Qlik Sense app (not cross-apps) is used, theidandnameof the app are passed.The
enableVisualizationflag is set totrueto enable the native chart (nebula) andvisualizationTypesis set to get the nebula chart response for the supported chart. In this case, the supported chartbarchartis being passed because, in the tutorial, only the nebula/barchart library will be loaded. (Importing the nebula barchart library is shown in the next step when you add a render function.) -
The next important parameters are the communication arguments such as host name, API path, method type, and Qlik-specific
qlik-web-integration-idand API Key (authorization), which are both specified as headers. Make sure to input the correct API Key and web integration ID in the preceding code.
4 Add a render function for nebula charts
Add a function to render a nebula chart object using the nebula chart library, as shown below:
//importing nebula chart package and Stardust, which is a JavaScript library for building//and embedding visualizations on top of Qlik's Associative Engine.import barchart from "@nebula.js/sn-bar-chart";import { embed } from "@nebula.js/stardust";
async function render(properties, nebulaChartId, lang = "en-US") {  properties = properties;  if (properties) {    properties.reducedHyperCube = properties.qHyperCube;  }  const ordered = Object.keys(properties)    .sort()    .reduce((obj, key) => {      obj[key] = properties[key];      return obj;    }, {});  const appLayout = {    qLocaleInfo: properties.snapshotData.appLocaleInfo,    qTitle: "",  };  const objectModel = {    id: `${+new Date()}`,    getLayout: async () => properties,    on: () => {},    once: () => {},    removeListener: () => {},    getProperties: async () => ({ qHyperCubeDef: {}, ...properties }),    setProperties: async () => {},    getEffectiveProperties: async () => properties,    getHyperCubeReducedData: async () =>      properties.reducedHyperCube.qDataPages || [],    getHyperCubeContinuousData: async () => properties.qHyperCube,  };  const app = {    id: `${+new Date()}`,    createSessionObject: async () => ({      ...objectModel,    }),    getObject: async () => objectModel,    getAppLayout: async () => appLayout,    destroySessionObject: () => {},  };  const type = properties.qInfo.qType;  const n = embed(app, {    context: {      theme: "light",      language: lang,      constraints: {        select: true,      },    },    types: [      {        name: type,        load: async () => charts[type],      },    ],  });
  await n.render({    type,    element: document.querySelector(`#${nebulaChartId}`),    properties,    options: {      direction: "rtl",      freeResize: true,    },  });}
5 Handle the JSON response
The JSON response is parsed and can be used as per requirements. Typically, the responses are of four types and have some important properties that can be returned to the chatbot.
- narrative -
text: contains the textual description generated by the Natural Language Generation component. - chart -
imageUrl: gives the path of the associated chart image. - info -
infoValues/recId: gives the ID of the recommendations based on the input text. - nebula-
nebula: provides nebula chart objects that are rendered as chart visualizations using nebula chart packages.
For this user scenario, the focus is on narrative text, chart, and nebula chart. These
three properties are sent as responses to the chatbot in the UI.
So, how do you handle that?
The first step is to verify if the engine’s response is just a narrative. If so,
return the text response like below:
if ('narrative' in brokerResponse.conversationalResponse.responses[0]) { const temp = brokerResponse.conversationalResponse.responses[0].narrative.text; outputArea.append(` <div class='user-message'> <div class='message'> ${temp} </div> </div> `);If the engine’s response also has a visualization image or nebula response associated with it, do the following:
else if ('imageUrl' in brokerResponse.conversationalResponse.responses[0] || 'renderVisualization' in brokerResponse.conversationalResponse.responses[0]) { let chartElement, img; const nebulaChartId= `nebula-chart-${new Date().getTime()}`; const nebulaObject = brokerResponse.conversationalResponse.responses.filter((x) => x.type === "nebula"); const imgUrlObject = brokerResponse.conversationalResponse.responses.filter((x) => x.type === "chart"); if(nebulaObject.length) { properties = { ...nebulaObject[0].renderVisualization.data }; lang = nebulaObject[0].renderVisualization.language; chartElement = `<div class='user-message'> <div class='message'> <div class='nebula-chart' id="${nebulaChartId}"></div> </div> </div>`; } else if(imgUrlObject.length) { img = imgUrlObject[0].imageUrl; chartElement = `<a href="https://<HOSTNAME>/${img}"><Image src="https://<HOSTNAME> /${img}" width="600" height="600 "></a>`; } if ('narrative' in brokerResponse.conversationalResponse.responses[1]) { const text_r = brokerResponse.conversationalResponse.responses[1].narrative.text; outputArea.append(` <div class='user-message'> <div class ="message"> ${text_r} </br> ${chartElement} </div> </div> `); if (nebulaObject.length) render(properties, nebulaChartId, lang); } else if ('nebula' in brokerResponse.conversationalResponse.responses[0]) { outputArea.append(` <div class='user-message'> <div class='message'> <div class='nebula-chart' id="${nebulaChartId}"></div> </div> </div> `); render(properties, nebulaChartId, lang); } else { outputArea.append(` <div class='user-message'> <div class='message'> <Image src="https://<HOSTNAME>/${img}" width="300" height="200"> </div> </div> `); }Result
Here’s the Qlik chatbot in action showing nebula charts:
This brings to the end of this tutorial on developing a chatbot using the new Natural Language API. The tutorial aims to serve as a boilerplate for the future development of chatbots using the API.
Complete sample code
In case you missed anything from the preceding steps, the complete code for this project is shared below:
index.html
<!DOCTYPE html><html lang="en"><head>  <link rel="stylesheet" href="chat.css">  <script src="https://ajax.googleapis.com/ajax/libs/jquery/2.1.3/jquery.min.js"></script>  <script src="//code.jquery.com/jquery-1.11.1.min.js"></script>  <link rel="stylesheet" href="https://maxcdn.bootstrapcdn.com/bootstrap/3.4.1/css/bootstrap.min.css">  <script src="https://maxcdn.bootstrapcdn.com/bootstrap/3.4.1/js/bootstrap.min.js"></script>  <meta charset="UTF-8" />  <title>Nebula IAC mashup</title></head><body>  <button type="button" id="openChat" class="btn btn-primary btn-floating" onclick="openForm()">Chat</button>  <div class="chat-popup" id="myForm">    <div class="form-container">      <div class="chat-output" id="chat-output">        <div class="user-message">          <div class="message">Hi! I'm Qlik Bot, what's up?</div>        </div>      </div>      <div class="chat-input">        <form action="#0" id="user-input-form" autocomplete="off">          <input type="text" id="user-input" class="user-input" placeholder="Talk to the bot.">        </form>      </div>      </br></br>    </div>    <button type="button" class="btn cancel" onclick="closeForm()">Close</button>  </div>
  <script type="module" src="./index.js"></script>  <script>    function openForm() {      document.getElementById("myForm").style.display = "block";      document.getElementById("openChat").style.display = "none";    }    function closeForm() {      document.getElementById("myForm").style.display = "none";      document.getElementById("openChat").style.display = "block";    }    function eraseText() {      document.getElementById("user-input").value = "";    }  </script></body>
</html>
index.js
var outputArea = $("#chat-output");/* eslint-disable */import barchart from "@nebula.js/sn-bar-chart";import { embed } from "@nebula.js/stardust";
const charts = { barchart };
$("#user-input-form").on("submit", function (e) {  e.preventDefault();  var message = $("#user-input").val();  outputArea.append(`    <div class='bot-message'>      <div class='message'>        ${message}      </div>    </div>  `);  sendQuestion(message);  $("#user-input").val("");});
async function sendQuestion(message) {  const requestUrl = "https://<HOSTNAME>/api";  const data = JSON.stringify({    text: message,    app: { id: "daf3a831-2437-45ca-95c3-928adfd2e6d9", name: "ABC Sales" },    enableVisualizations: true,    visualizationTypes: ["barchart"],  });  const response = await fetch(`${requestUrl}/v1/questions/actions/ask`, {    method: "POST",    headers: {      Authorization: `Bearer <API Key>`,      "Content-Type": "application/json",      "qlik-web-integration-id": "aNDV2yQrAQUI59_CxwQeVpLYV-QtsTLq",    },    body: data,  });  const brokerResponse = await response.json();  let properties;  let lang = "en-US";
  if ("narrative" in brokerResponse.conversationalResponse.responses[0]) {    const temp =      brokerResponse.conversationalResponse.responses[0].narrative.text;    outputArea.append(`  <div class='user-message'>    <div class='message'>      ${temp}    </div>  </div>`);  } else if (    "imageUrl" in brokerResponse.conversationalResponse.responses[0] ||    "renderVisualization" in brokerResponse.conversationalResponse.responses[0]  ) {    let chartElement, img;    const nebulaChartId = `nebula-chart-${new Date().getTime()}`;    const nebulaObject = brokerResponse.conversationalResponse.responses.filter(      (x) => x.type === "nebula"    );    const imgUrlObject = brokerResponse.conversationalResponse.responses.filter(      (x) => x.type === "chart"    );    if (nebulaObject.length) {      properties = { ...nebulaObject[0].renderVisualization.data };      lang = nebulaObject[0].renderVisualization.language;      chartElement = `<div class='user-message'>            <div class='message'>              <div class='nebula-chart'  id="${nebulaChartId}"></div>            </div>          </div>`;    } else if (imgUrlObject.length) {      img = imgUrlObject[0].imageUrl;      chartElement = `<a href="https://<HOSTNAME>/${img}"><Image src="https://<HOSTNAME>/${img}" width="600" height="600 "></a>`;    }    if ("narrative" in brokerResponse.conversationalResponse.responses[1]) {      const text_r =        brokerResponse.conversationalResponse.responses[1].narrative.text;      outputArea.append(`      <div class='user-message'>      <div class ="message">      ${text_r} </br>      ${chartElement}      </div>      </div>    `);      if (nebulaObject.length) render(properties, nebulaChartId, lang);    } else if ("nebula" in brokerResponse.conversationalResponse.responses[0]) {      if (brokerResponse.conversationalResponse.responses) {        outputArea.append(`          <div class='user-message'>              <div class='message'>                <div class='nebula-chart'  id="${nebulaChartId}"></div>              </div>          </div>        `);        render(properties, nebulaChartId, lang);      }    } else {      outputArea.append(`      <div class='user-message'>        <div class='message'>        <Image src="https://<HOSTNAME>/${img}" width="300" height="200">        </div>      </div>    `);    }  }}
async function render(properties, nebulaChartId, lang = "en-US") {  properties = properties;  if (properties) {    properties.reducedHyperCube = properties.qHyperCube;  }  const ordered = Object.keys(properties)    .sort()    .reduce((obj, key) => {      obj[key] = properties[key];      return obj;    }, {});  const appLayout = {    qLocaleInfo: properties.snapshotData.appLocaleInfo,    qTitle: "",  };  const objectModel = {    id: `${+new Date()}`,    getLayout: async () => properties,    on: () => {},    once: () => {},    removeListener: () => {},    getProperties: async () => ({ qHyperCubeDef: {}, ...properties }),    setProperties: async () => {},    getEffectiveProperties: async () => properties,    getHyperCubeReducedData: async () =>      properties.reducedHyperCube.qDataPages || [],    getHyperCubeContinuousData: async () => properties.qHyperCube,  };
  const app = {    id: `${+new Date()}`,    createSessionObject: async () => ({      ...objectModel,    }),    getObject: async () => objectModel,    getAppLayout: async () => appLayout,    destroySessionObject: () => {},  };  const type = properties.qInfo.qType;
  const n = embed(app, {    // Load Sense themes    context: {      theme: "light",      language: lang,      constraints: {        // Disable selections (constraint)        select: true,      },    },    types: [      {        name: type,        load: async () => charts[type],      },    ],  });
  await n.render({    type,    element: document.querySelector(`#${nebulaChartId}`),    properties,    options: {      direction: "rtl",      freeResize: true,    },  });}
chat.css
@import url(https://fonts.googleapis.com/css?family=Source+Sans+Pro:400,700);* {  box-sizing: border-box;}
html {  background: rgba(0, 0, 0, 0.03);}
.content {  margin: 0 auto;  width: 80%;  max-width: 800px;}
.object {  position: relative;  height: 600px;  width: 1000px;}
.toolbar {  margin: 12px 0px;  width: 1000px;}
.open-button {  background-color: #555;  color: white;  padding: 16px 20px;  border: none;  cursor: pointer;  opacity: 0.8;  position: fixed;  bottom: 23px;  right: 28px;  width: 280px;}
.btn {  background-color: #555;  color: white;  padding: 16px 20px;  border: none;  cursor: pointer;  opacity: 0.8;  position: fixed;  bottom: 23px;  right: 28px;  width: 280px;}
/* The popup chat - hidden by default */.chat-popup {  display: none;  position: unset;  bottom: 0;  right: 15px;  border: 3px solid #f1f1f1;  z-index: 9;}
/* Add styles to the form container */.form-container {  width: 100%;  height: 92vh;  padding: 10px;  background-color: white;  overflow: scroll;  position: relative;}
/* When the textarea gets focus, do something */.form-container textarea:focus {  background-color: #ddd;  outline: none;}
/* Set a style for the submit/send button */.form-container .btn {  background-color: #04aa6d;  color: white;  padding: 16px 20px;  border: none;  cursor: pointer;  width: 100px;  margin-bottom: 10px;  opacity: 0.8;  right: 40px;}
/* Add a red background color to the cancel button */.form-container .cancel {  background-color: red;}
/* Add some hover effects to buttons */.form-container .btn:hover,.open-button:hover {  opacity: 1;}
body,html {  height: 100%;}
body {  background: #eee;  font-family: "Source Sans Pro", sans-serif;  font-size: 115%;  display: flex;  flex-direction: column;  /* max-width: 700px; */  margin: 0 auto;}
.chat-output {  flex: 1;  padding: 50px;  display: flex;  background: white;  flex-direction: column;}.chat-output div {  margin: 0 0 20px 0;}.chat-output .user-message .message {  background: #00cc44;  color: white;}.chat-output .bot-message {  text-align: right;}.chat-output .bot-message .message {  background: #eee;}.chat-output .message {  display: inline-block;  padding: 12px 20px;  border-radius: 10px;}
.chat-input {  width: 97%;  background: #eee;  border: 1px solid #ccc;  border-bottom: 0;  align-self: flex-end;  padding: 20px;  position: fixed;  bottom: 8.5% !important;}.chat-input .user-input {  width: 100%;  font-size: 2rem;  border: 1px solid #ccc;  border-radius: 4px;  padding: 8px;}
.nebula-chart {  width: 600px;  height: 600px;}